In my previous In-Depth blog post, my mentor and I completed our meeting with his recommendation of capturing some images of flowers. His main rational for this is that it’s becoming spring and many kinds of flowers are beginning to bloom at this time of the year. Furthermore, photos of flowers are usually what make macro photography most famous for the average consumer so it would only be fair to finish off my In-Depth project with this theme. The main tip he gave me on how to best take these images of flowers are to get the camera lens quite close to the bud to make the flower seem larger than life.
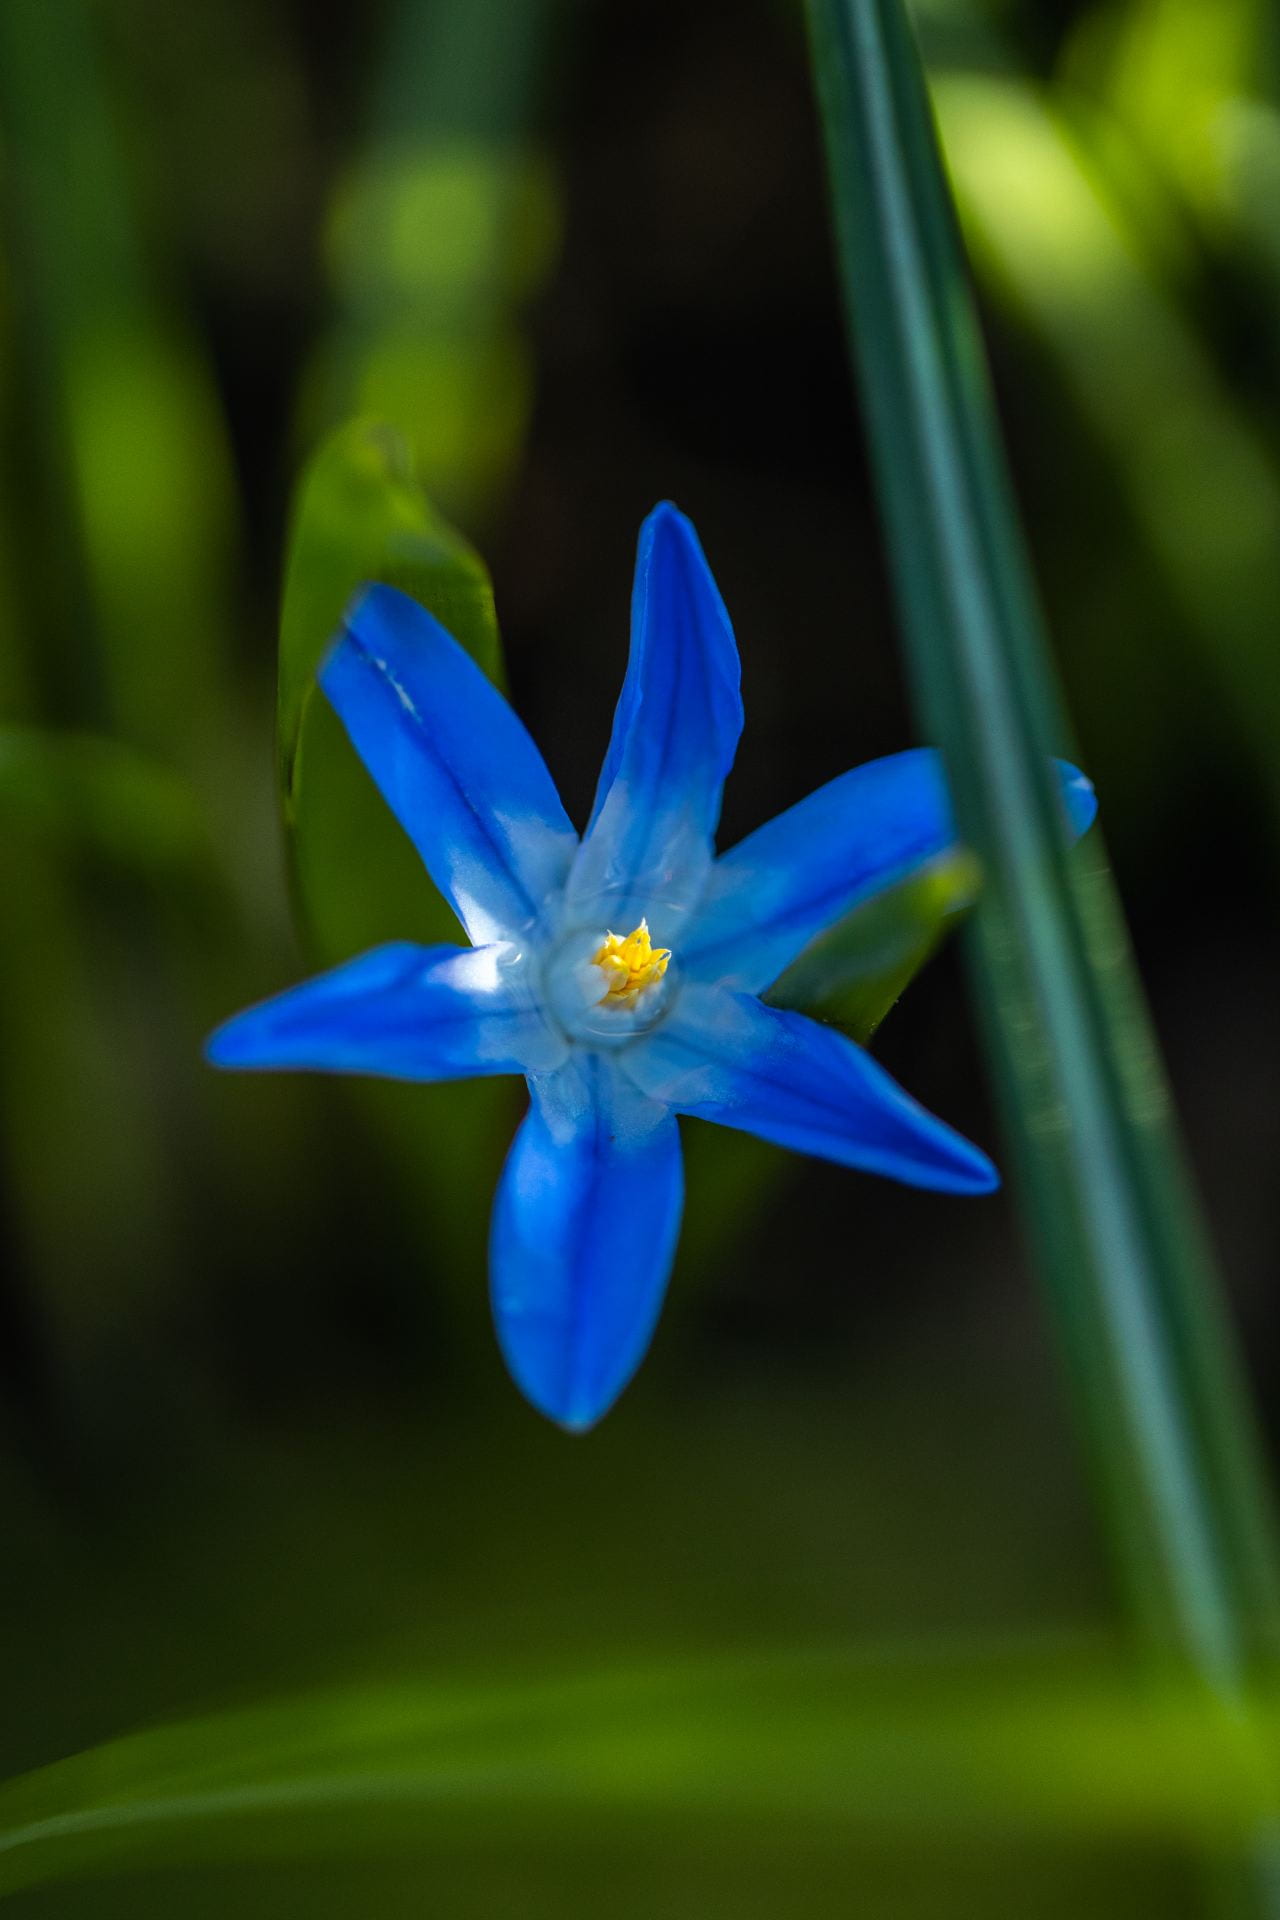
My mentor immediately began our meeting with him asking me “why did you choose to take a photo of this flower?” I quickly responded, “because of the vibrant colours”. He acknowledged how I got the sunlight right on the center of the flower and how it helped the bud pop out and stand on its own rather than it being washed out with the blue. In addition, my mentor thought that the highlights along the grass in the background also helped bring out the flower itself. Although the concept of placing a subject in the centre of the frame is generally frowned upon in the photography community, I pointed out how in flower photography, there is sometimes an exception. Moreover, he really liked the framing and completely agreed with my choice. Furthermore, I noticed that the blade of grass that is in the bottom right section of the image was sort of framing the flower in a very pleasing way. In response, my mentor added that the different shade of green of the blade of grass also made it more prominent.

When presenting this image to my mentor, he didn’t have much to say. He really liked how the focus was on the button in the centre of the middle pink flower rather than it being on the petals. In addition, he even asked me ‘if this was taken in the studio since the background was so blurry’. I was glad he pointed this out since this is one of the benefits of having a very good camera lens to take these macro photos. Because of the aperture ring being so wide open, it makes the depth of field much smaller allowing for the background to be extremely blurry. Furthermore, my mentor suggested an alternative photo where I would change the whole perspective to the right a little bit a line for the stem to become the focus and having the little pink flowers frame the stem. He added that the background could work very well with this option.
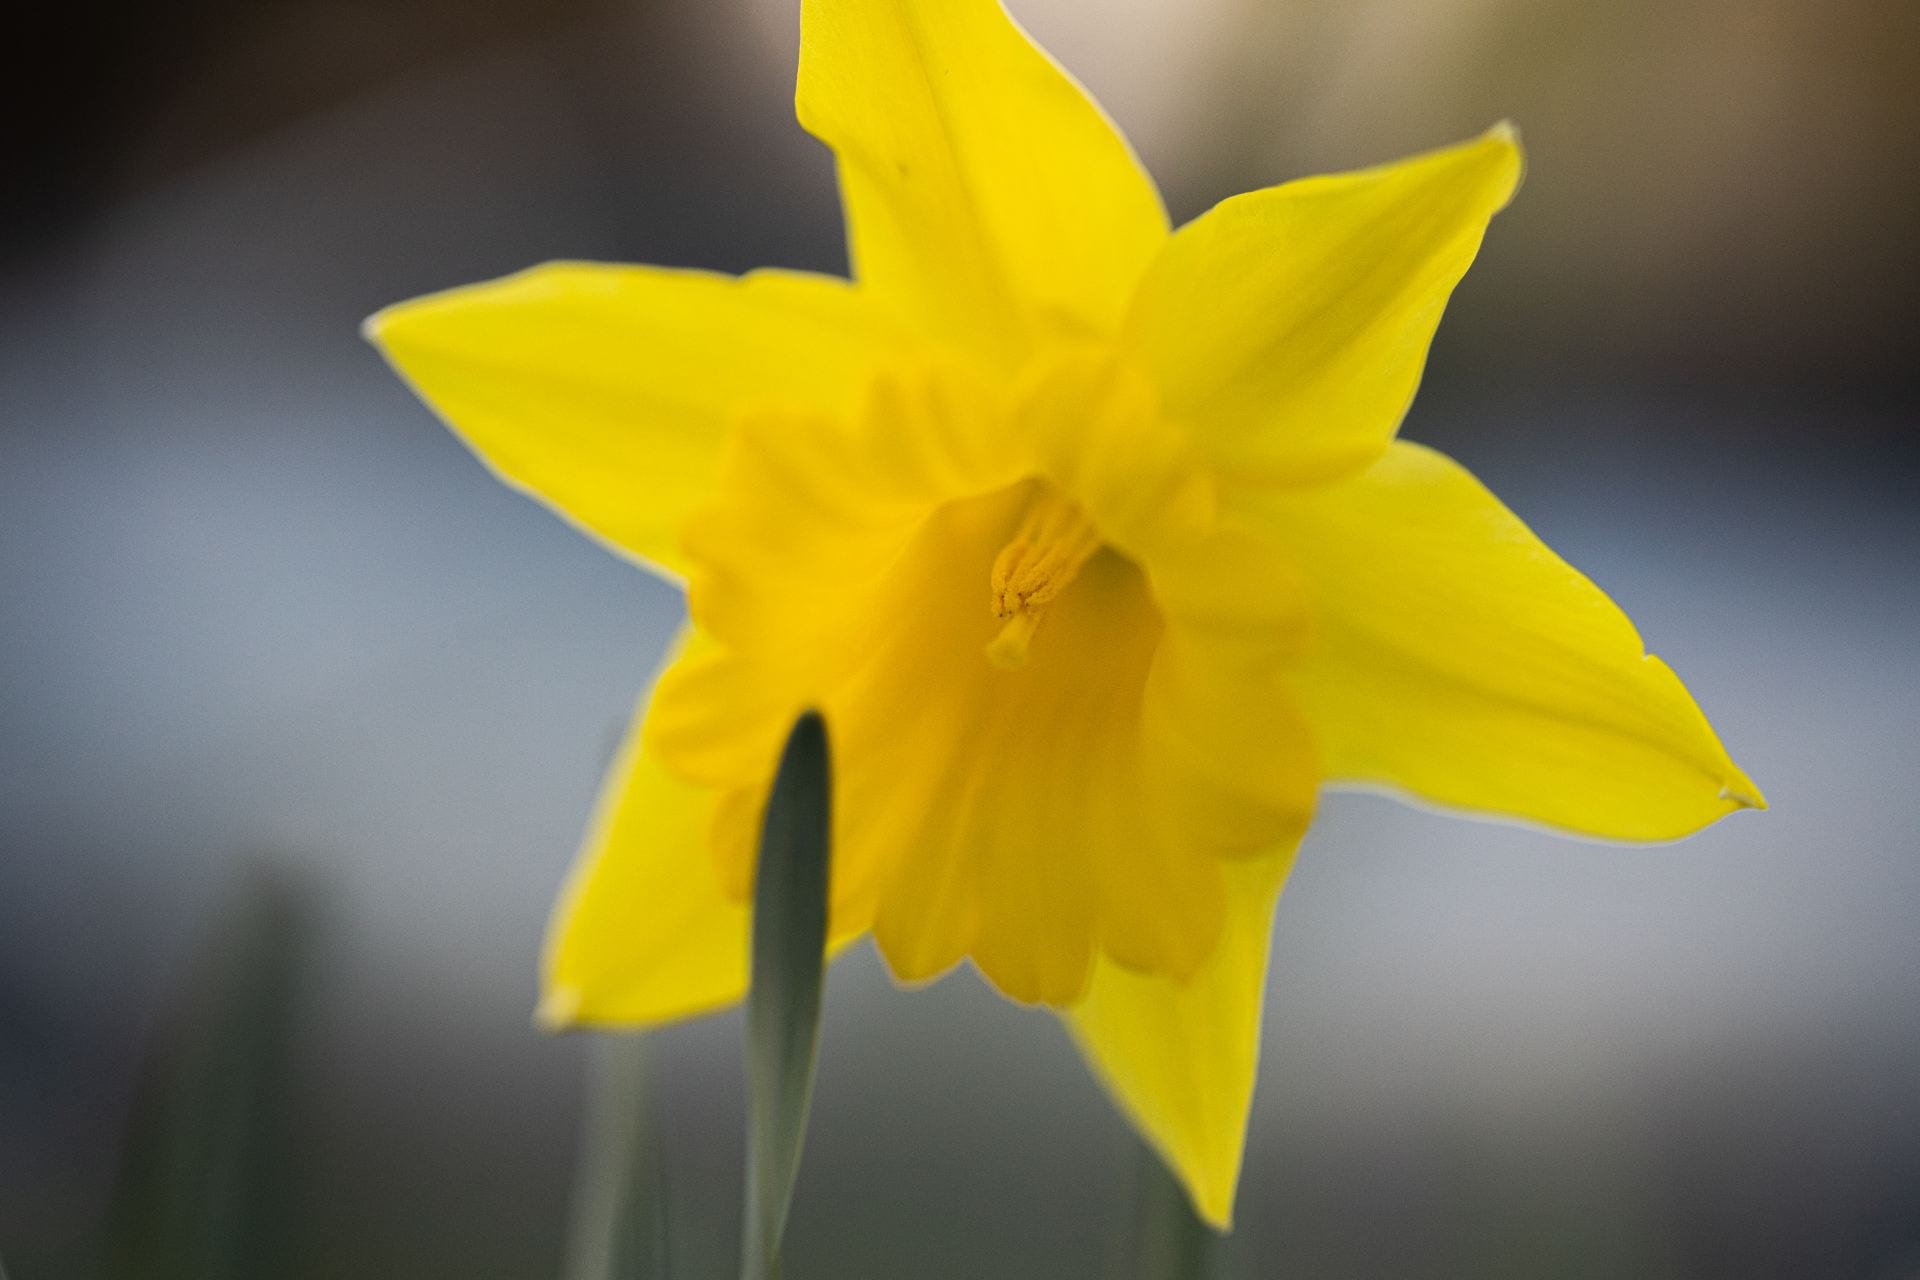
Since before this week with the prompt of alternatives, my mentor has been suggesting these other ways of taking the photos that I present to him. I found that as this project progressed, he would try to suggest other options that I could pursue rather than just capturing the photo and moving on. This mindset of his didn’t change this week. After showing him this picture, he told me that I could have shot this a multitude of other ways. Firstly, I could have angled it so that the flower would be very geometrical with its six-pointed design. Secondly, I’ve could have gotten closer and lower down to get a straight on image. Lastly, I suggested this one, I believe that I could have increased the aperture to make the blades go tighter together so that the depth of field would increase. This would allow for more of the flower to be in focus rather than just the bud in the centre. Other than those suggestions, my mentor really liked the background that I had again. He thought that the blue tinted highlights along the background really contrasted with the yellow flower.
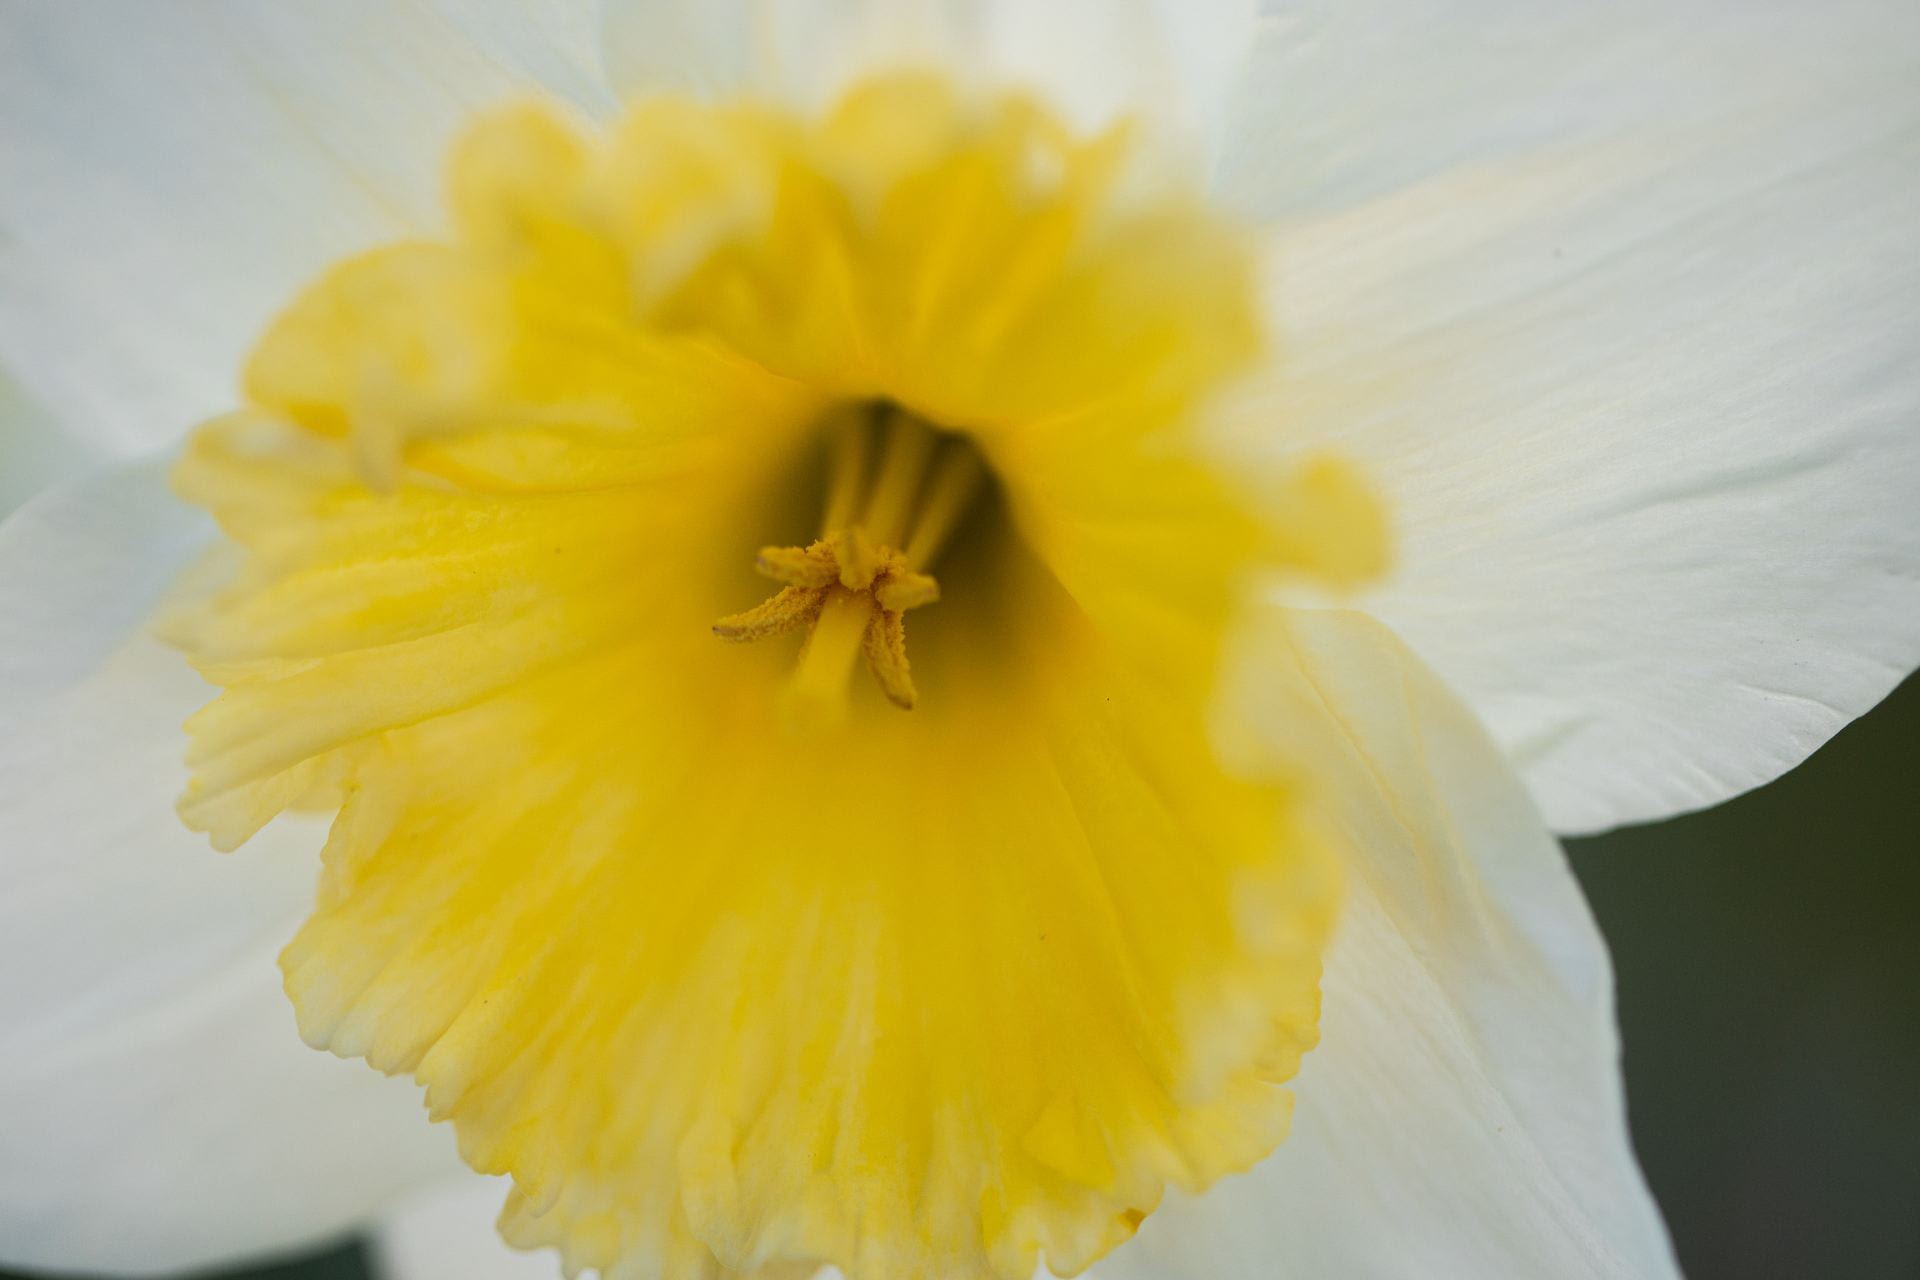
Although my mentor had less to say about this photograph, he really liked how are used the concept of thirds rather than sticking to the general rule of centering photos of flowers. Furthermore, he thoroughly liked the greenish gray area in the bottom right of the image because he said that “it really ties the image together and allows for there to be extra colours rather than the entire image being monopolized by the colour white”. I expressed my frustrations with the rigidity of the yellow petals around the pollinated bud, however, my mentor pointed out that it adds to the geometric complexity of this picture.
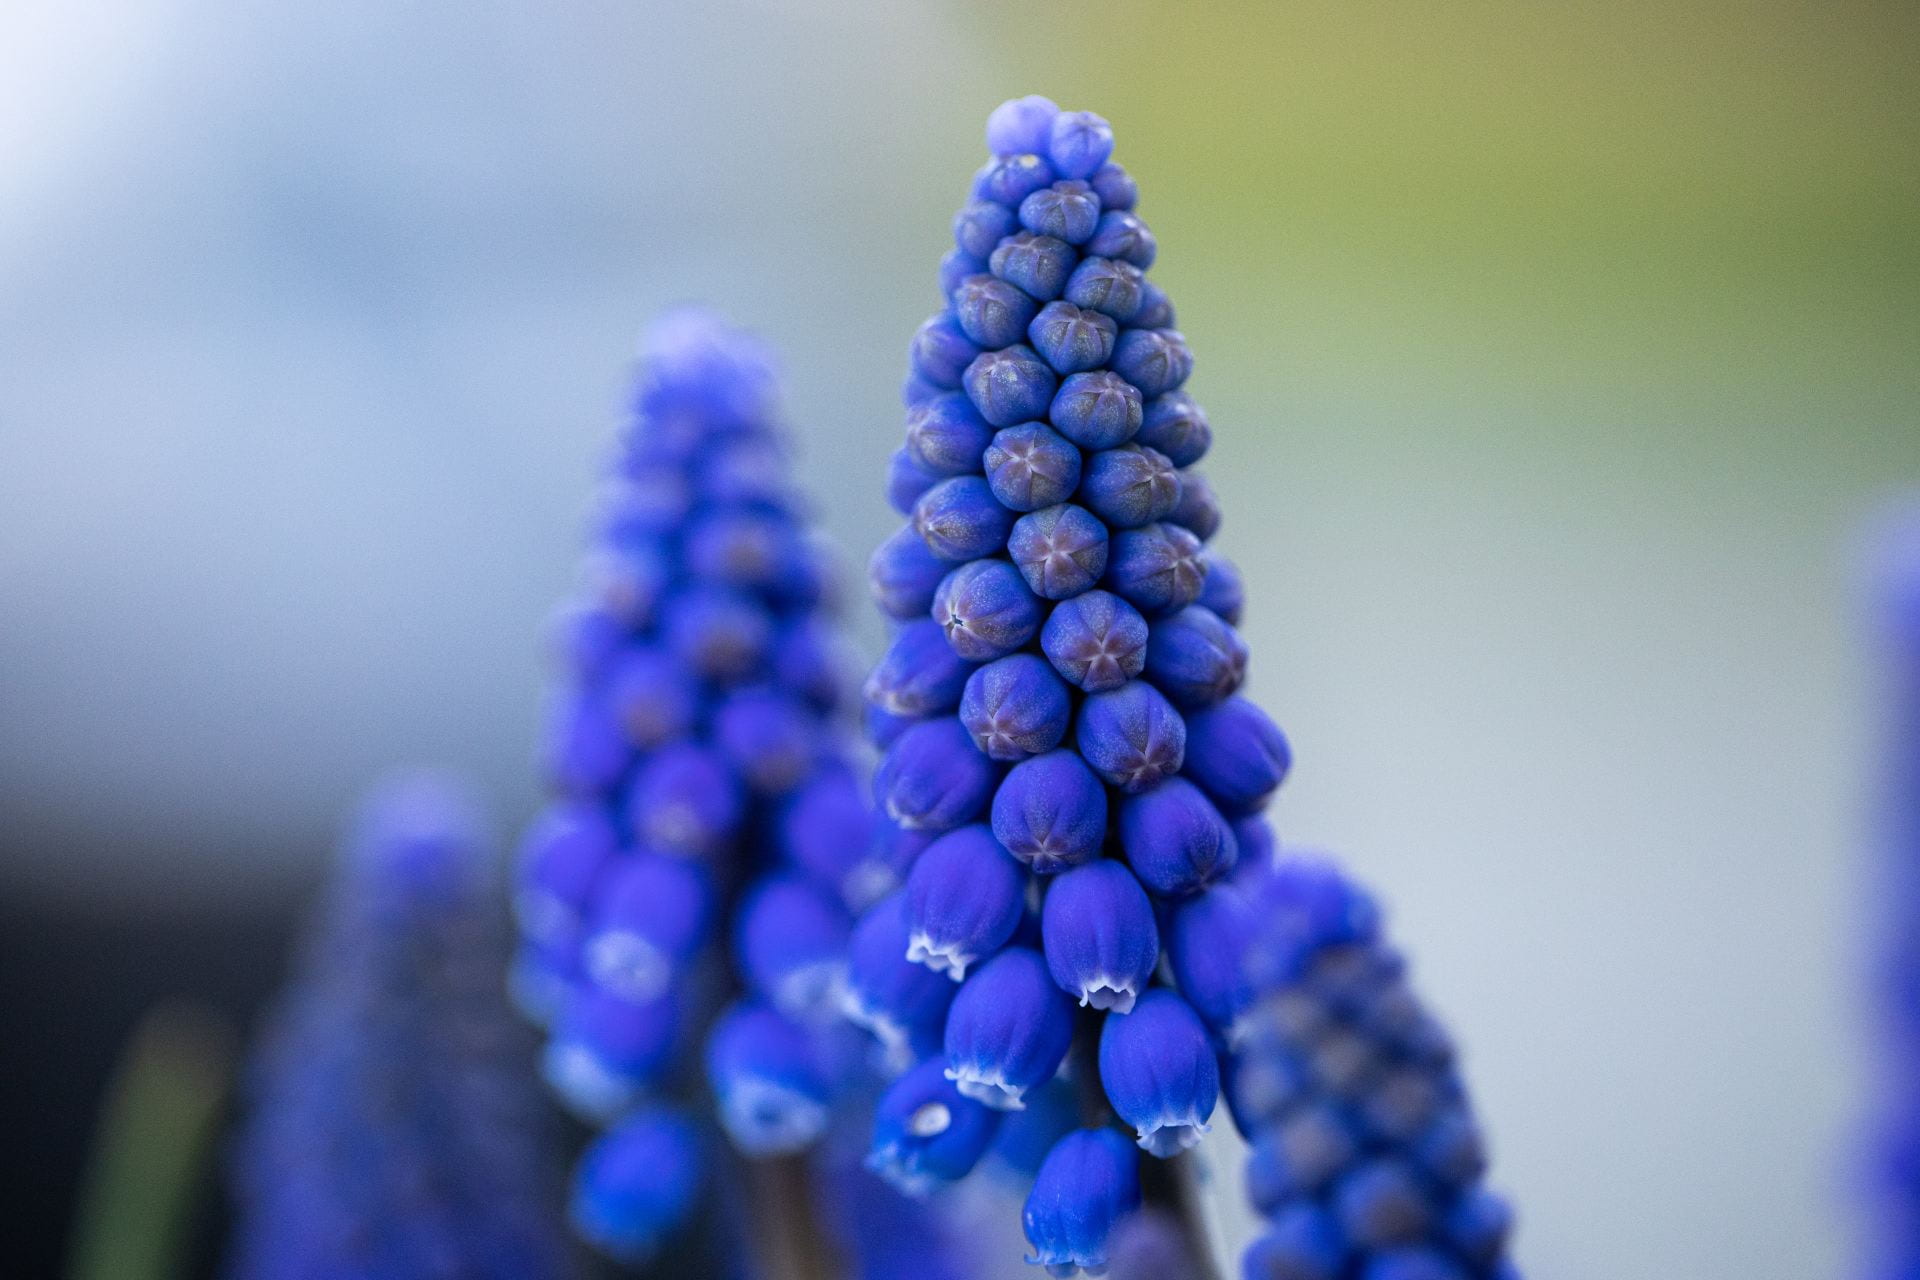
For my final photograph, my mentor was immediately astonished by the beautiful colours that were shown in the flower. He really liked how the blues really brought out the purples in the centre of the buds which were all amplified by the varying colours within the background. This was another point of interest for my mentor. He said “I wonder why those two tones work so well together in the background since they are on very different sides of the colour wheel, which is a concept that most arts follow as a rule for composition whether that be in painting, drawing, or even photography. Moreover, my mentor thought that having most of the flower in focus was quite a bit better than some of the other photos that I took. Furthermore, he liked the repetition of the foreground flowers that were out of focus as well as the background flowers that were out of focus too. However, we both agreed that the flower on the far right that leaves behind a blue strip along the edge could have been cropped out so that the image would have been framed a bit better.
To show my work for my In-Depth learning centre, I will be presenting my learning through printed photographs that will show my progression throughout my project. I will show my learning during these past few months by presenting my photos from each week and showing how my mentors input changed the following week’s photographs and describing how I made these changes. Knowing that I cannot share everything that I have learned throughout this project, the main aspect that I will be focussing on is my improvements and growth. From my experience, I hope the audience will learn how to take better photos themselves and learn how they can apply this growth mindset in their life. To make my learning centre interactive, I am going to need printed photographs from Costco because I know that they produce high-quality prints, and I can use these to show my classmates what my favourite images can look like on a larger scale.
In conclusion, I have had a very positive experience with my In-Depth project, and I can’t wait to present what I have learned to my classmates. Since there won’t be any more meetings between my mentor and I, I think that I will stay in contact with him and show him my photos occasionally, to connect. Moreover, throughout this project my mentor and I have been suggesting alternatives constantly. For example, at the end of every single blog post that I made, I wish her to ask my mentor alternative is that I can take for the following week. Furthermore, my mentor would sometimes ask for alternatives whenever he didn’t particularly like the photograph, I was showing him. Lastly, there are many concepts in photography, and I believe that my mentor and I tried to cover as many as possible. For example, composition, focal range, and framing are some of the most prevalent concepts within photography. No matter what I’m taking a photo of these concepts are always kept in mind to produce a great image. Overall, I am happy with what I have produced throughout these past few months, and I’m glad that I had the opportunity to grow as a photographer, even more than that, an artist.