In-Depth Blog Post 5
Welcome back to this ol’ blog, and here’s the long awaited blog post #5! I Hope everyone is doing great.
Progress and what I’ve doing these past days:
I’ve done quite a bit of doodling these past two weeks, not really doing any large projects but instead focusing on quick studies and getting sketches down and everything. I said this last blog post, but I believe that quick doodles really help your art, you just need to put a bit of effort and thought into what you’re drawing and focus your effort on learning and improving. Which I’m trying my best to do. I’m kind of still having a bit of art block though. A lot of times I just don’t find the motivation to start. But once I do start drawing it gets easier from there. And similar to last week, I’ve been focusing solely on faces. Trying to learn proportions and anatomy to be more exact. Art’s been going decently but I do think if I put just a little bit more effort into drawing more, it’ll go even better.
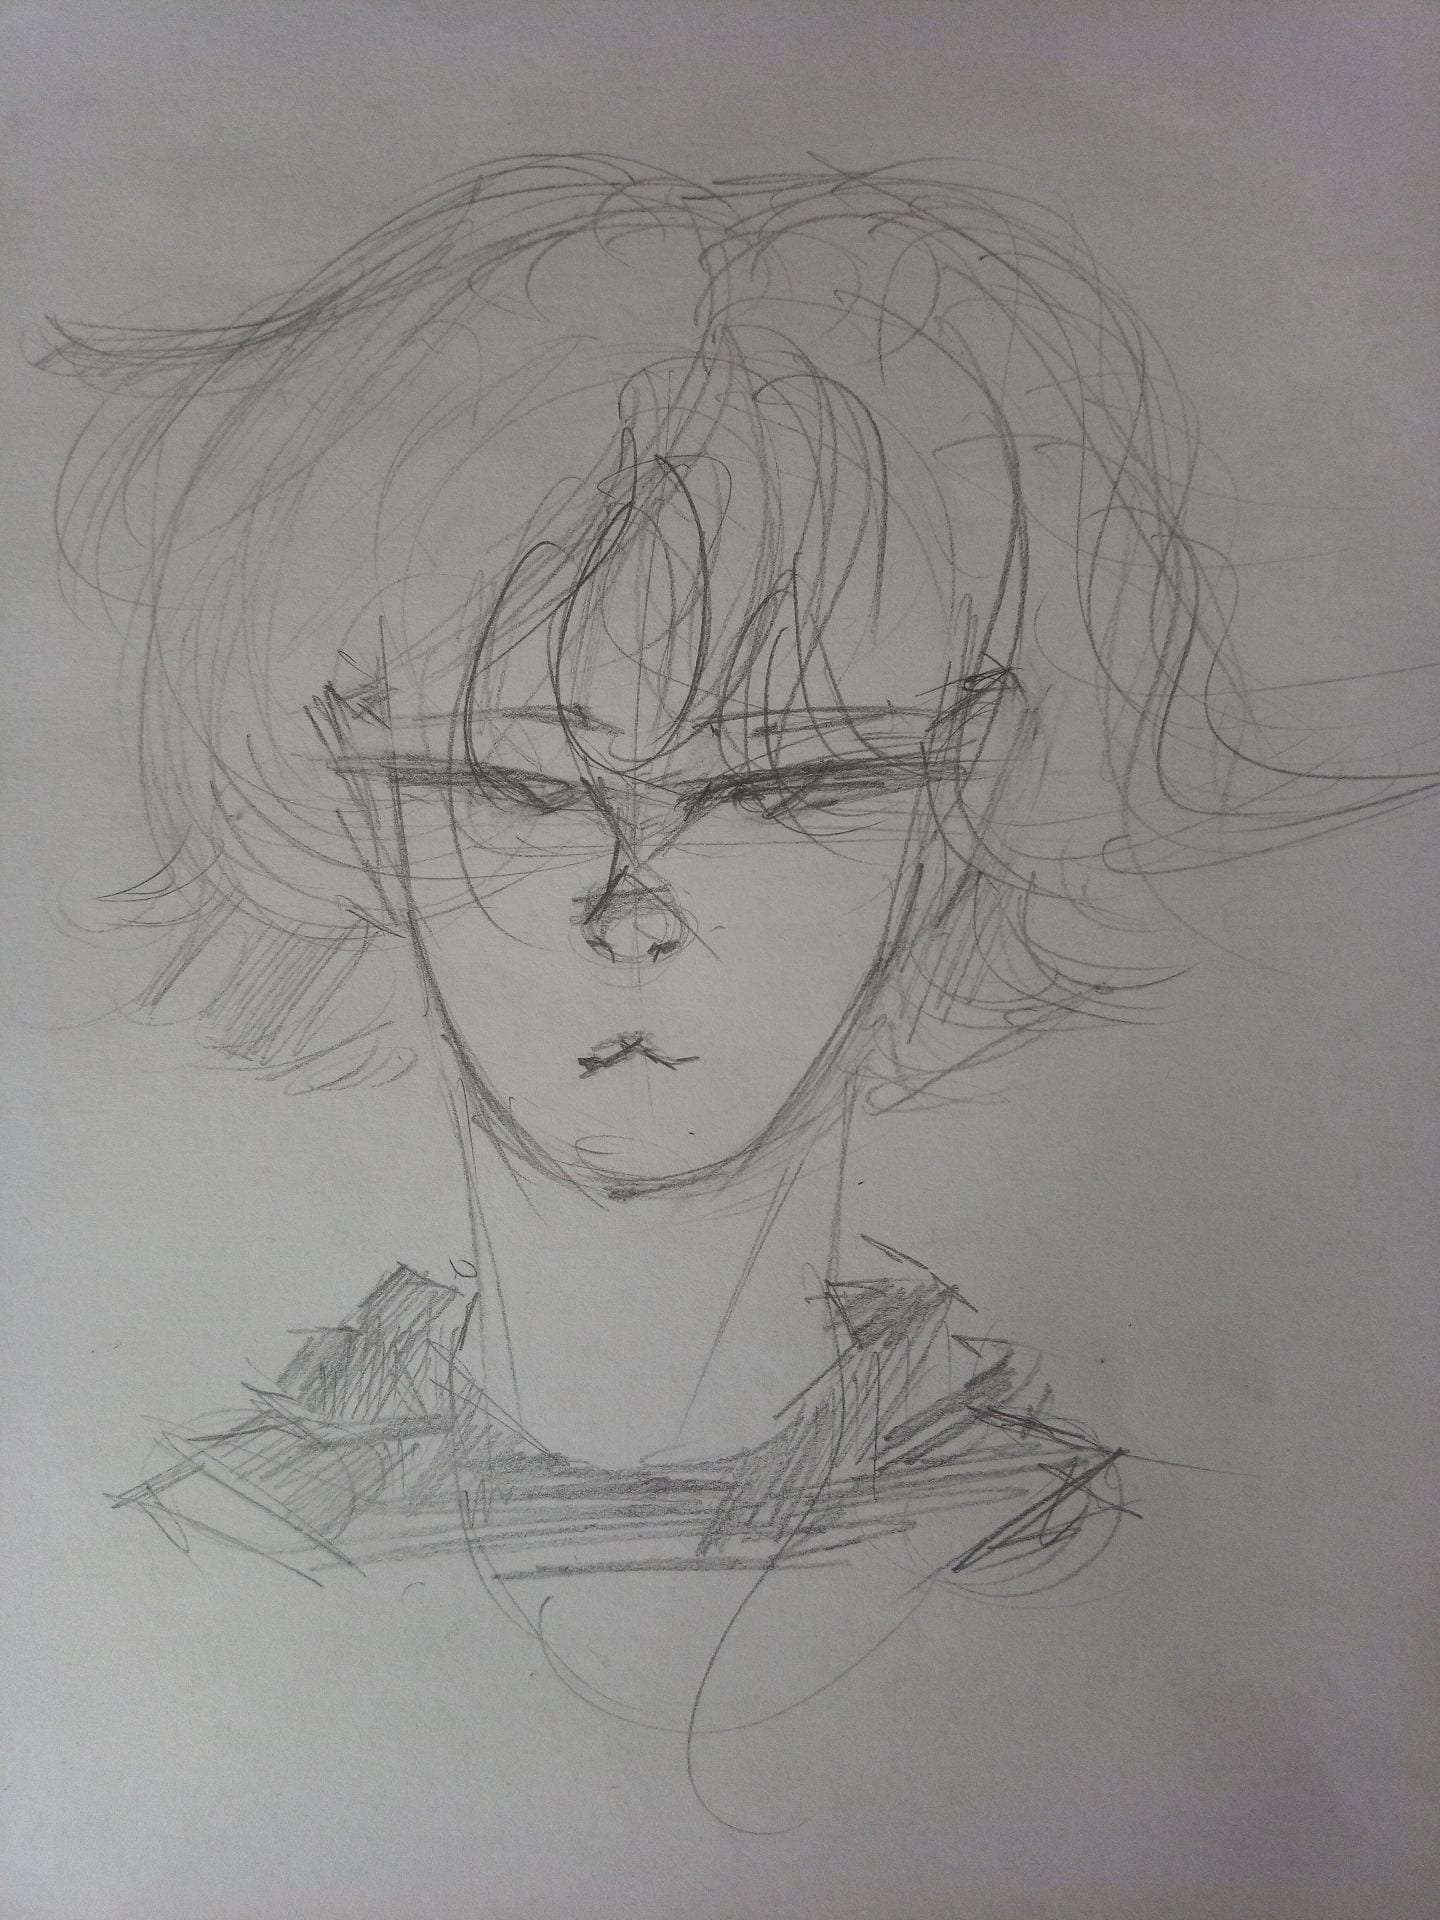
Here’s one of my quick doodles: (trying to focus on front view faces this week as you can see, also my camera is superbly bad, I swear it looks better in person):
Besides my daily doodles and everything, my mentor gave me a bit of home-art-work to do. This time she asked me to spend an hour drawing a portrait, of myself, a self-portrait. This was a bit challenging in the sense that I had to go more for a realism style instead of my usual semi-realism (sort of half-cartoony, half-realistic). I also struggled with getting a bit of the shading in the hair. I also struggled a bit with drawing realistic lips, which has got to be my biggest weakness right now. Besides that, I think I did a really good job otherwise in my first realistic self-portrait. I’ve learned from this that drawing self-portraits is challenging in the sense that you’re putting yourself on paper. To me it’s just weird in a way. Also, another thing I have to add is that I believe drawing realism is the easiest thing to draw. I believe this because realism, unlike personal styles, has it’s own uniform style, which makes it easier to replicate and work with. So, I think I did well translating my face onto paper in a realistic way.
I can’t really show my self-portrait for privacy reasons though, sorry about that.
Next week I’ll try to get some color down in my sketches, or actually, I’m thinking of starting a small art project that isn’t doodling next week, I’ll keep you informed on how it’s going next blog post, I’ll probably even finish it, fingers crossed.
My Mentor! (and How to Have a Beautiful Mind):
This week, my mentor and I had a quick in person meeting (socially distanced). To summarize the meeting: We did a bit more contour line drawing, this time our shoes. Trying to focus on getting less angles and edges, instead focusing on rounded and “comfy” lines. She also gave me a short lesson on proportion and “halves” which is basically where each key part of the face is located. To elaborate. The middle of the eye is usually located in the middle of the head (half) and the nose is located halfway between the eyes and the chin, the lips are found halfway between the nose and the chin, etc.
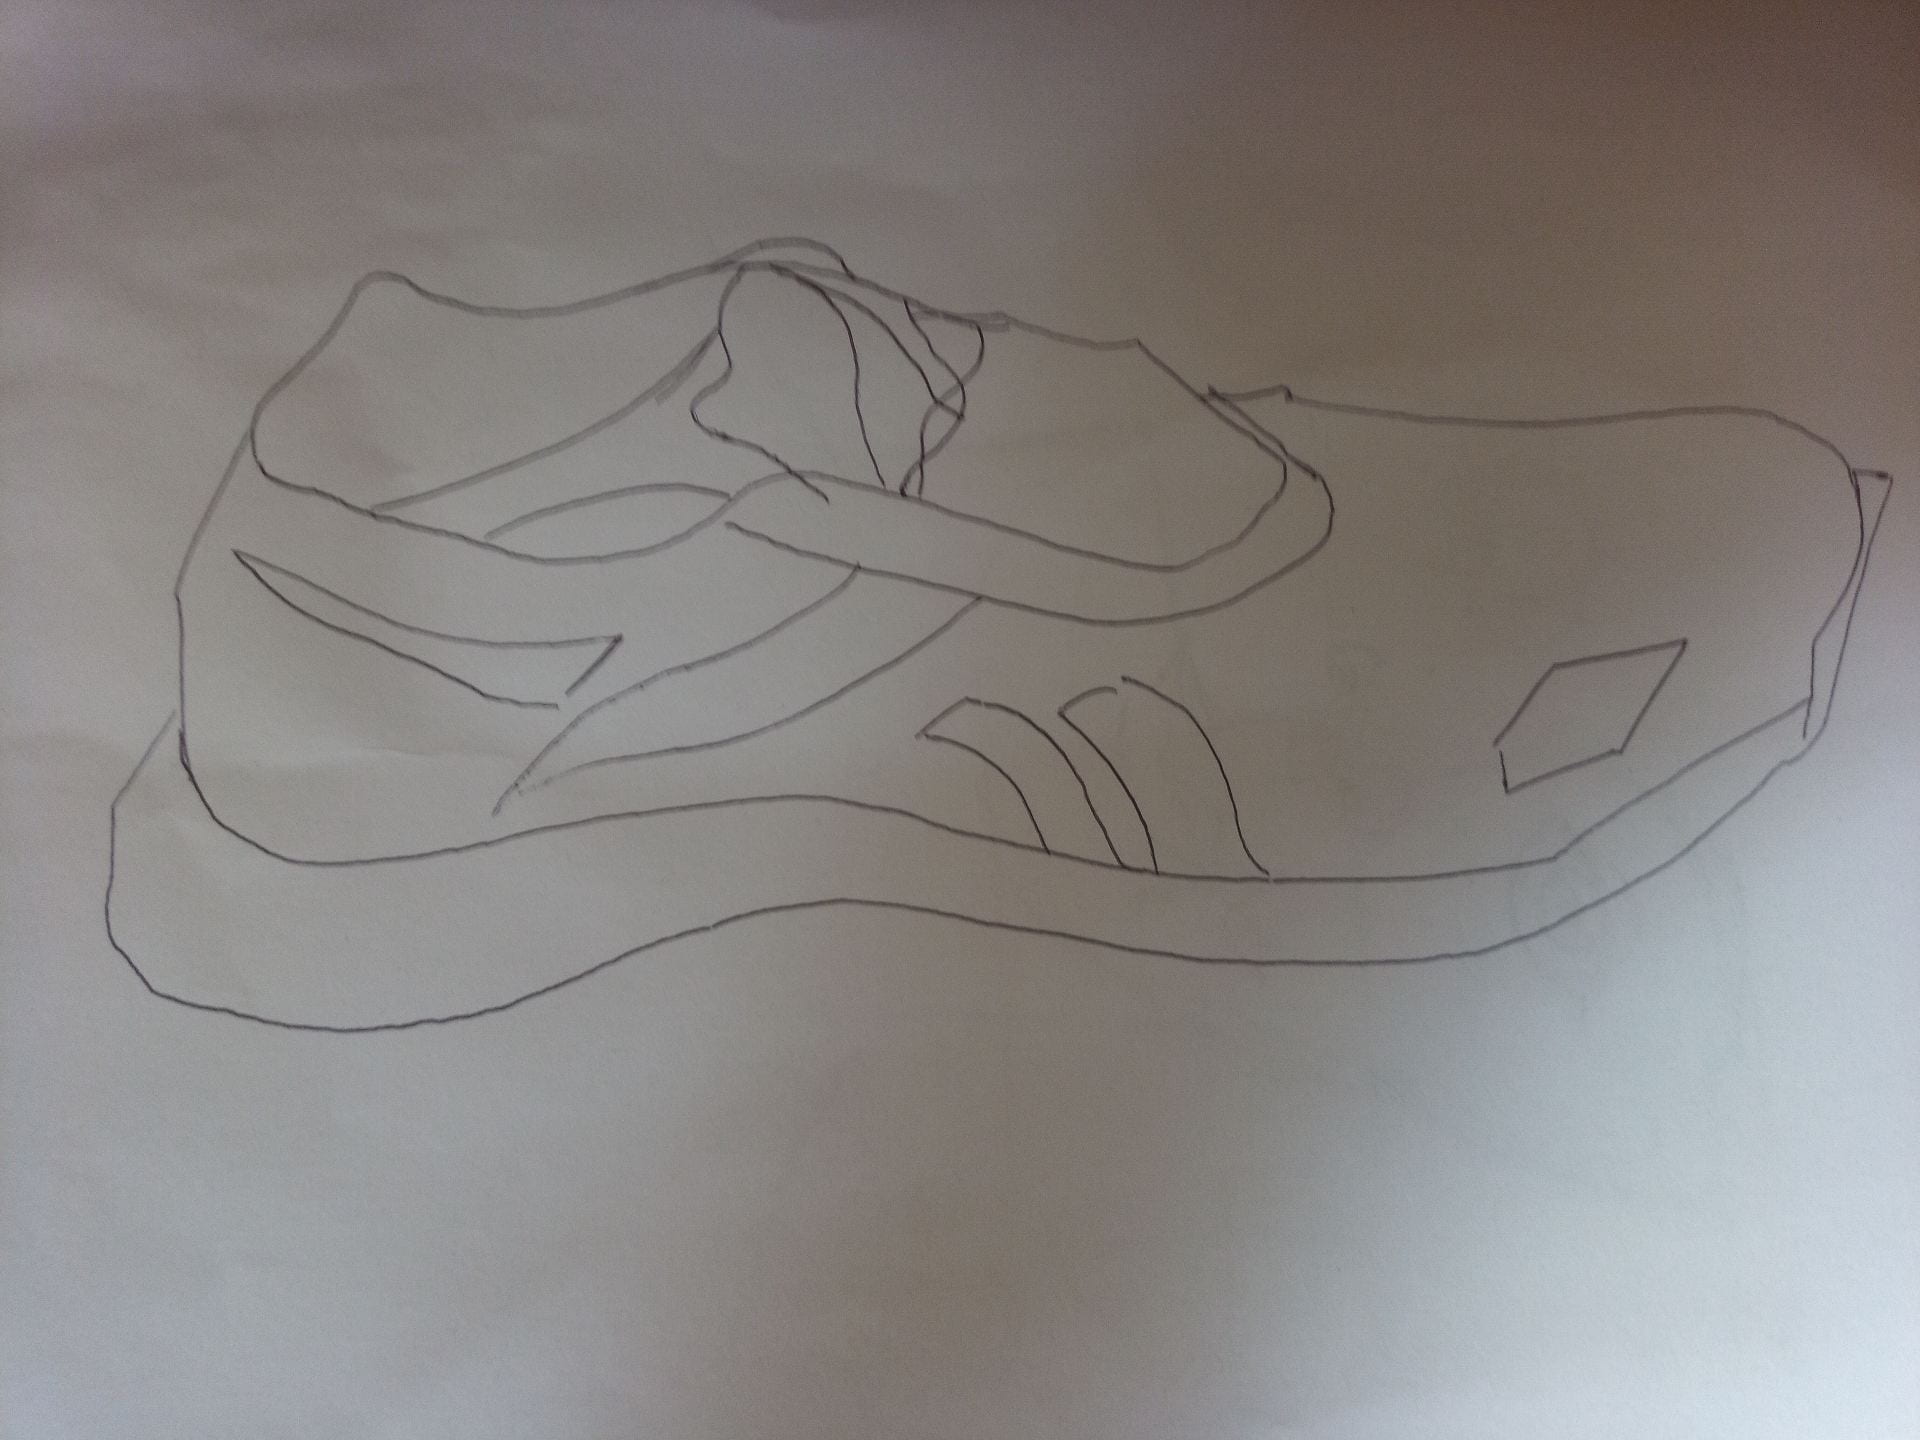
My quick shoe counter drawing (I avoided edgy lines yay!)
I couldn’t record a conversation since I was too busy drawing and it was in person, but I wrote down a small conversation me and my mentor had during this meeting and identified all the Hats I could find:
I – Me
M – So today we’re going to start off with a small contour line drawing.
I – Why? We already did a lot of contour line drawing already, is this a warm up?
M – It’s sort of a warm up.
I – sort of?
M – I looked at the drawings you sent to me over the past 2 weeks, and they feature a lot of angles and sharp edges, well actually most of it is sharp and angles. (refer back to the hand I posted in last week’s blog post)
I – Oh right, I guess I really do like sharp corners and lines. I just find drawing curvy lines a bit challenging sometimes.
M – So, the main reason for this small shoe contour line drawing we’re going to do is to try and draw more curvy and smooth lines.
I – But what’s wrong with sharp and edgy lines? I think they look nice.
M – They do look nice, but when drawing contours, and especially gestures, we want curved and smooth lines, they’re especially needed to express motion, ideas, and shape on paper, which edgy lines sometimes fail to do, since they are ragged.
I – Oh okay, that makes much more sense thank you.
M – Let’s get started!
The Hats:
White Hat:
When my mentor was explaining to me why curved lines are so important in contour line drawing and drawing in general.
Red Hat:
When I was expressing how much I loved edgy and straight lines and how I avoided drawing curvy lines. And my tired attitude toward doing another contour line drawing
Black Hat:
When my mentor explained to me why edgy lines were bad in drawing contours in gestures after looking at the work I sent her.
Yellow hat
Me realizing my faults in only drawing edgy lines and how it affected my art.
Green Hat:
I believe this entire conversation fits under the green hat, since it was about creative learning, specifically about clearing misunderstandings about different lines.
Blue hat:
This entire blog post is the blue hat!