Here we are once again.
This week the skills from “How to have a beautiful mind” were how to be interesting (which is one I need) and how to respond. It said in the section on how to be interesting, that you should talk about what you are good at and what interests you. I didn’t think this would be good to do with my mentor. I thought this because my mentor has more experience with painting then I do. Then I realized, I didn’t need to be the expert in the conversation. I had interpreted the section as you need to be the one talking as the expert. But I can use the skills from the other section on how to respond to help guide and be a part of the conversation.
I started to practice saying “That is interesting” during conversations. After saying “That is interesting” for a while during conversations with my friends, I realized it sounded like it was missing something. When I would say it, the conversation would be directed towards me and would come to a stop. I realized it would make a conversation far more interesting and appealing if I said something more like “Now that is interesting because” then I would share my experience with the topic. This related to a section from how to respond on examples and stories. They help to add to a conversation.
This week my meeting with my mentor was quite short, however we did communicate a lot through emails. I tried to guide the conversation and keep it interesting with my questions. My mentor answers my questions with a lot of detail, so I didn’t get to ask a lot of questions. But I asked questions that were very different from each other to keep it interesting. I think I managed to keep it interesting for both of us.
But like I said, we did talk a lot through emails. I would send him an email that mentioned something I wanted to try, for example portrait painting. Then he would send me an email with a link to a video on portrait painting and a few of the portraits he did himself. I would follow the video then send him the result a few days later once I was done. In that return email, I would mention something else I wanted to try or something I found difficult and he would send me a response with advice and videos to help me.
We started to form a bit of a cycle. I would finish a painting. Then I would send him a picture and a paragraph about what I had trouble with. He would then respond with some advice and next steps. Then the cycle would reset.
An example of this is the value painting I did. I sent him the picture with a short paragraph about how I found painting the values difficult because I didn’t fully understand the concept. He then responded with a better definition about value and how to use it. He also sent another email about flesh colours and how to mix them, because in the painting I did the flesh tones were not right. So, for the next portrait I try, I will follow the advice he gave me, then continue to build from there.
As I mentioned earlier I over the last two weeks I did four new paintings and two experiments. Because I have started painting so much, I am down to my last canvas and will need to get more soon.
The first experiment was the previously mentioned value painting. It was meant to be an exploration into the idea of values for painting. Unlike colour, value has to do more with how dark the colour is rather than the colour we see. It was a look into impressionism and more artistic ways of painting. I completely messed this painting up. First of all, I had printed the picture my mentor provided me on standard paper. That meant as I painted the paper slowly started to curl and fold. The next mistake I made was with the way I did the painting. I didn’t fully understand the concept of value, so I didn’t do the painting correctly. I was supposed to do the darker sections of the face with dark blues and purples and the highlights with yellows and greens. Instead I just made a very colour painting. One of the biggest challenges I faced with this painting was not knowing where the shadows were. That made it difficult to know where to place the darker colours. My biggest success with this painting was the way I shaded the face. It looks accurate and believable which I hadn’t managed in my other portrait.
https://www.youtube.com/watch?v=i5TS4Abqph8 The link to the video my mentor sent me.
The other experiment I tried had to do with the paints themselves. My idea was to experiment with different amounts of water combined with the acrylic paints. The idea was that because acrylics are water based, I could dilute them and get a different effect then the standard dry brush stroke. The top left of the page was acrylic and a dry brush. The further to the left the more water I used with the paint. As you can see did dilute the colour and allow for more of the paper behind the paint show through. The second section of the page shows water colour paints. I did this to see if I would be able to get a water colour effect with acrylics. I would say with a lot of water I would probably be able to get a water colour like look. The bottom section of the paper shows my attempts to try to combine water colour and acrylics. I did this to see if I would be able to incorporate water colour into some of my upcoming paintings. I don’t really see any potential in combining them, but this taught me that I would be able to do a water coulor type painting with acrylics.
The first painting I did was a portrait following a video that was trying to recreate a masterpiece by a famous painter named Sargent. The video was helpful, but the artist was using oil paints instead of acrylics. This just meant that he had an easier time blending colour. I found this to be quite a challenging painting, especially near the eyes and nose. I painted over that section half a dozen times than I finaly was satisfied with how I looked I moved on. The right half of the face took me about one and a half hours and the rest of it took me twenty minutes. I found the rest of the painting to be quite simple in comparison to the right half of the face. One strategy I used for this painting was to copy the shape of the head then cut it out and use it as a stencil. I was happy with how this painting turned out, even if it is simple.
https://www.youtube.com/watch?v=vBYesyoKXfs&t=195s
The next painting is the one of the butterfly. I didn’t know what I wanted to paint when I first sat down, so I started looking online for colourful pictures. I found beautiful one of a butterfly and decided to use it as inspiration. I started by outlining the shape with a pencil on the canvas. Then I started painting and had a lot of challenges with mirroring the shape of the wing on the other side. I got so frustrated that I just took my pallet knife and just scraped the lines I had made. I gave me a very cool breaking effect on one of the wings. I decided to run with it and used the knife to crate a more constant design on that side of the canvas. While I am very happy with this painting, it taught me a valuable lesson. If something is not working out, try something new and creative and you will find a new idea that will work.
The next piece was the one of the cabin in the forest. I did this one because I wanted to try painting a building, but figured I may as well practice a landscape as well. The sky and the background forest look good and similar to the reference picture. The cabin was a bit more difficult, however, because I only had three brushes when I painted this and only one was a detailing brush. This made putting in fine details like the chimney and the door difficult. But my biggest complaint with this painting is the lack of depth. This is why when you look at the cabin it looks like the forest is on top of it instead of behind it. I asked my mentor for advice on how to add depth to my paintings and he said that often painters will make objects that appear further away a dark blue or purple. I don’t think this would have helped me with this painting because the background is so close to the cabin. I will need to practice this before I have a thorough understanding of how to do it.
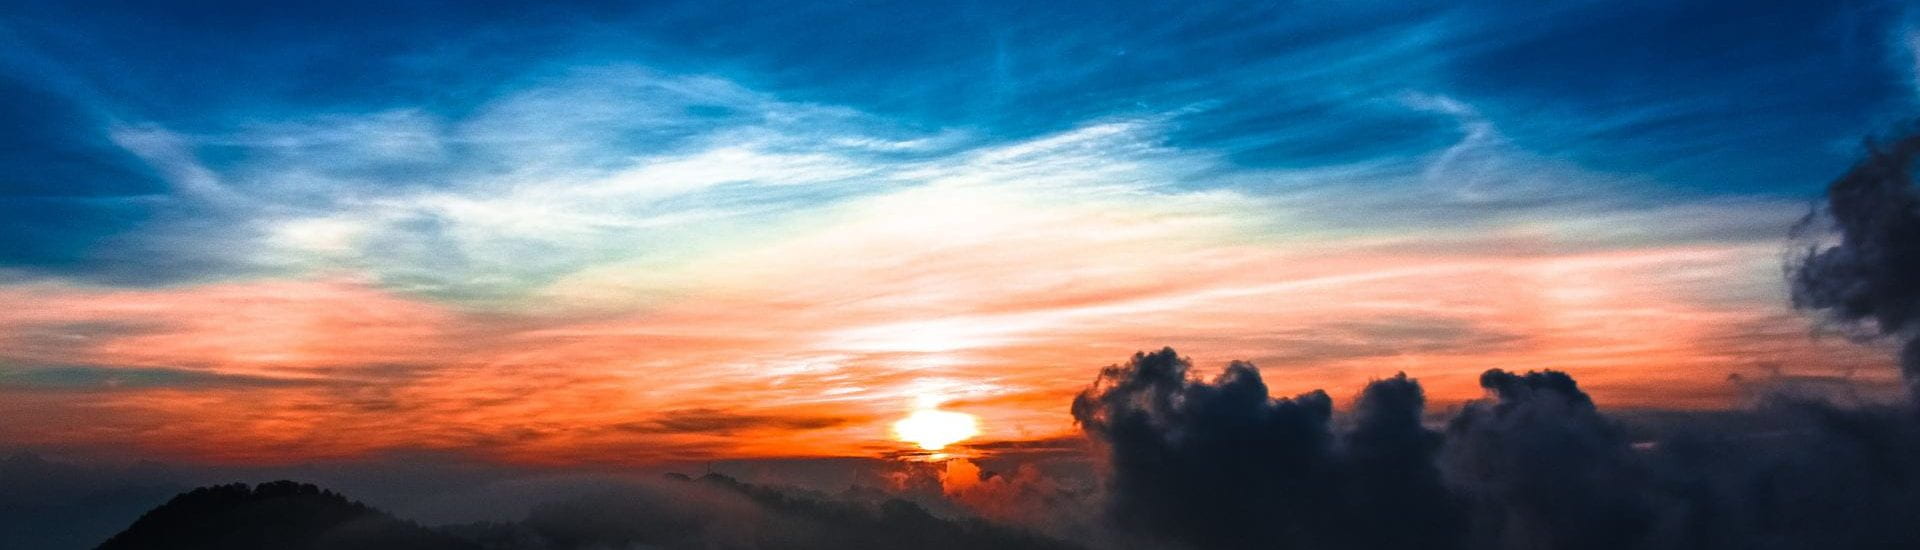
I have saved my favourite for last. This a painting I did of a tree at sunset. I started by making a gradient background for the painting going from dark red up in the corners to white right where the horizon would be. (The dark red up in the corner helps to draw your eye to the middle of the painting) The next thing I did was add the ground into the painting. After that I did small strokes to decide where I wanted the tree to be, then I went in a built them up into branches. The last thing I did was add the little hills to the ground. The only complaint I have with this painting is how thick I made the end of the second branch on the right. It is to big. Overall, this painting gave me a boost in confidence because of how well it turned out.


