Nikysha
- Drawing/sketching
- Skateboarding
- Biking
- Shopping
- Photography
- Volleyball
![]()
1)How might your digital learning affect your future opportunities?
Your digital footprint affects your future opportunities in many ways. One example is: When you are looking for a job or have a job interview the people that are hiring you will look you up on the internet and will see what comes up. They will be checking if what comes up is good or if its bad. Another example is what you have or say on the internet or media sites like Twitter, Instagram, Facebook and many more. Whatever you post, say or do on the internet stays there forever, it doesn’t matter if you delete it it will always be there. That’s one of the reasons why it’s called a Digital Footprint, the impact you make will always be there.
2) Describe 3 strategies that you can use to keep your digital footprint appropriate and safe.
One way to keep your digital footprint safe is to have your account on private, meaning people would have to request to follow you and see what you post. It’s also better because then you can control who sees your feed and you would want to only allow people you know. Another way to keep it safe is to have private conversations in person. When you do it through text or apps, the conversation can be captured/screenshot and be sent to other people. A third way his to not take pictures of other people when they don’t feel comfortable or to not take revealing photos of yourself, people can also screenshot those and might even use them against you.
3) If you could go back in time is there anything you would do differently online? What type of advice would you pass down to your younger self?
I personally would go back in time to change things I did online. There are a few things I wish I didn’t do or say. Some of those things cost me good friendships. I would tell my younger self not to get caught up with things people said or did on the internet and to just be myself. Don’t try to judge yourself based on what you see or what kind of girls are said to be the prettiest. Learn to love yourself and be happy with what you have.
`
Your “About Me” page is all about you. As you get more comfortable with it, it is an opportunity to express who you are, and share the things you like to do. But more so, this is where you can share your growth and experiences at Gleneagle.
You are going to work through the different steps on your About Me Page, and become more comfortable working with your blog and learning some important skills. Take some risks! You wont break anything.
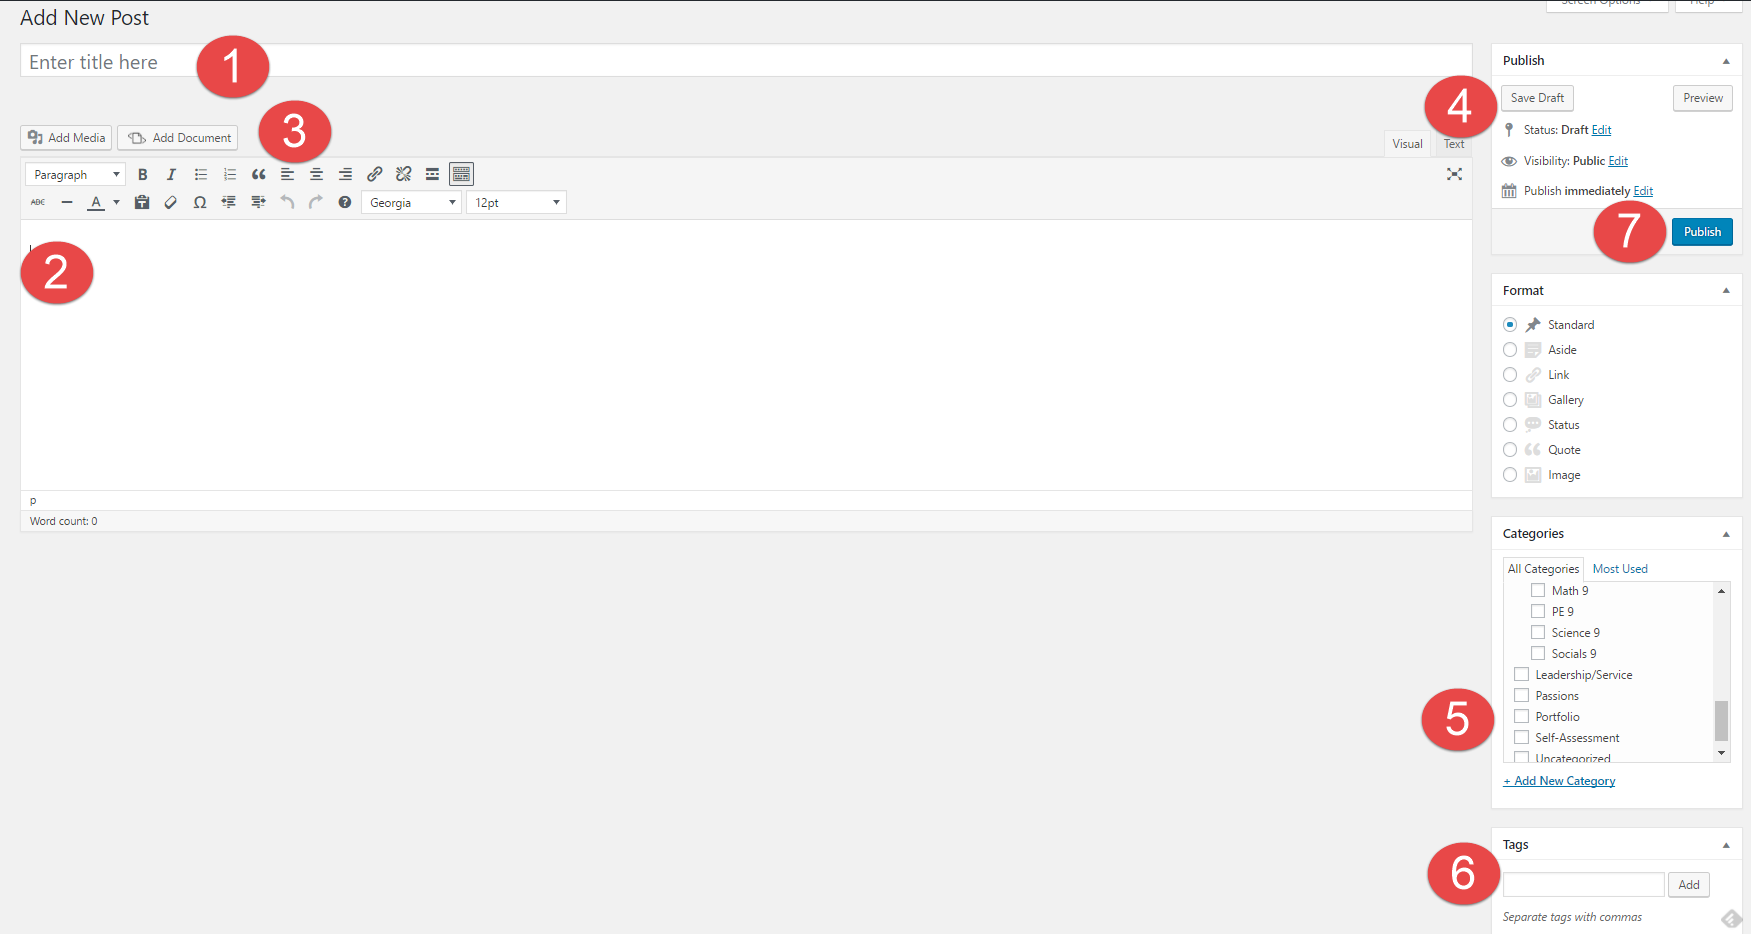
Step 1) To begin editing your About Me Page, click “Edit Page” located at the top of the screen.
Step 2) Familiarize yourself with all of the features on your page. When you are done editing your page, simply press Update on the far right side of the page. You have the ability to add pictures and videos, change fonts, hyperlinks, etc.
Step 3) Create a heading on your About Me Page for each of the tasks below. Try each task at your own pace and build your page.
About Me Page – Tasks
A) Add your name: Start by adding your first name to the top. Select it and change it from “Paragraph” to “Header 1” font in the drop-down text formatting window. Feel free to write a brief bio below with regular “paragraph” font styling, but this is not required.
B) Add a list: Click the numbered or bulleted list icon. Include A numbered or bulleted list of three to ten of your favourite hobbies, interests, or sports.
C) Add Two Hyperlinks: Create a hyperlink to two websites that are meaningful to you. Briefly explain why you chose this site. To hyperlink text or pictures to a website, simply high-light the word or select the picture you would like to hyperlink to, then look for the chain link button located in tool bar and click it, then paste the URL in the website area and click Apply.
For more detailed information how to create a hyperlink click here
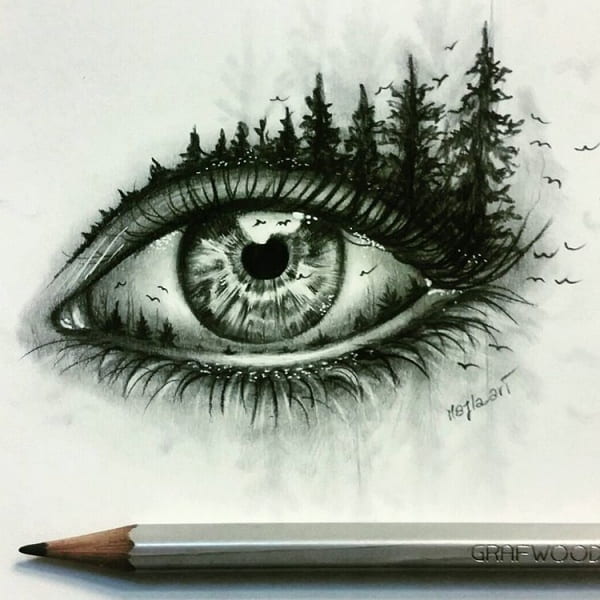
D) Add Two Pictures: Find two appropriate pictures that you like, dislike, has inspired you or is meaningful to you for some reason. Find a picture that is powerful to you. Insert the picture into your page, and briefly explain why you chose this picture. If you have a picture saved on your computer already, simply go to the Add Media button located on the top of the page, and follow the steps to upload your picture. If you have Googled an image, click on the image, then click the View Image button, then copy the URL, and either add the URL in the Add Media button or paste it into you blog.
For more detailed information how to insert images click here
BONUS! Add a Video: Finish early? Find your favorite YouTube clip, add it to your blog. Briefly explain why you chose it. Add any clips that show some of the amazing things you’ve done. The easiest way to place a YouTube clip on your blog is to find a video you like, copy the URL of the video, and paste the URL exactly where you want it on your page.
For more detailed information about how to embed click here