These last few weeks I think I’ve perfected working at home.
I’ve continued working hard and doing my best, and I’ve done a lot. I’ve continued doing research online using youtube videos and finding helpful websites (best ones have links below). Jewelry making is a fun break from doing normal schoolwork, and I’ve been able to work on projects consistently. I’ve also continued and started some cool new projects along with getting more supplies. I visited Micheals, made some rings, started a mother’s day gift, and so much more. I also ran into some problems along the way, but I’ll get to that in a bit.
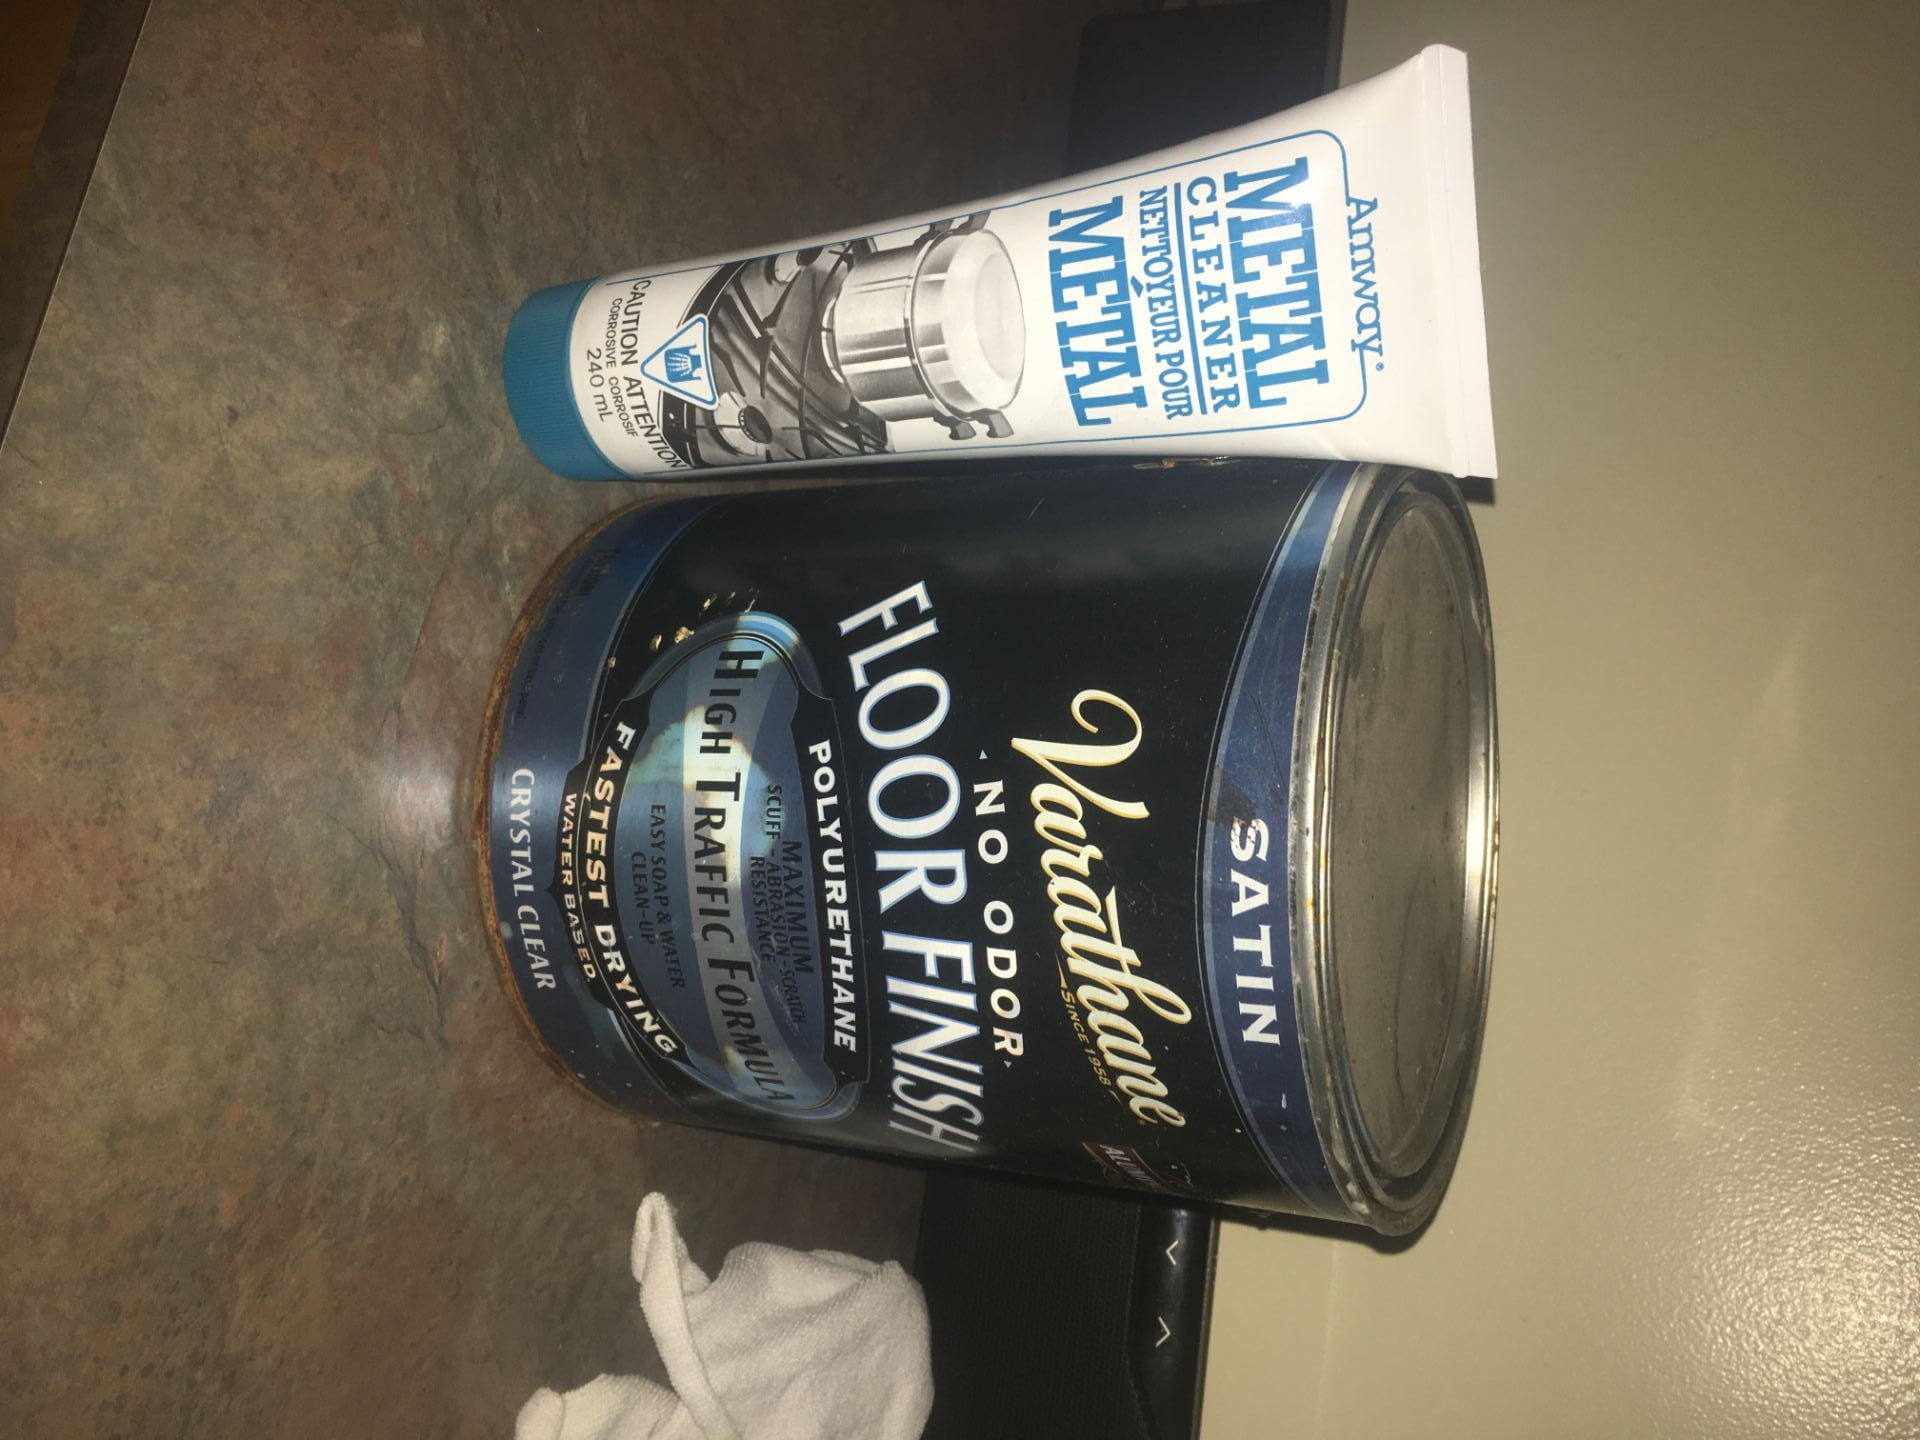
At first, I continued on my old projects. I buffed out all my jewelry and cleaned it so that it was super shiny again. I spent a while doing this and might need to buy more steel wool. In the end, all the jewelry was super shiny and looked brand new again. I also started looking into some cleaner and finish I can use on the jewelry to stop it from losing its lustre, but I’ll look more in-depth for that next time along with getting some advice from my mentor.
Next, I decided to start on some new projects. I spent time stripping some wires for the copper inside, and I thought it would be good enough for jewelry making. I tried to make a bracelet out of the wire, but the problem was it wasn’t solid copper, it was actually very thin wires bound together and I wasn’t able to use it. In the meantime, I spent time practicing how to flatten metal with an old USB cover I had. This was just a good way to help me practicing flattening out some metal as if it was a project. After this, I knew I had to get some metal to work with and after waiting a few days I was able to go to Micheals. I bought 3 meters of copper wire because I knew I could do countless projects with it.
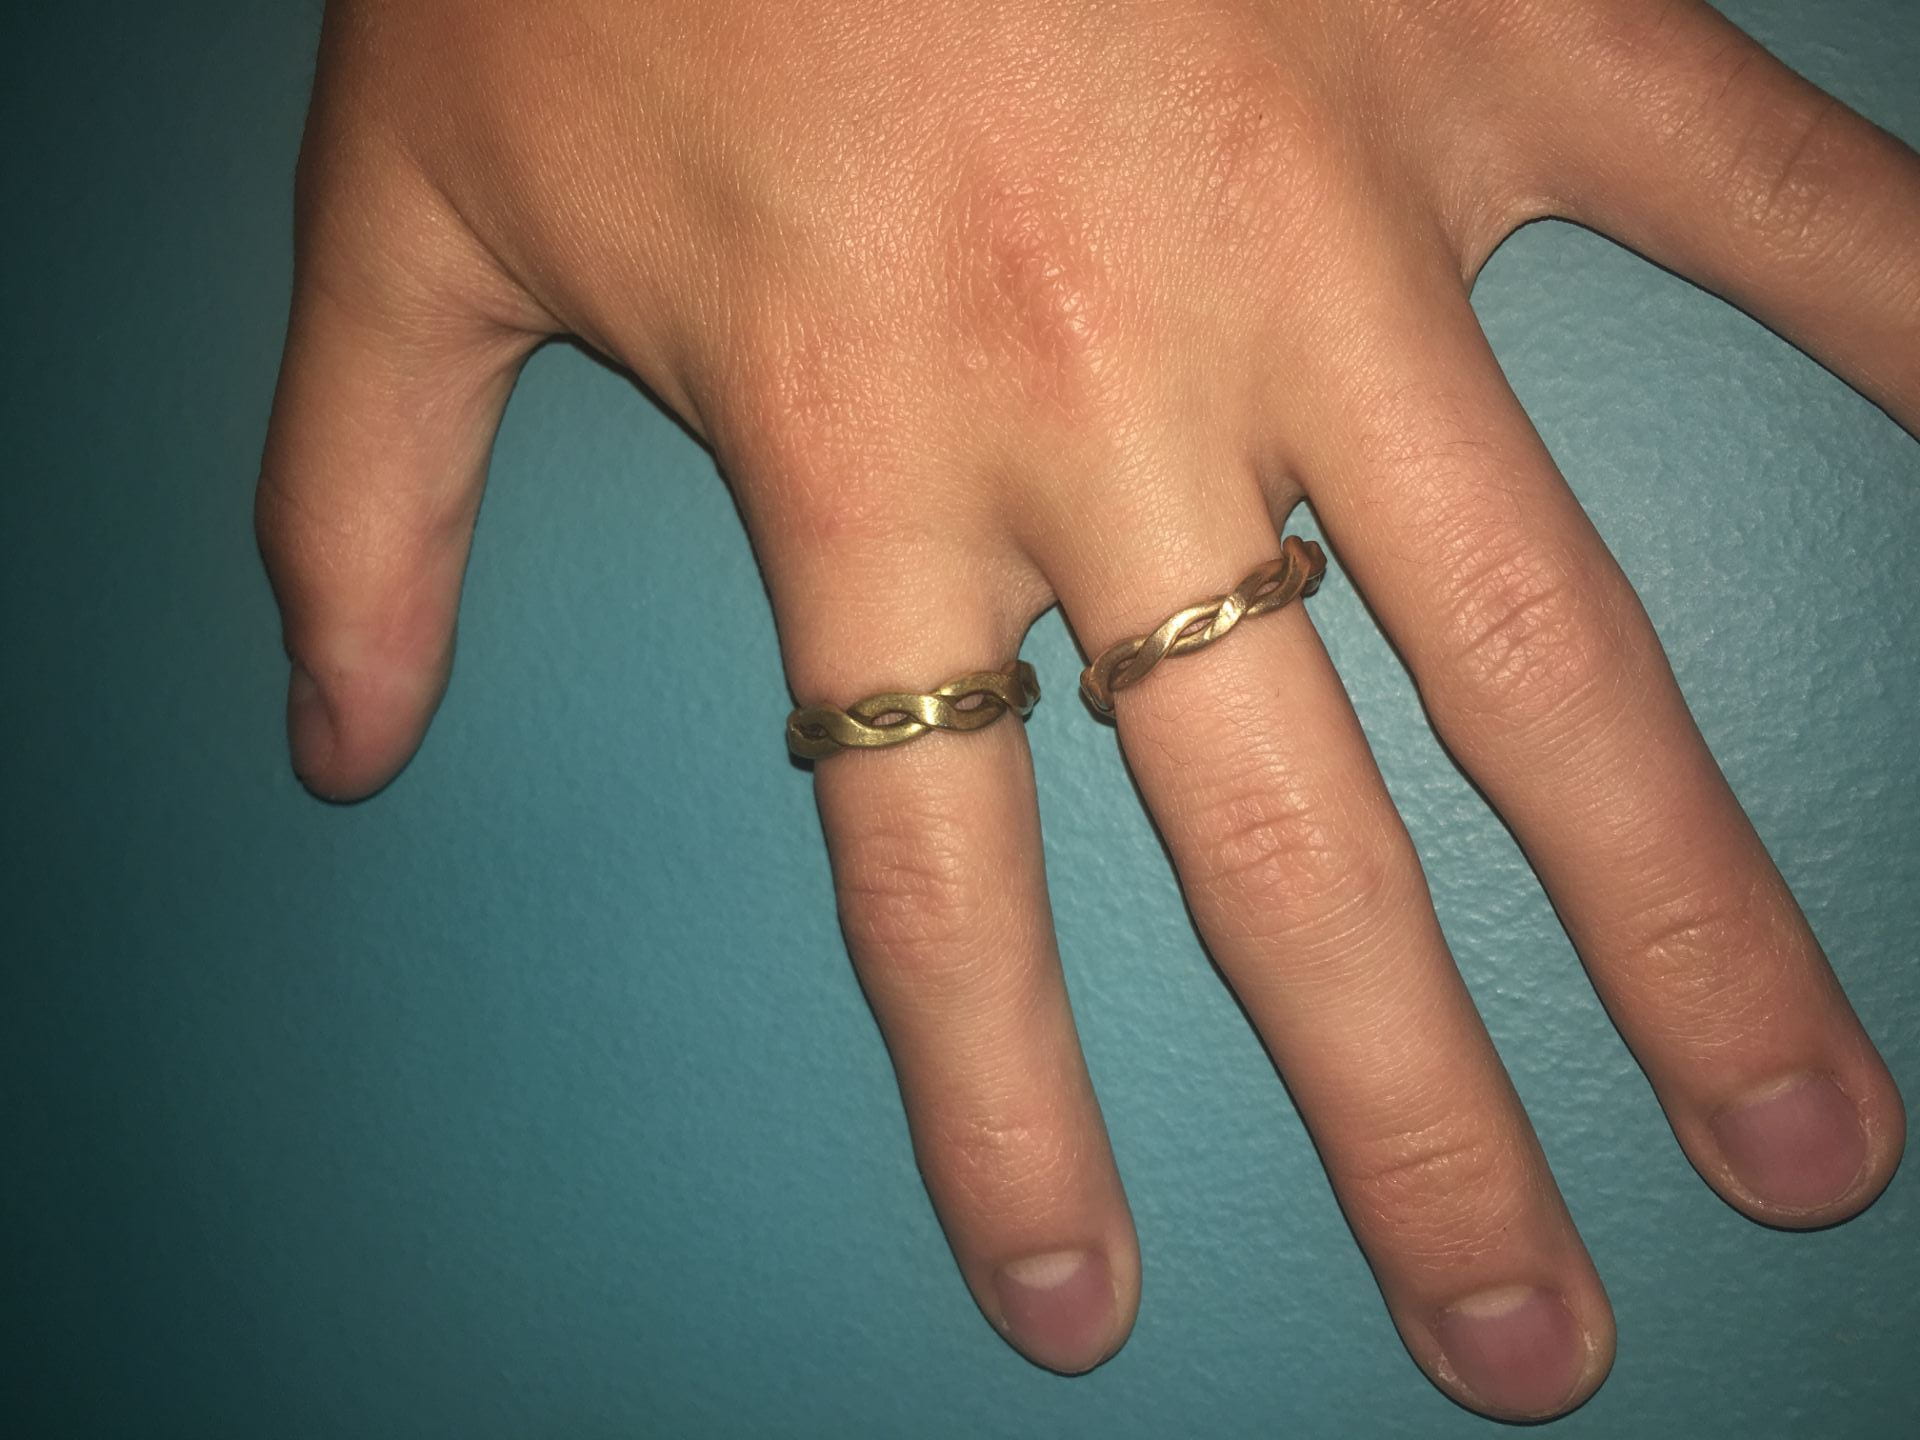
At first, I started on a bracelet. I hammered and heated, but then after a while doing this, I got a text from my friend. He had seen the twisted copper ring I made and he wanted me to make one for him. I figured I could continue the bracelet later, so I started on his ring. I took two lengths of copper wire and twisted them together. For this, I got my Mom’s help and I used a drill and pliers to twist the two metal pieces together. After this, I spent a long time heating the wire and hammering it into a flatter shape. When I was happy with how flat it was, I got to sanding the piece down. This always takes the longest and it’s hard work but eventually, I finished. Next, I got my friend to measure his ring size with a measuring tape, and after another round of heating, I bent it into shape. I sanded one final time and after it was all shiny I was done. I did have some problems with this project, but I’ll talk about that in a bit.
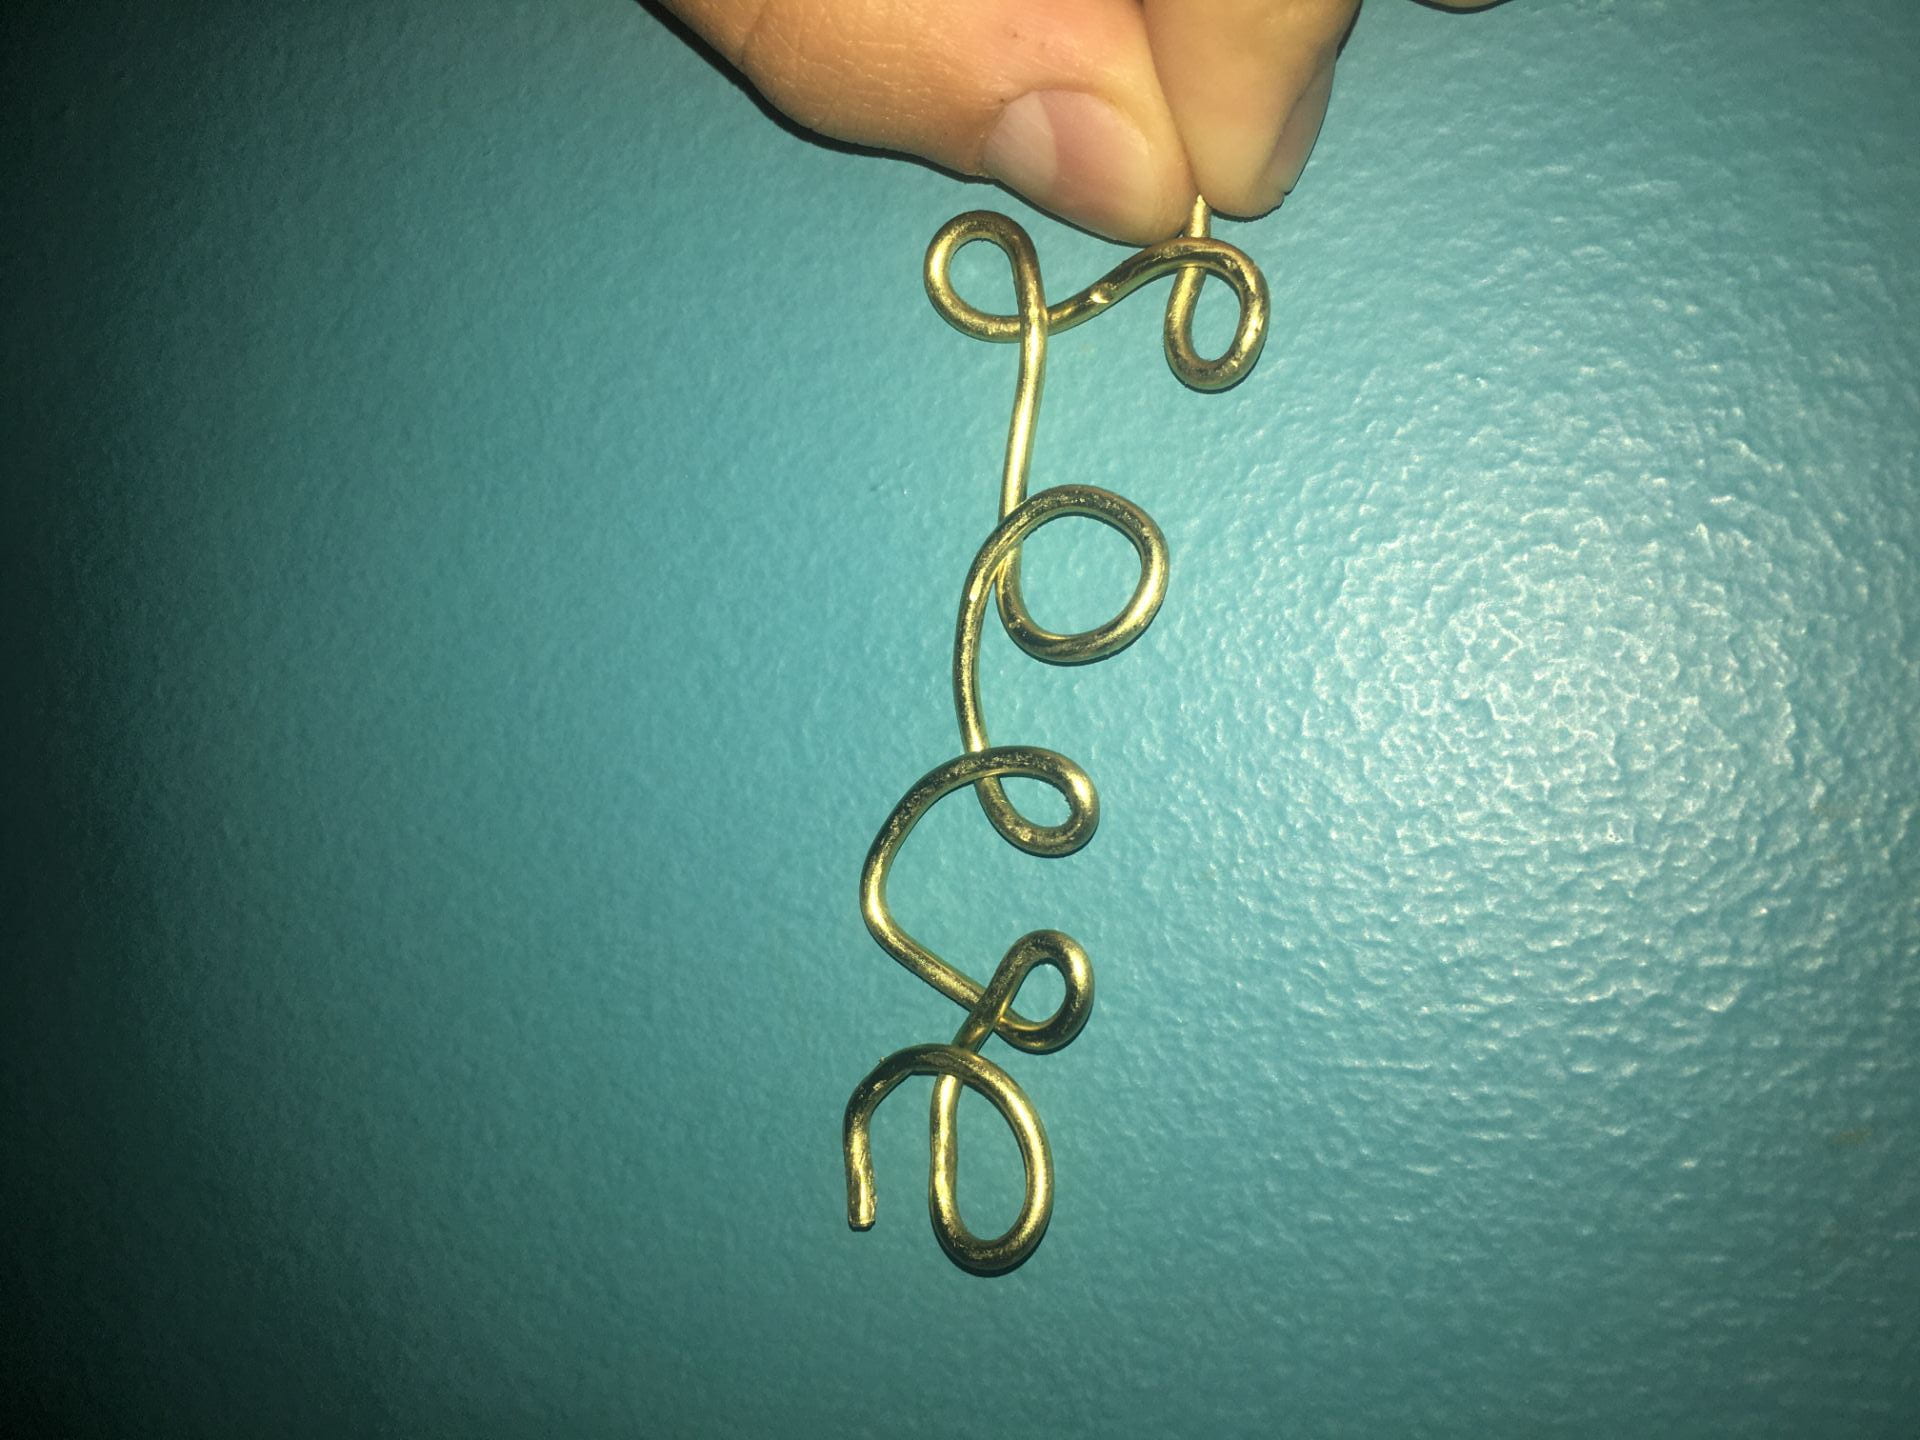
My other project was the start of my Mother’s day gift. My mom doesn’t wear a lot of jewelry so I decided to make her a decoration. using nails, a wooden board, and some copper wire, I bent the copper around the nails to spell the word love. It was my first try so it wasn’t perfect, but I’ll continue doing my best so I have a great gift for her on Mother’s day.
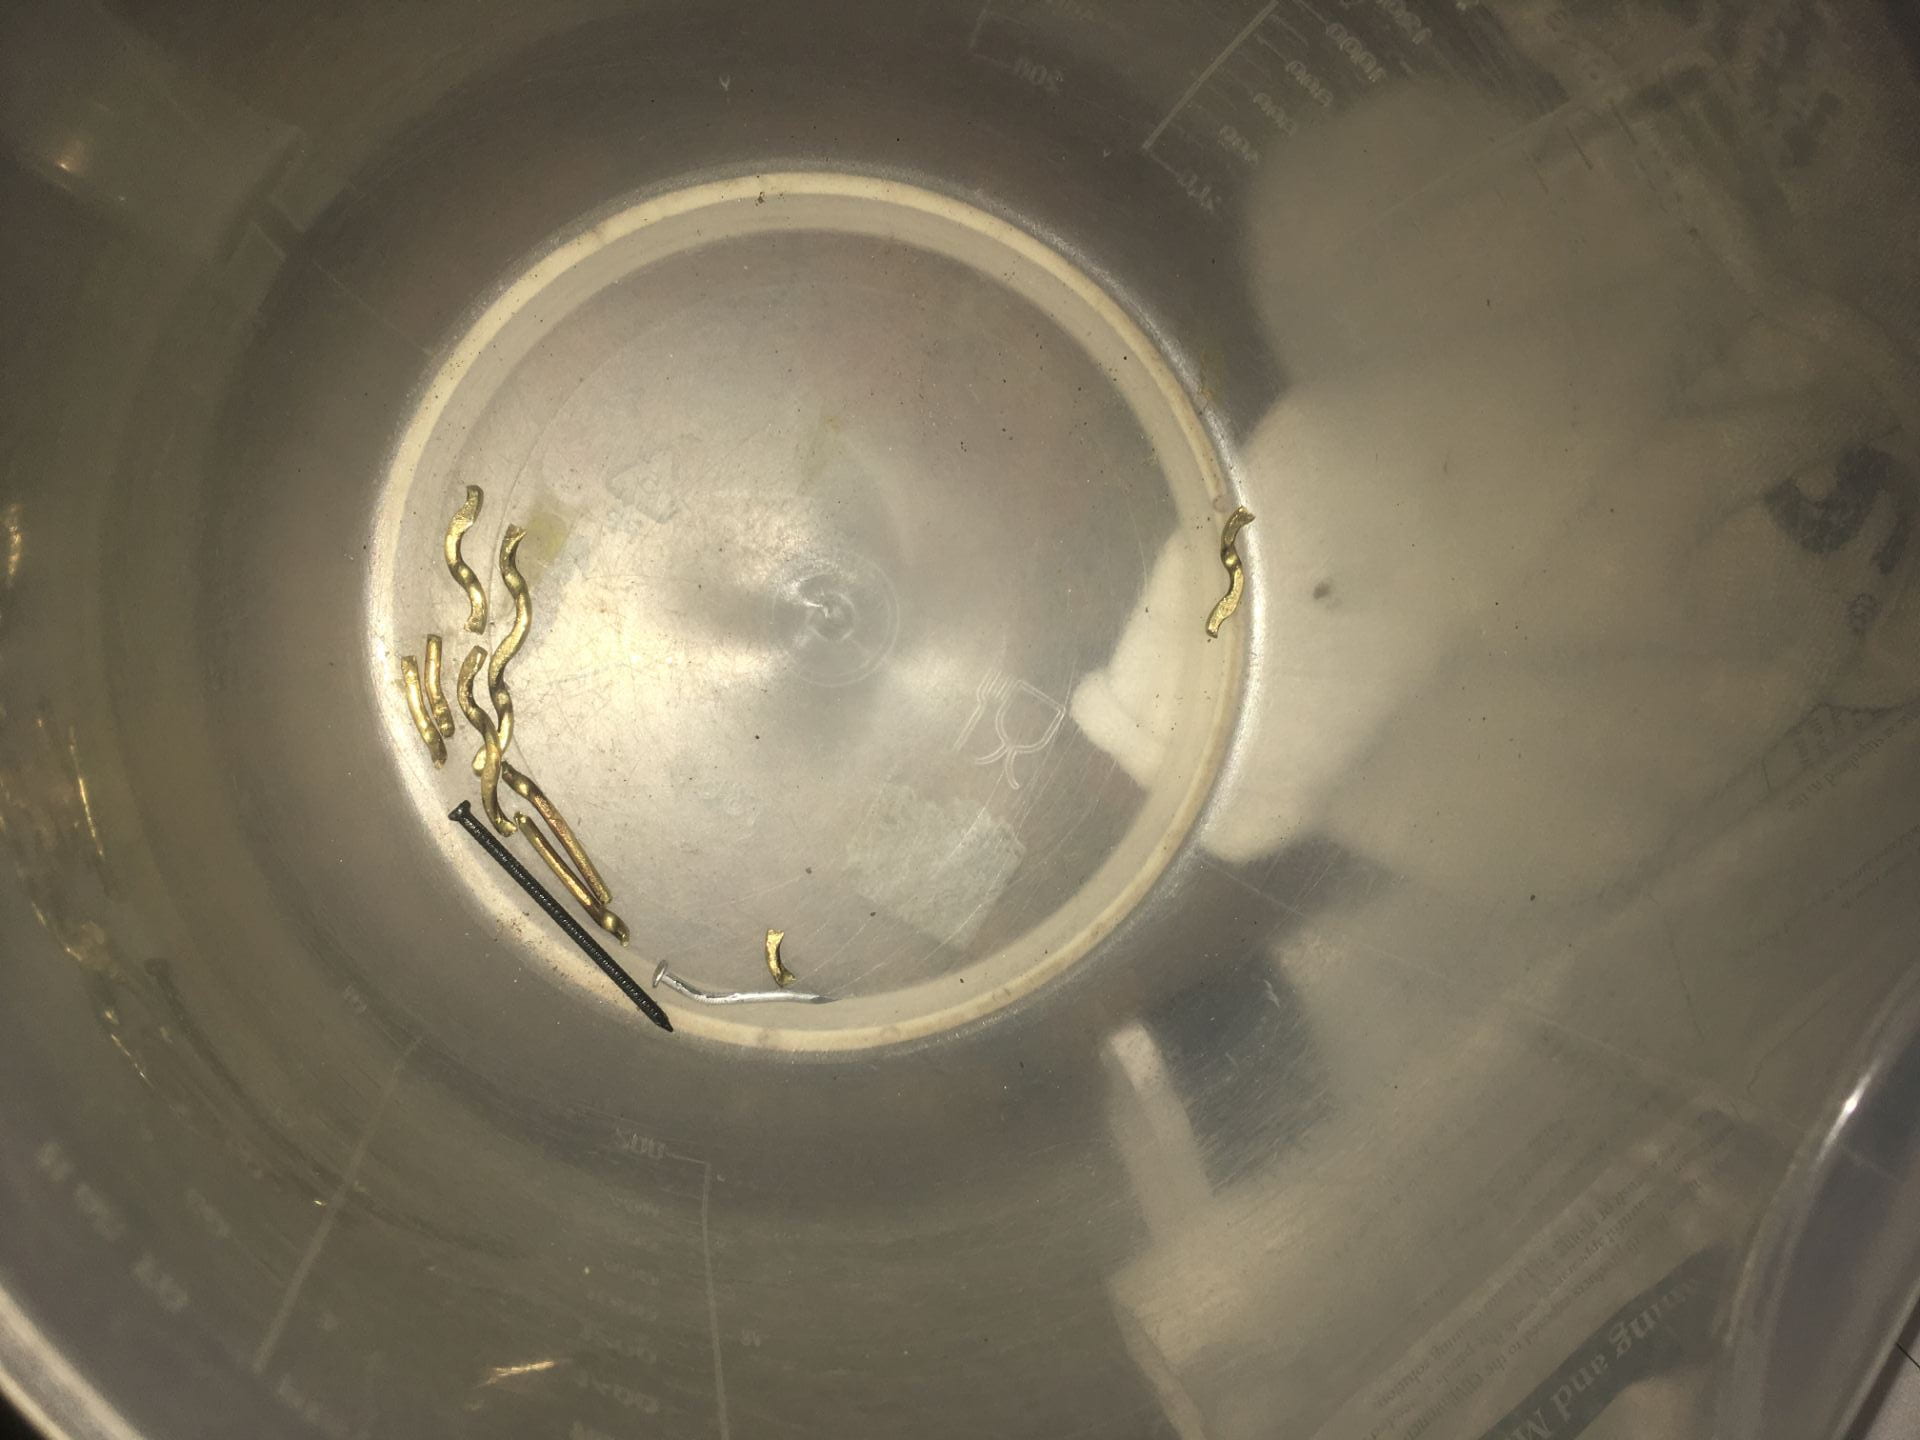
My mentor has also been there whenever I need it, but I’ve been able to lead my own learning very well. I’m super thankful that I learned all the basic skills with my mentor at the beginning because now I just have to implement them in slightly different ways when I try something new. Sometimes this doesn’t always go right. For example, I learned the hard way why we always heat the metal before twisting, hammering, or bending. I was working on a twisted ring project with my copper wire I bought and I ran out of butane fuel. I thought it wouldn’t be a problem and decided to bend the ring into shape anyways. This was after spending hours twisting and hammering, along with buffing and shining. After using a ton of energy bending the ring into shape, the copper wire actually broke and I had to start from scratch again. I knew that heating was important before, but this taught me how heating the metal makes it MUCH easier to work with. I learned my lesson and didn’t make that mistake again. (I also bought more butane)
For my final presentation, I am going to be putting together a picture essay/slide show. I’m going to showcase all the different jewelry I’ve made in a slideshow/picture essay. Then, in the end, I’ll show a sped-up video of how I made some of the jewelry. I have a special camera that’s great for macro shots that can show all the detail in my projects. Altogether it’ll be great to show what I’ve learned and people can better understand how jewelry is made.
Coronavirus is a tough challenge to work through, but I’ve done my best.
Here are some pictures of my tools and projects:
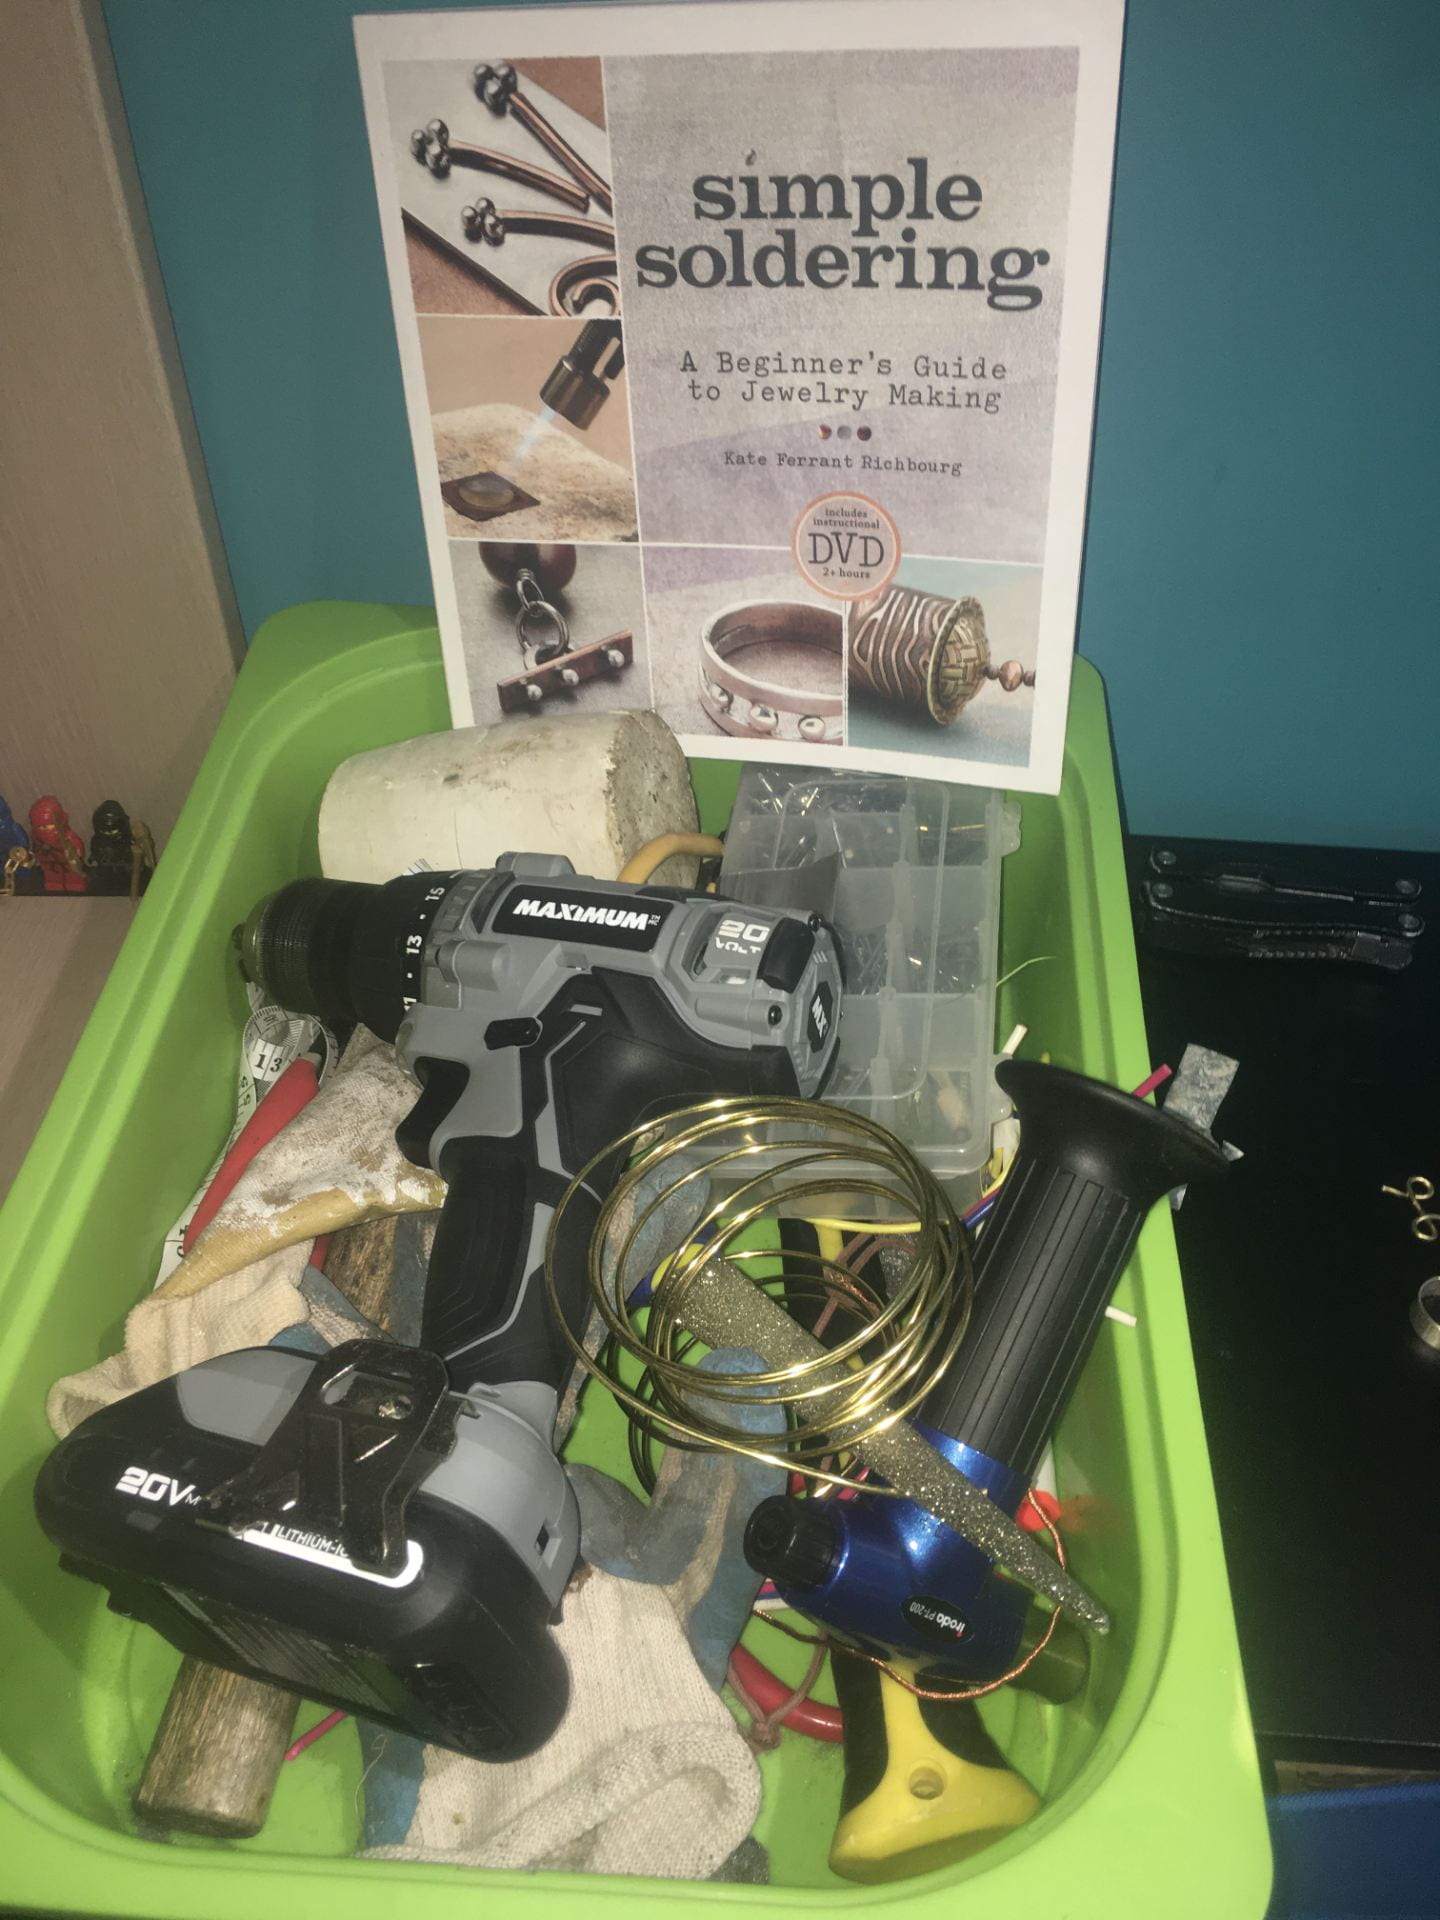

- My tools
- All my projects
- My newest ring (left) compared to an older ring (right)
- My first attempt at a Mother’s day gift
- Some coating and cleaner I’ve used
- The broken pieces of a twisted ring from trying to bend without heating
Below I put links to the websites I found most interesting and useful.
How Cuban Links are Made: https://www.youtube.com/watch?v=yG9ZAkuflP0
Jewelry Making with Copper Wire: https://www.youtube.com/watch?v=f8umNczpc0c
Micheals: https://canada.michaels.com/en/shop-categories/beads-and-jewelry/809188121
Can’t wait until next time…