In-Depth Blog Post #6
Hello and welcome back to my blog post. This post will focus on my progress in my in-depth project.
This post covers chapters 9, and 10 in Edward De Bono’s How to Have a Beautiful Mind. These two chapters were on “Concepts” and “Alternatives. In chapter 9 De Bono explains the difference between a concept and a practical idea. One of the concepts I was able to recognize from this week was curved stitching.
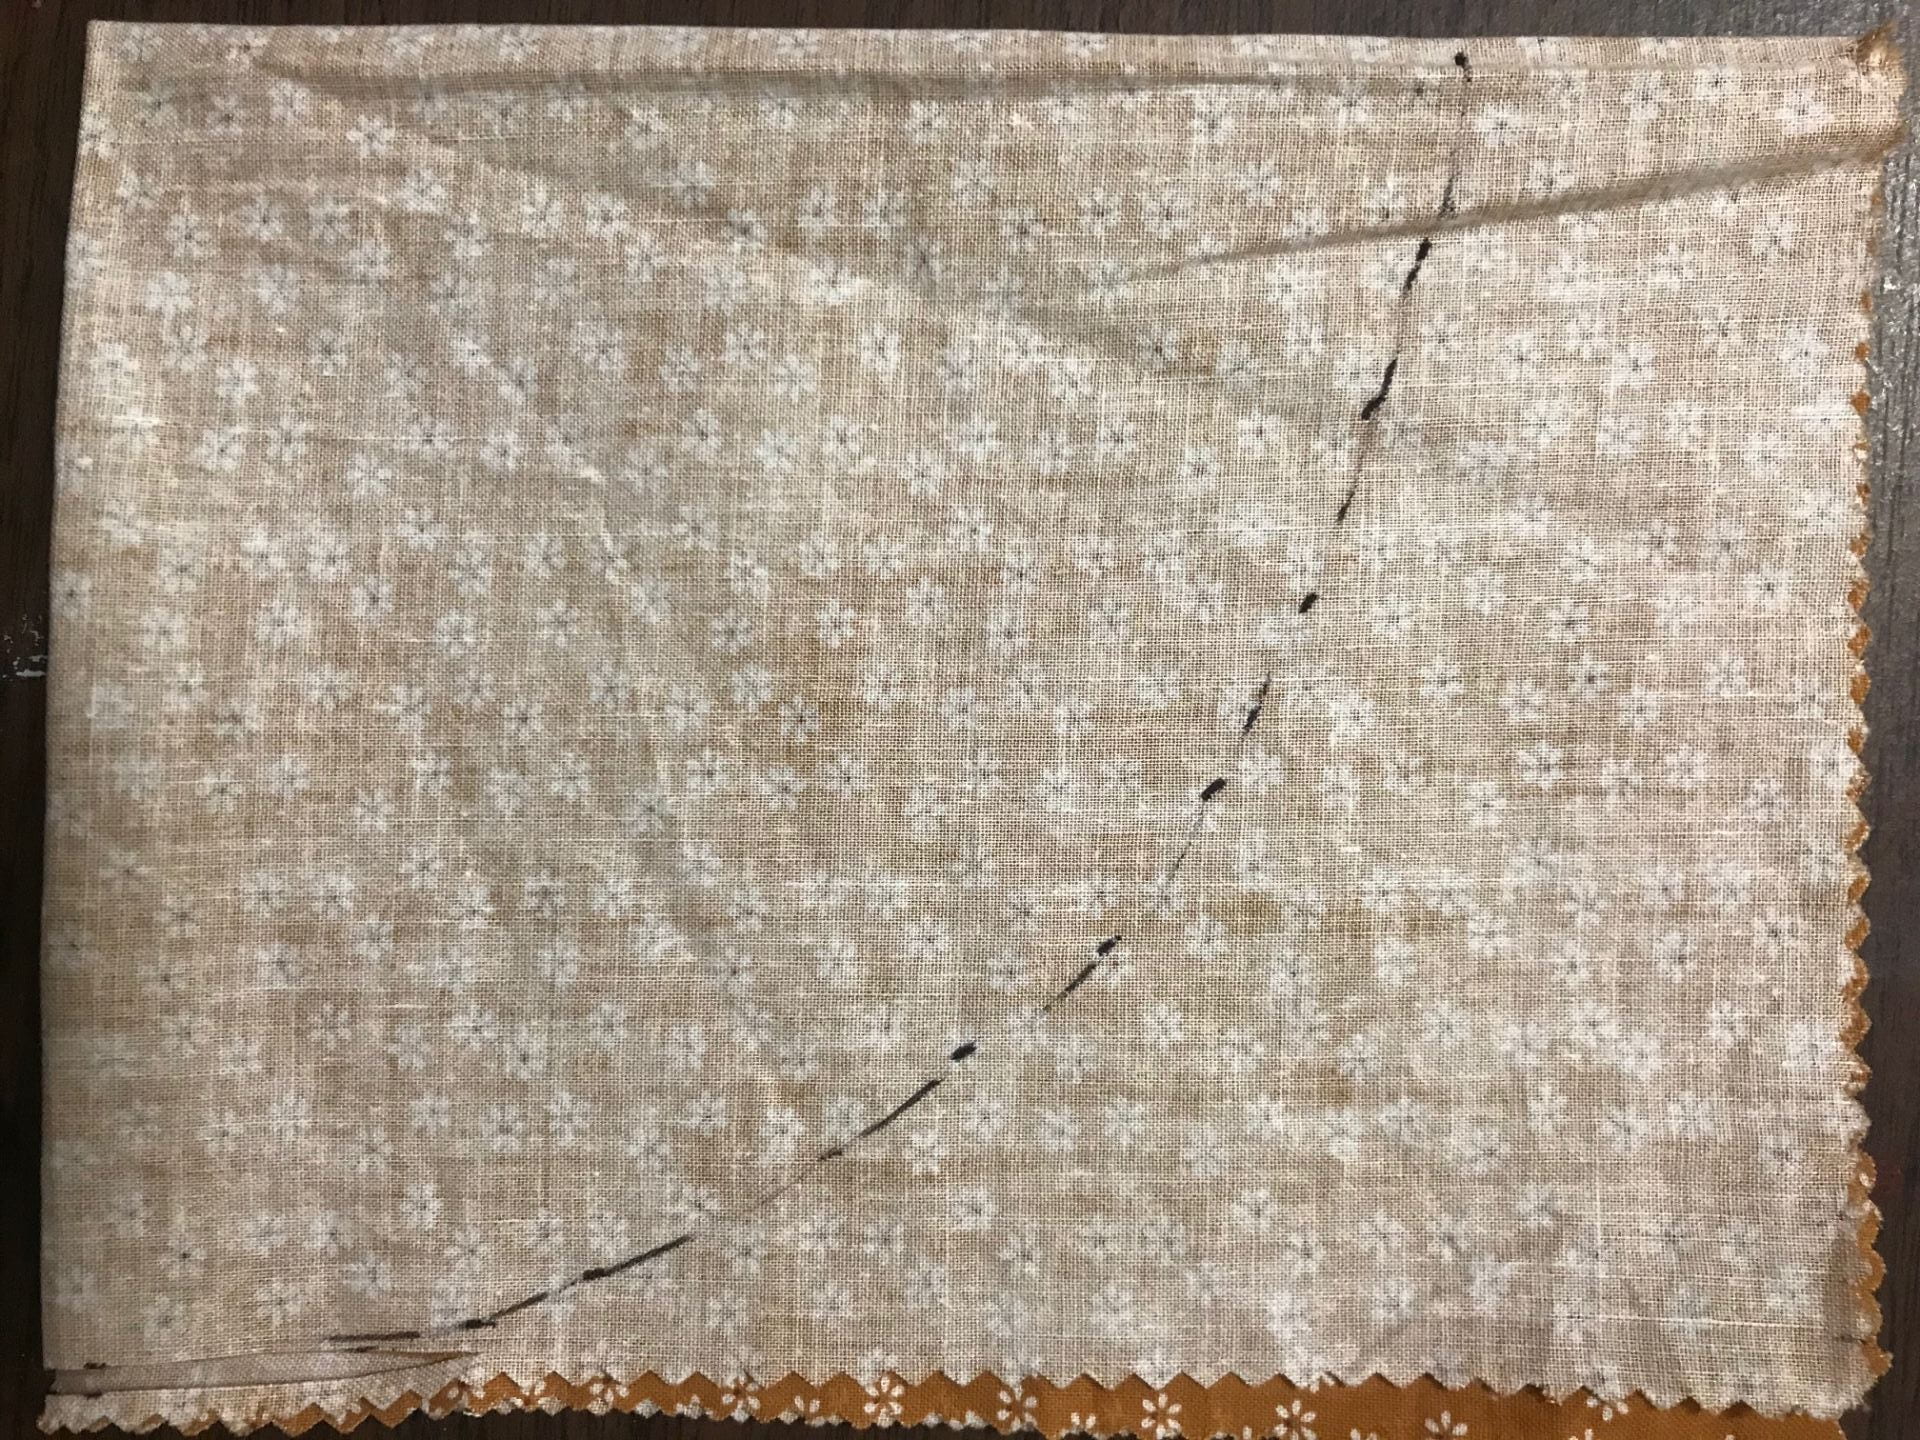
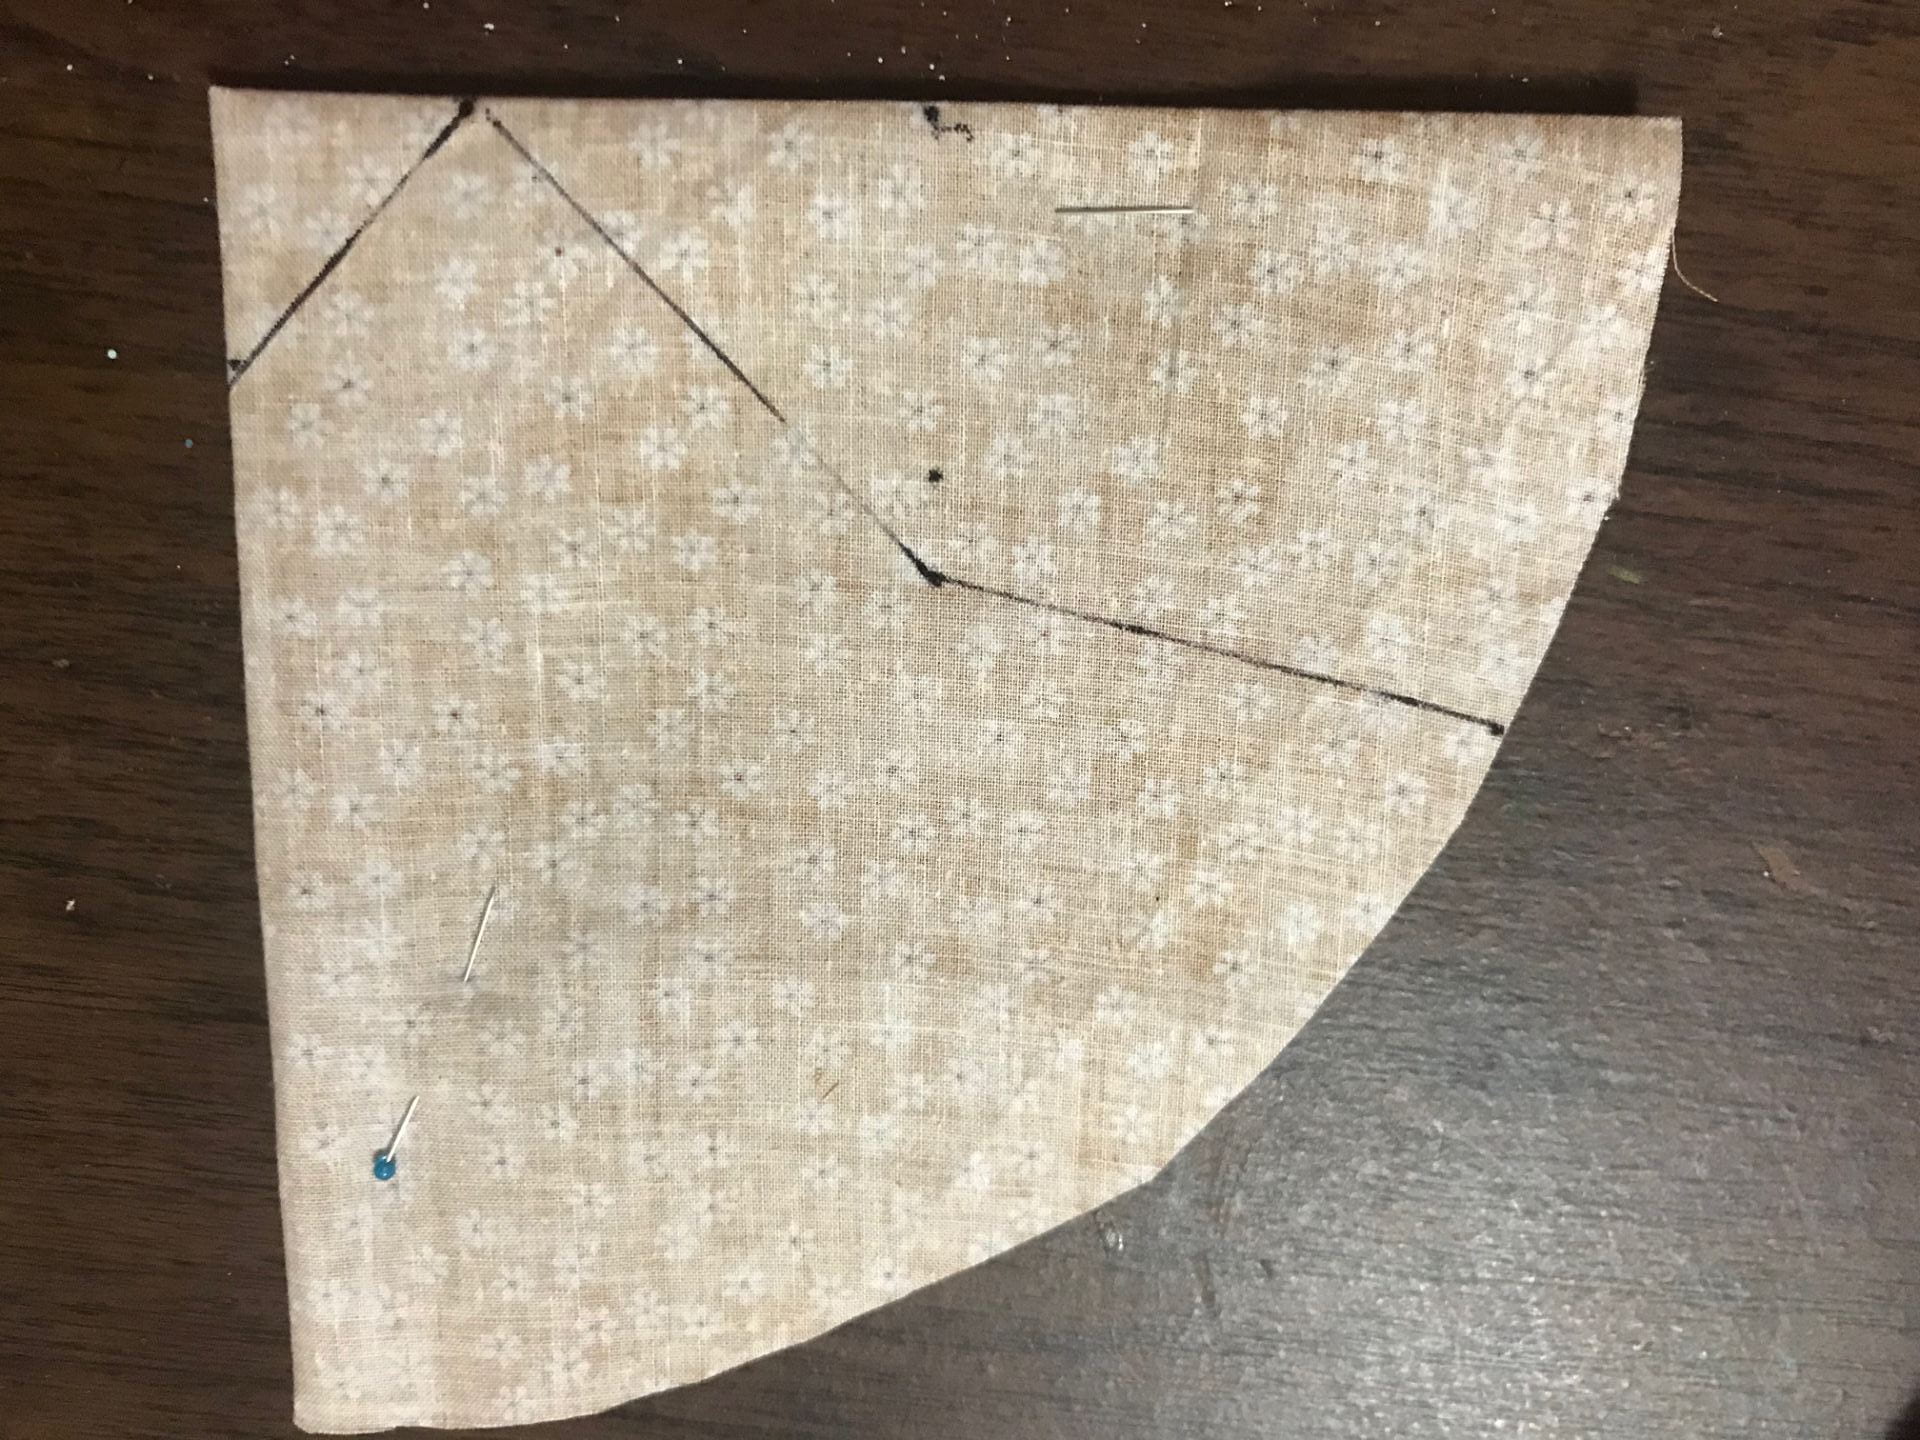
Throughout my meetings with my mentor, she has provided me with countless alternatives. Here is one of the alternatives that my mentor provided me in this last meeting. If you watch the video below from these timestamps, 0:24 – 1:37, you will see how the person in the tutorial cuts out a circle. My mentor suggested an alternative of how to do this in fewer steps. Instead of first cutting out the square with the right dimensions, she told me to fold the fabric into four. Then she halved the measurement for one side of the square, medium is 28×28 cm, so 28/2=14. I then marked off 14 centimetres on the folded fabric and continued marking off the circle the same way the video did. My mentor always provides me alternatives that complete things better, faster, and more effectively.
This week I decided to make some masks. After spending some time watching tutorials on YouTube, I finally found one that I liked. Here it is.
Before beginning sewing the mask I confirmed with my mentor that it was a good design and asked her if she had any suggestions for me. She gave me a few tips and I began following the tutorial step-by-step. I decided to use the measurements for the medium mask, so then I could decide from there if I should size down, size up or make another medium. It took me about an hour from start to finish. Here are some pictures from the process, and the final result.

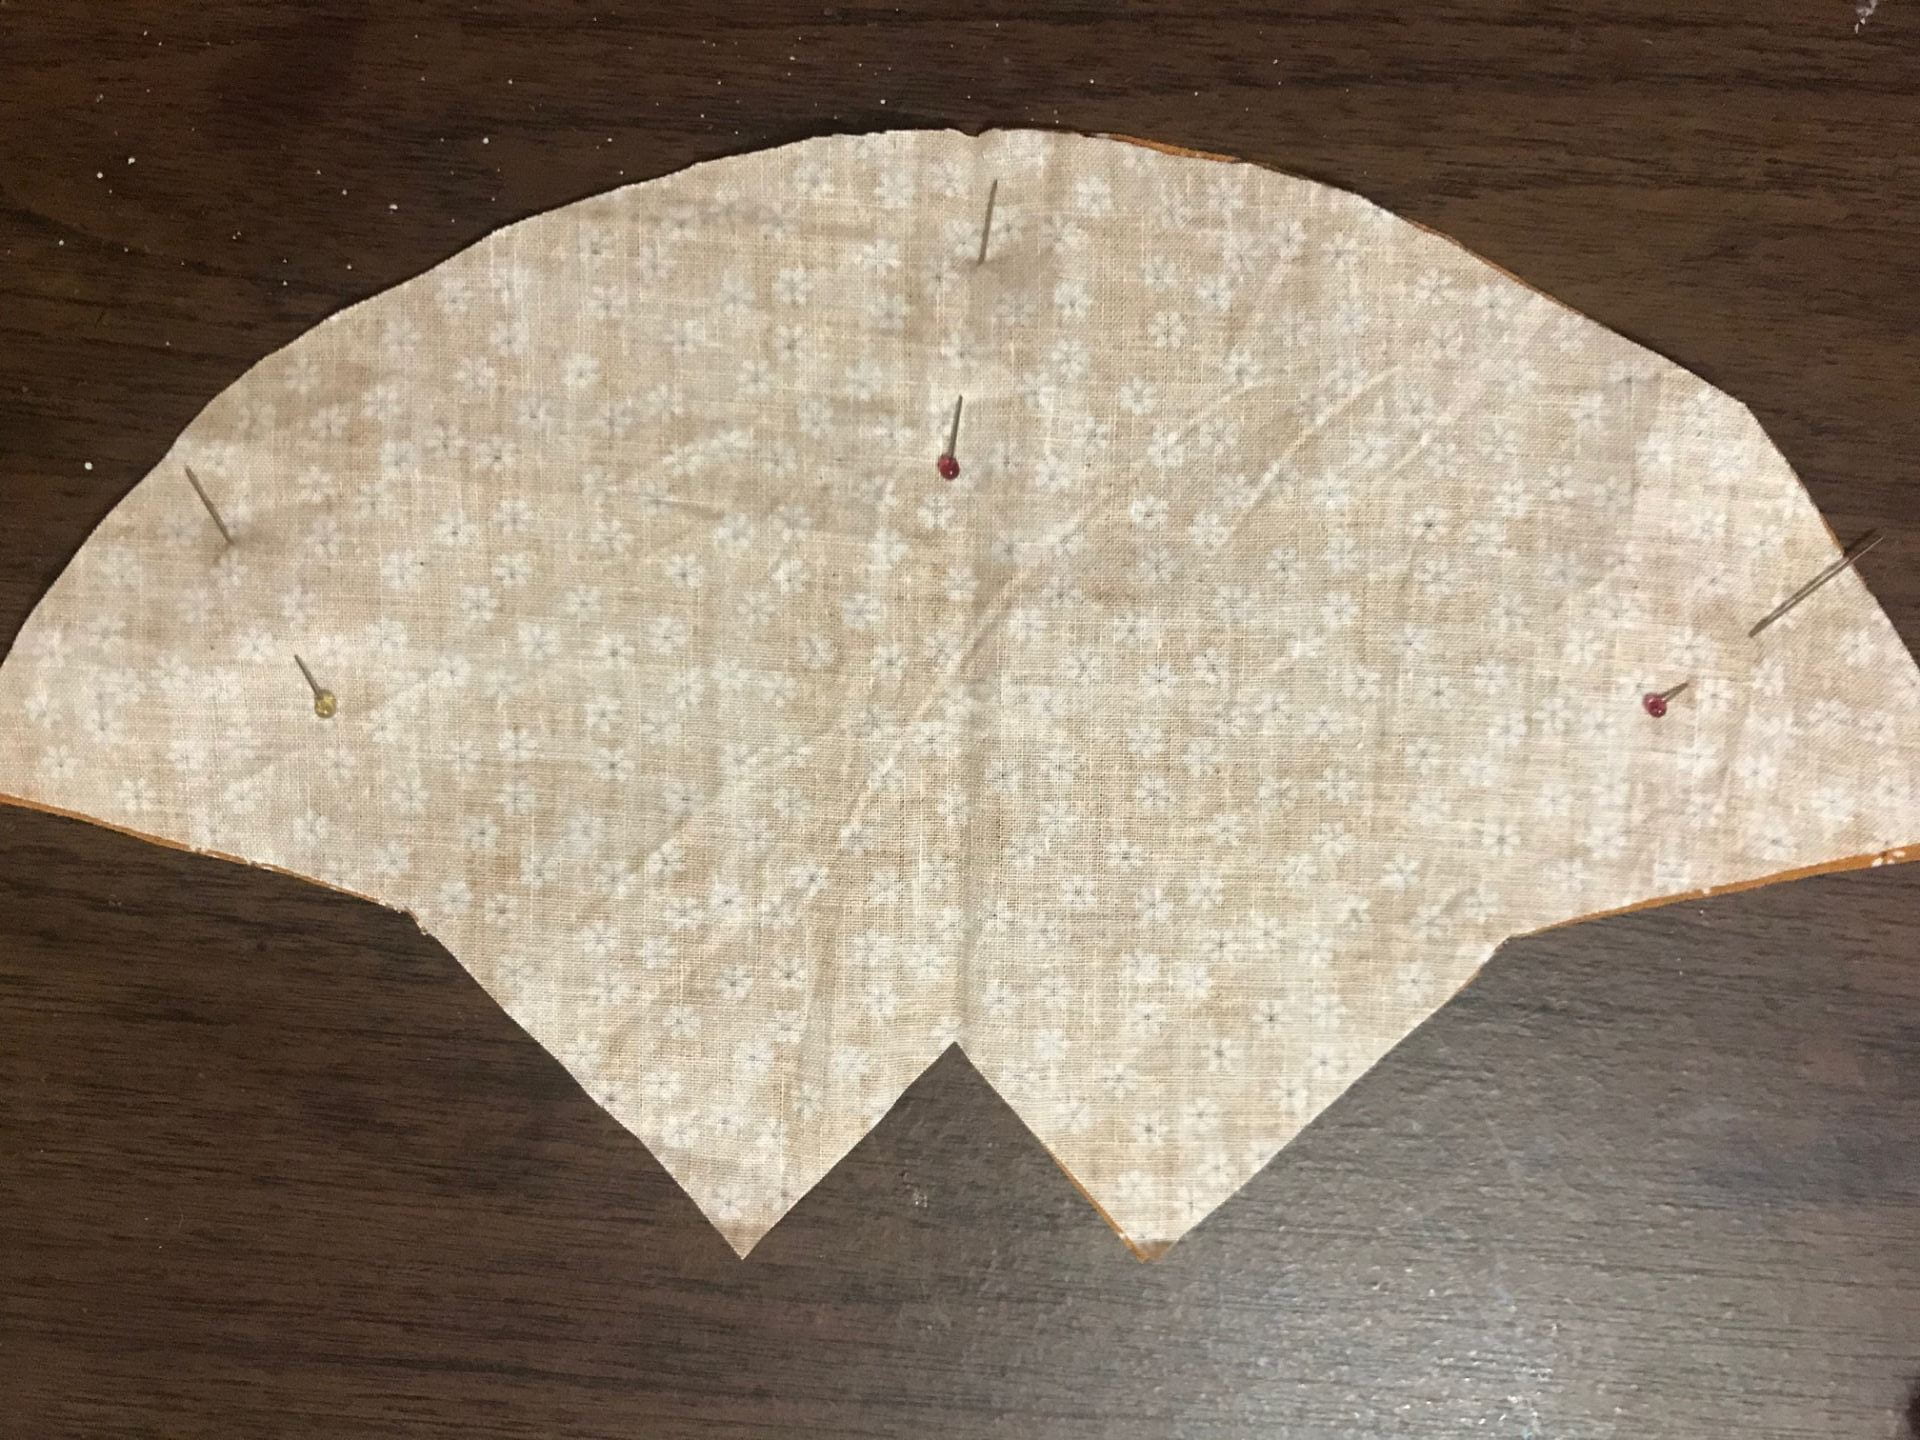
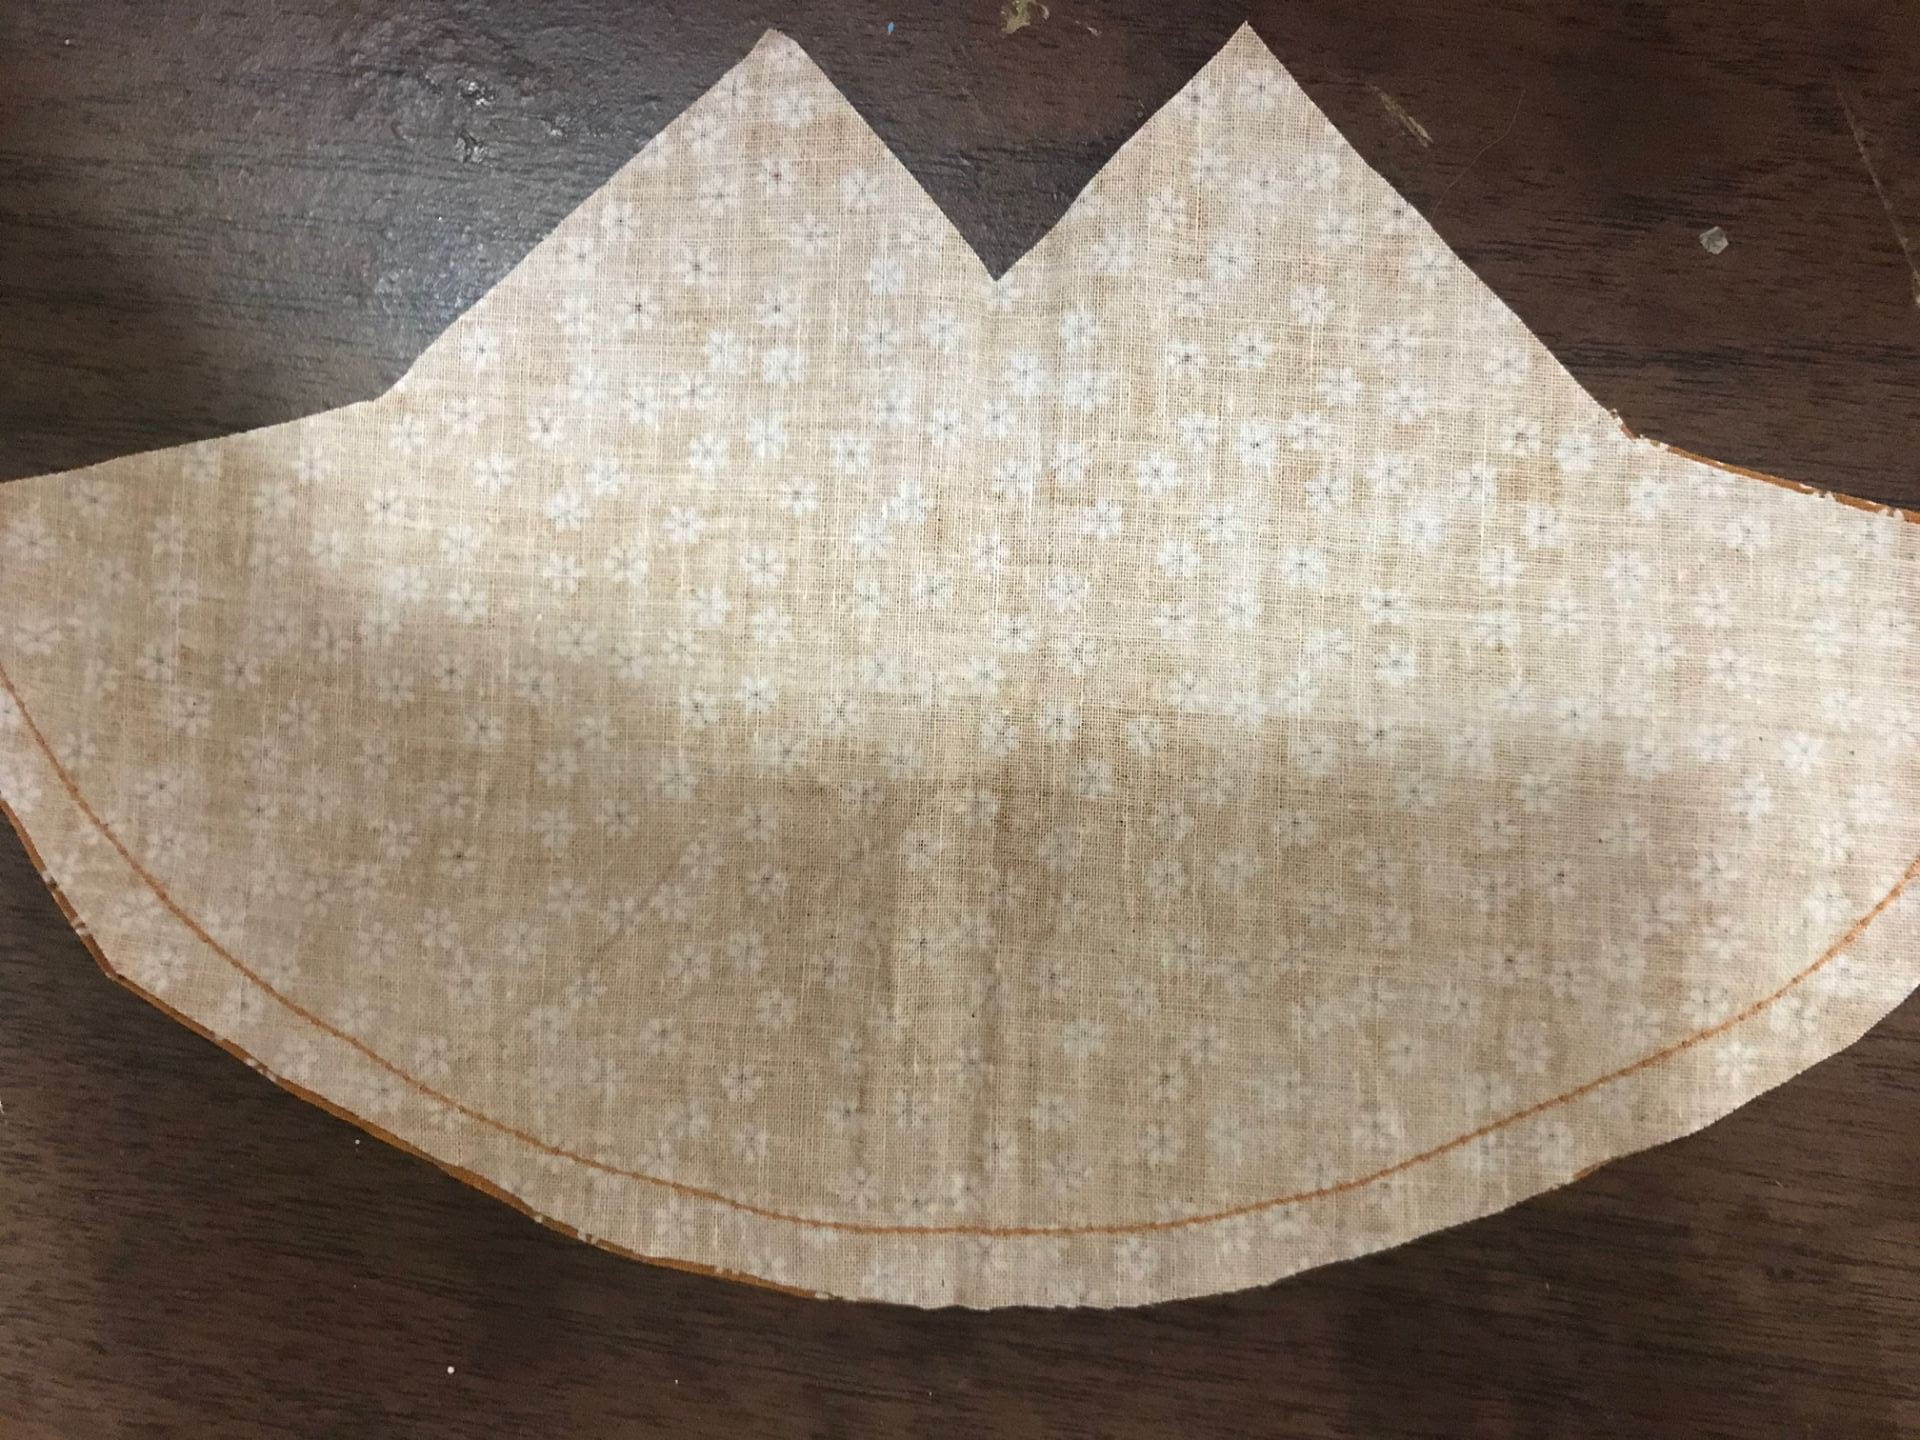
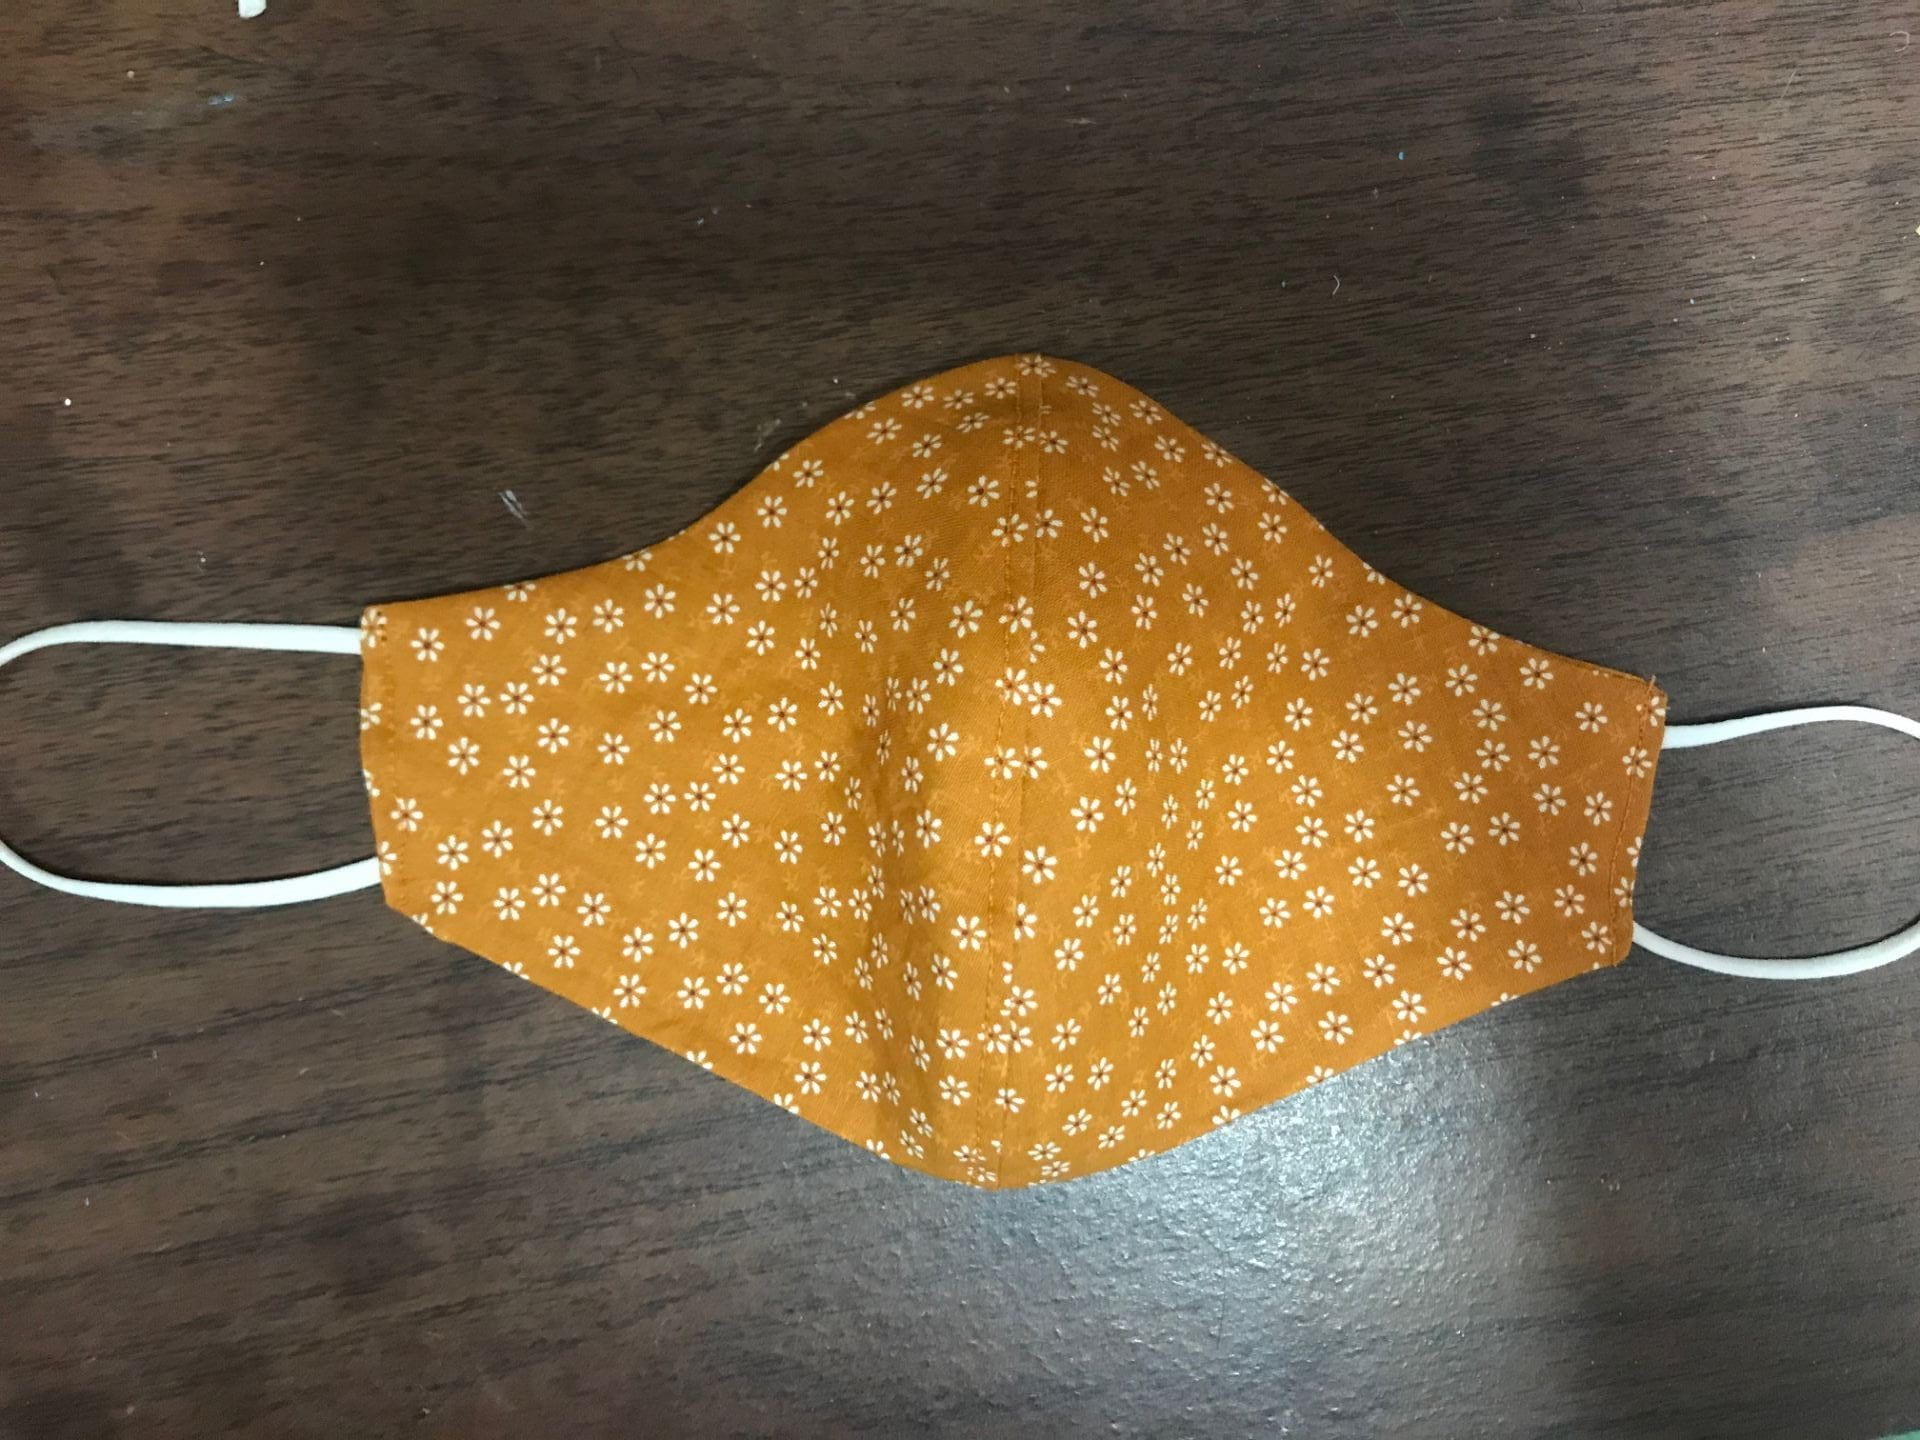
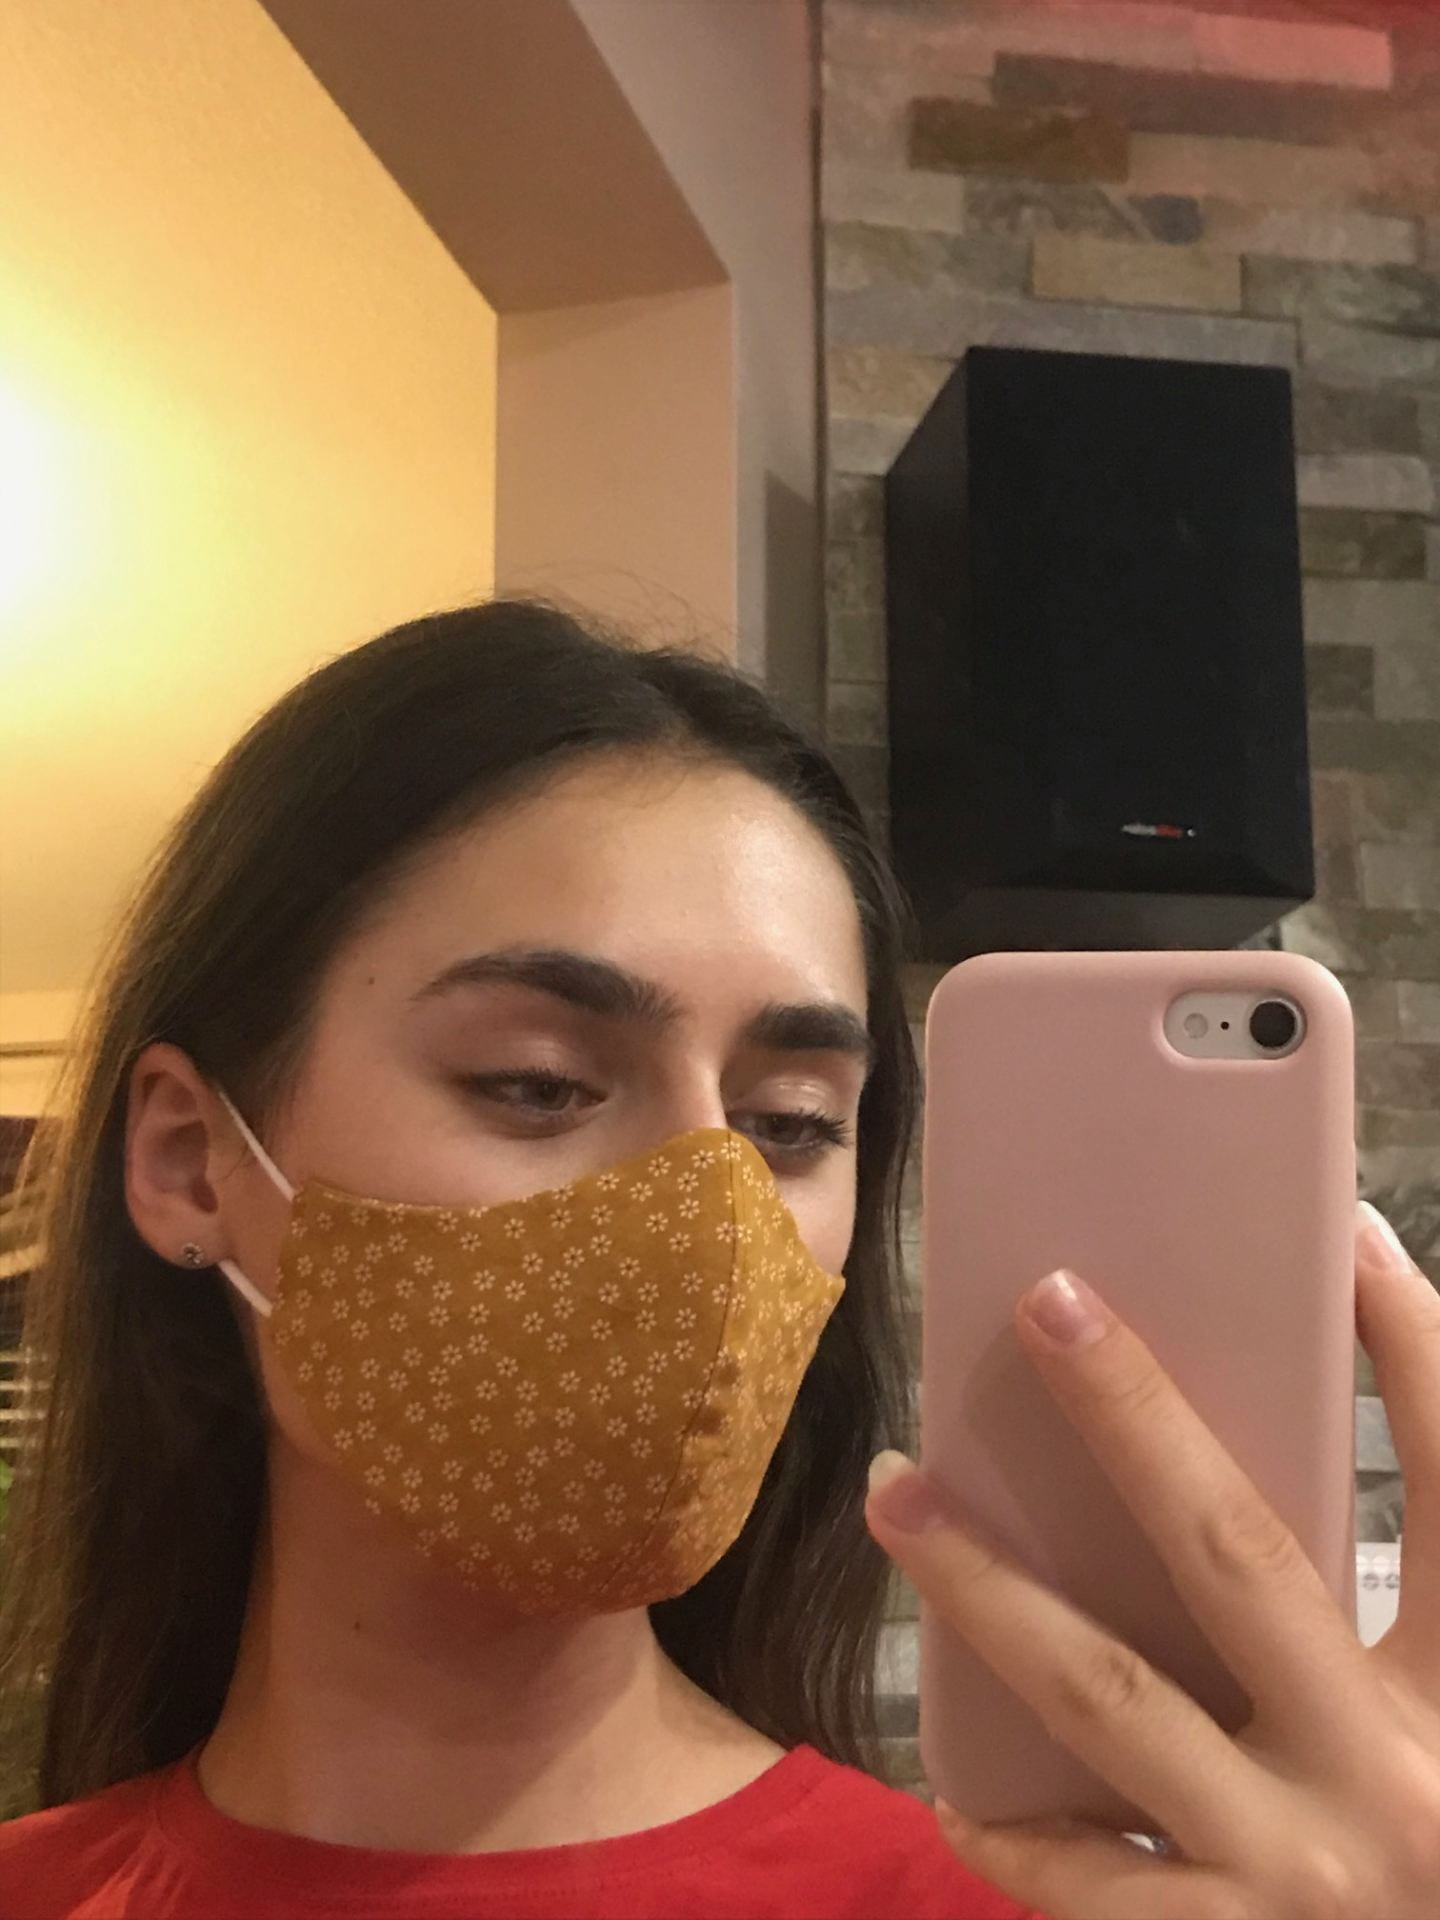
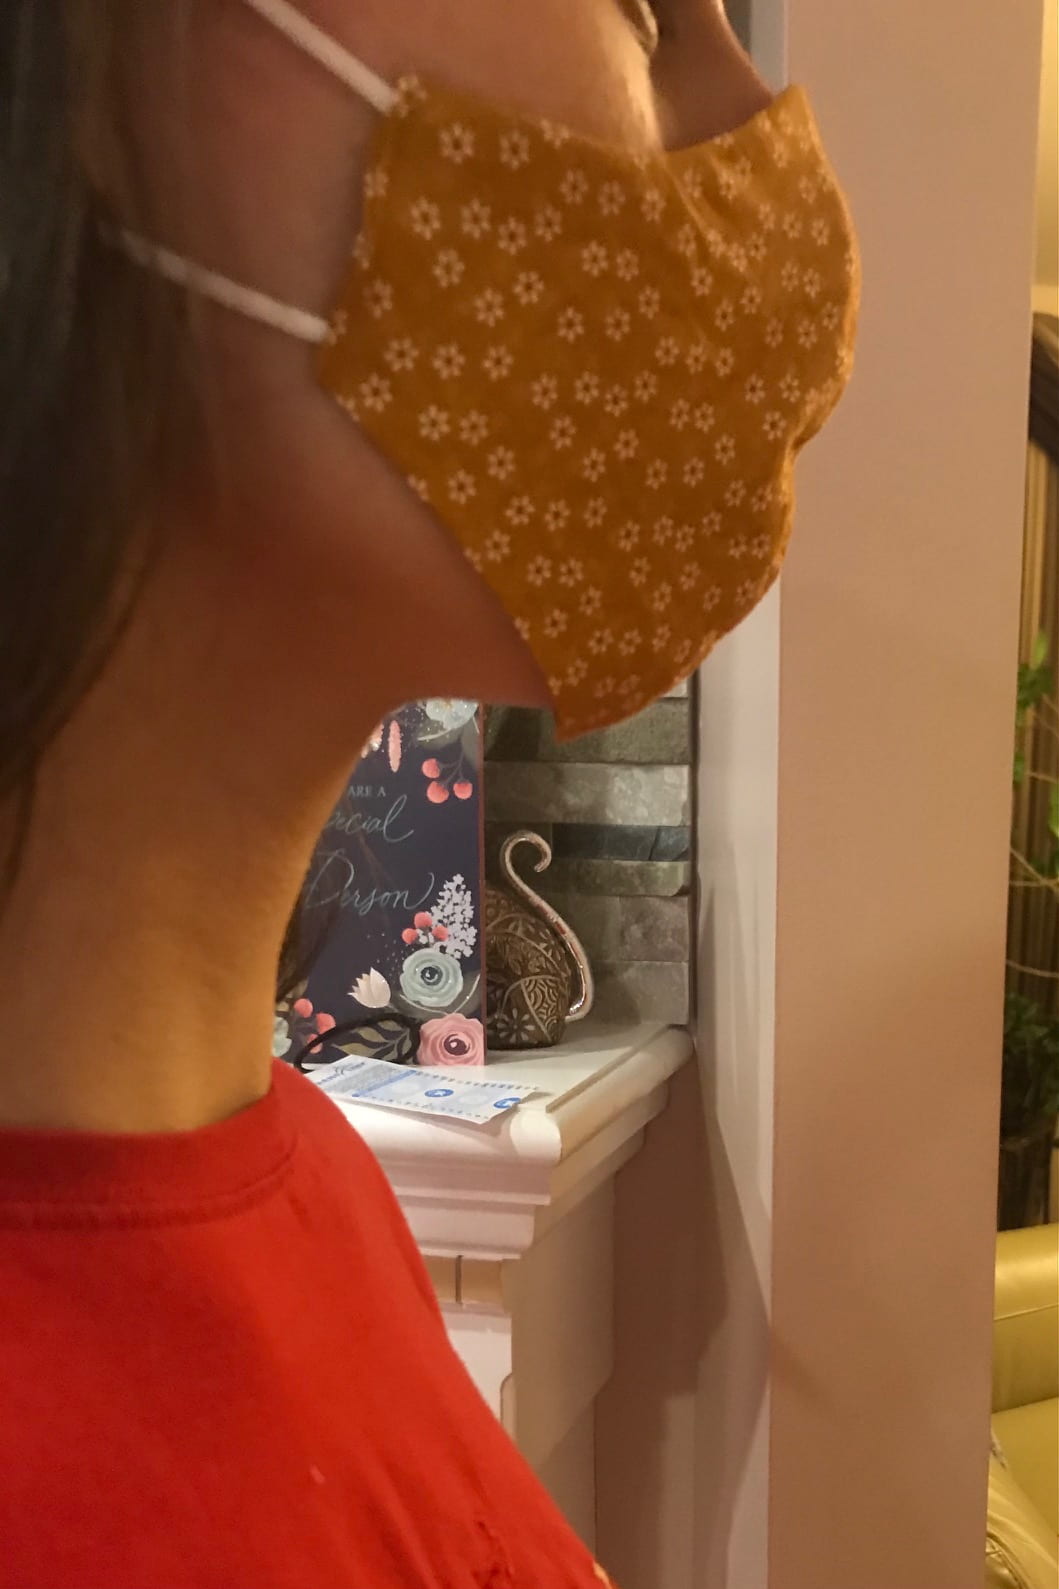
For the straps on the mask, I cut off the straps from an old reusable mask and sewed on those. In general, this mask fit quite well however, I think a large would be a bit better. It fit nicely around the chin area it was just a bit tight on my nose. I think this mask would fit someone who has a smaller nose bridge better. Instead of making the same mask in a large size, I decided to find a completely different tutorial. This was the tutorial that I followed.
https://www.youtube.com/watch?v=Al8sI3PyYjU
For this mask, I also decided to make a medium-sized mask. This mask also took me about an hour to complete. I didn’t take pictures of the process but here is the end result.
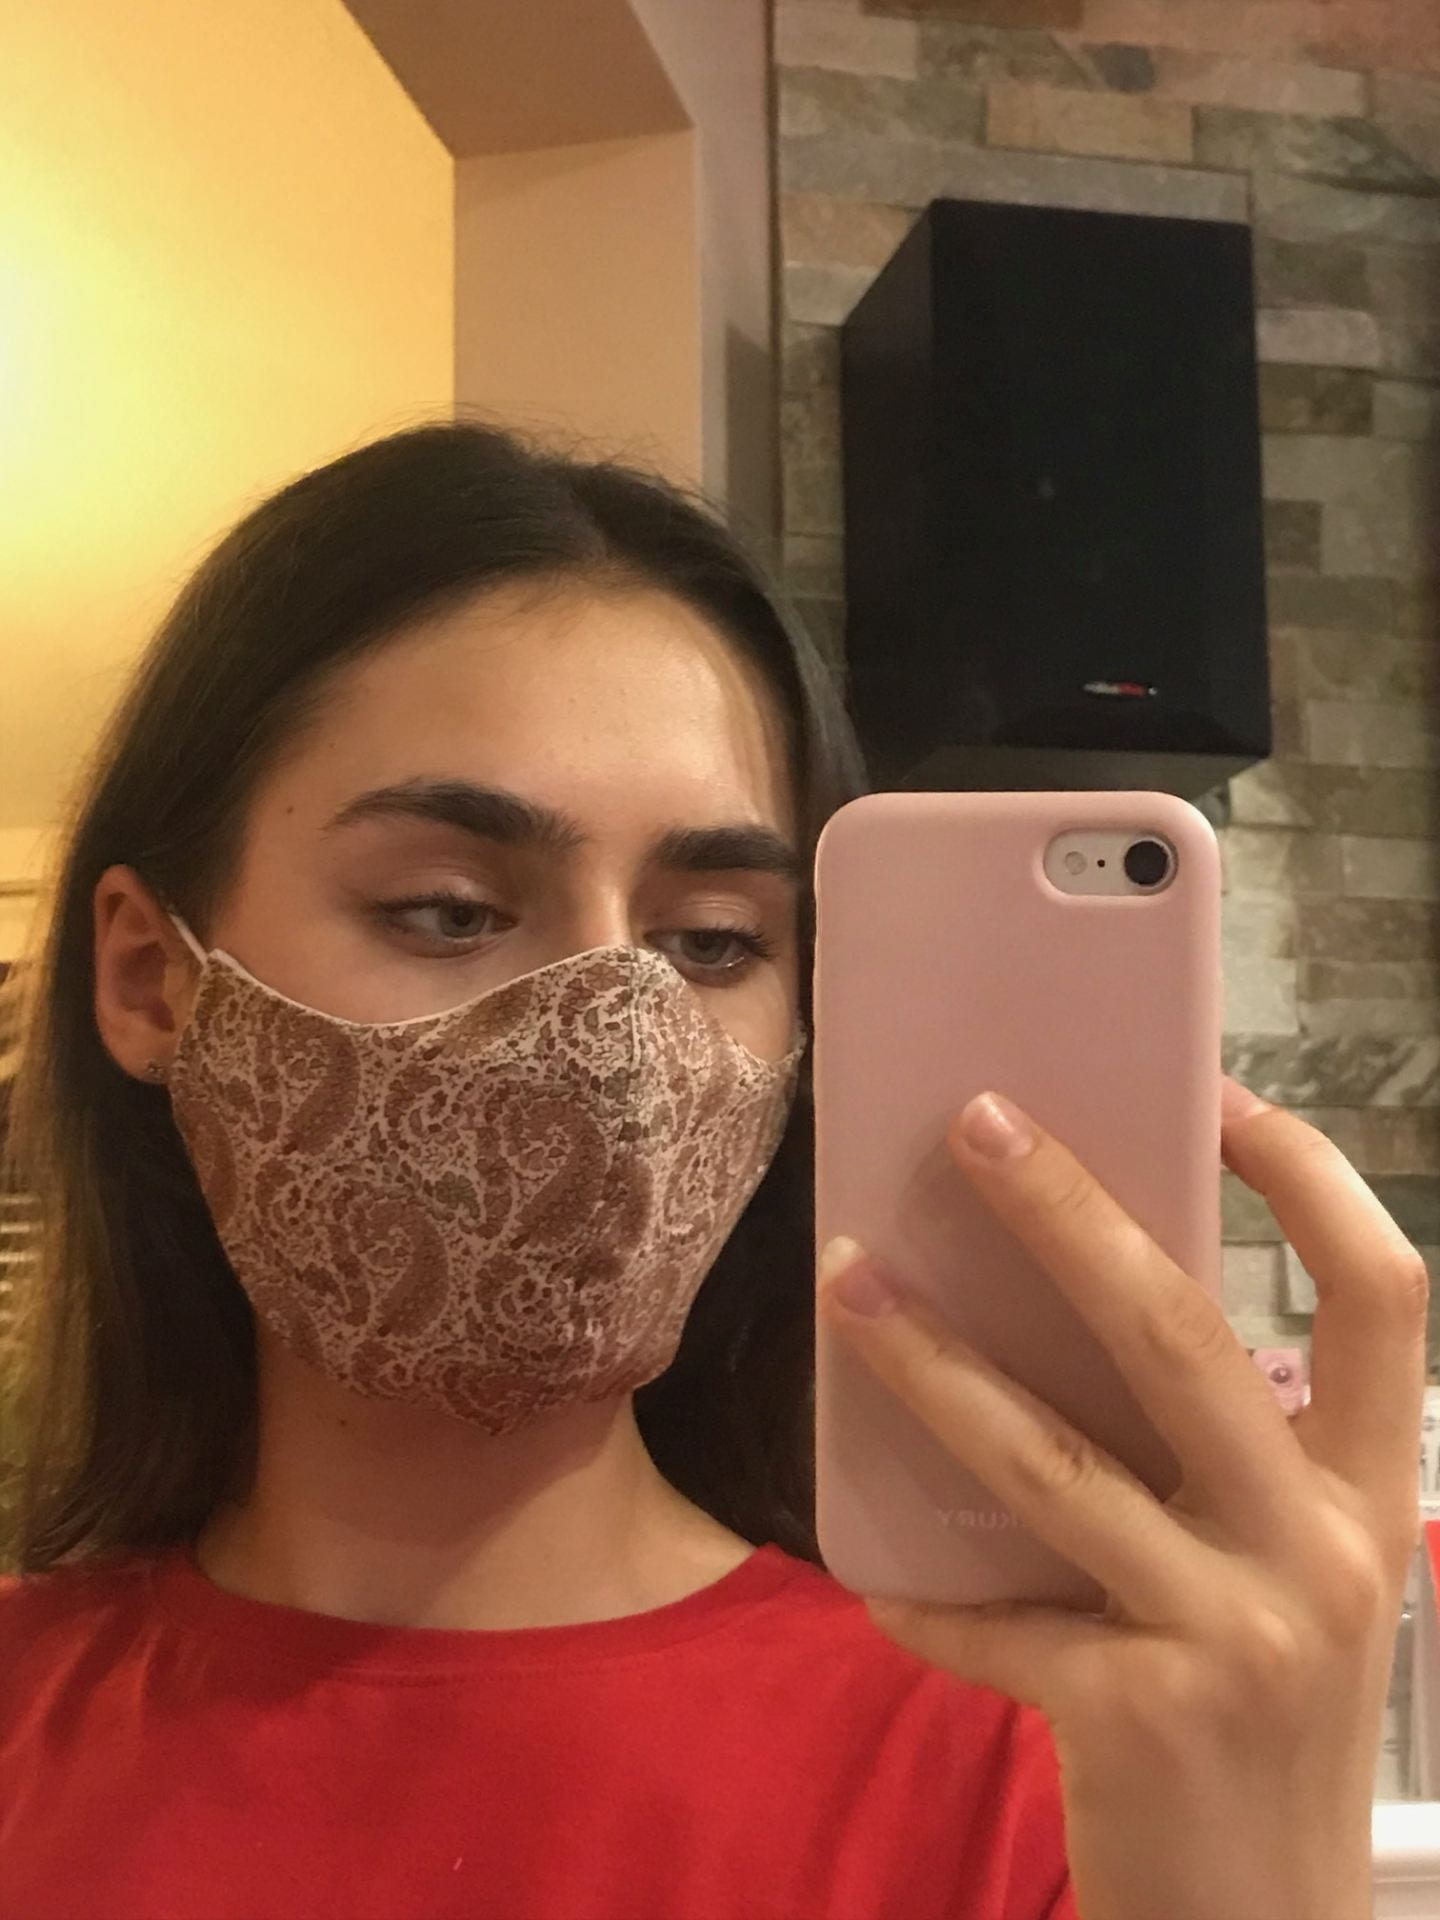

In my opinion, this mask was a flop. There was way too much gapping going on in the nose area, and the mask was way too big on the bottom. I should’ve just made the second mask using the large measurements of the first tutorial. I’m a little disappointed but I’m honestly not that mad about it because I still grew from this experience. Every single thing I make won’t be successful, but I will still learn from it.
I will continue sewing clothes for myself in the future and continue meeting with my mentor (grandma), to get help and advice from her. This whole project was a great bonding experience for me and my grandma. In the future, I hope to grow my sewing skills with my passion for clothing.