In-Depth Number 6
Hello everyone, and welcome to my final In-Depth Blog Post for this year. The four weeks since my last blog post have zoomed by, and I can’t believe I am already on my last one. Nevertheless, I have made some exciting progress that I look forward to sharing today.
As per usual, the highlight of the last few weeks was my meeting with my mentor. For our meeting, I showed him the short commercial I had been working on. He gave me some feedback on it, and also showed me what his projects look like inside his editing software. Overall, the meeting was very informative, and I came away surprised and in awe, seeing the complexities of his video editing timeline. While I did not finish the commercial, I learned a great deal in the process. Here is the first minute or so.
https://www.youtube.com/watch?v=7n5gGiwzmz0&ab_channel=evanophoto
Much of my focus over the last few weeks has been on the color correcting and grading process which hopefully is apparent in the video (though I found I struggled with matching colors, so I still have a lot to learn). I have watched countless tutorials on the subject and discussed it with my mentor during our latest meeting. From my learnings, I have found a number of different workflows to follow for color grading which all offer different pros and cons.
The workflow I used for this commercial consisted of me shooting the video in a log file format. In short, log is a washed-out file format that allows more details to be recovered in post-processing. Once I had shot in log, I used a LUT (mathematical conversion of the colors so they have a certain look) to convert the washed-out footage to something more standard. From there, I used color wheels to find a look that I thought worked best. Overall, the three-step process was quick and easy, and I found a look I liked.
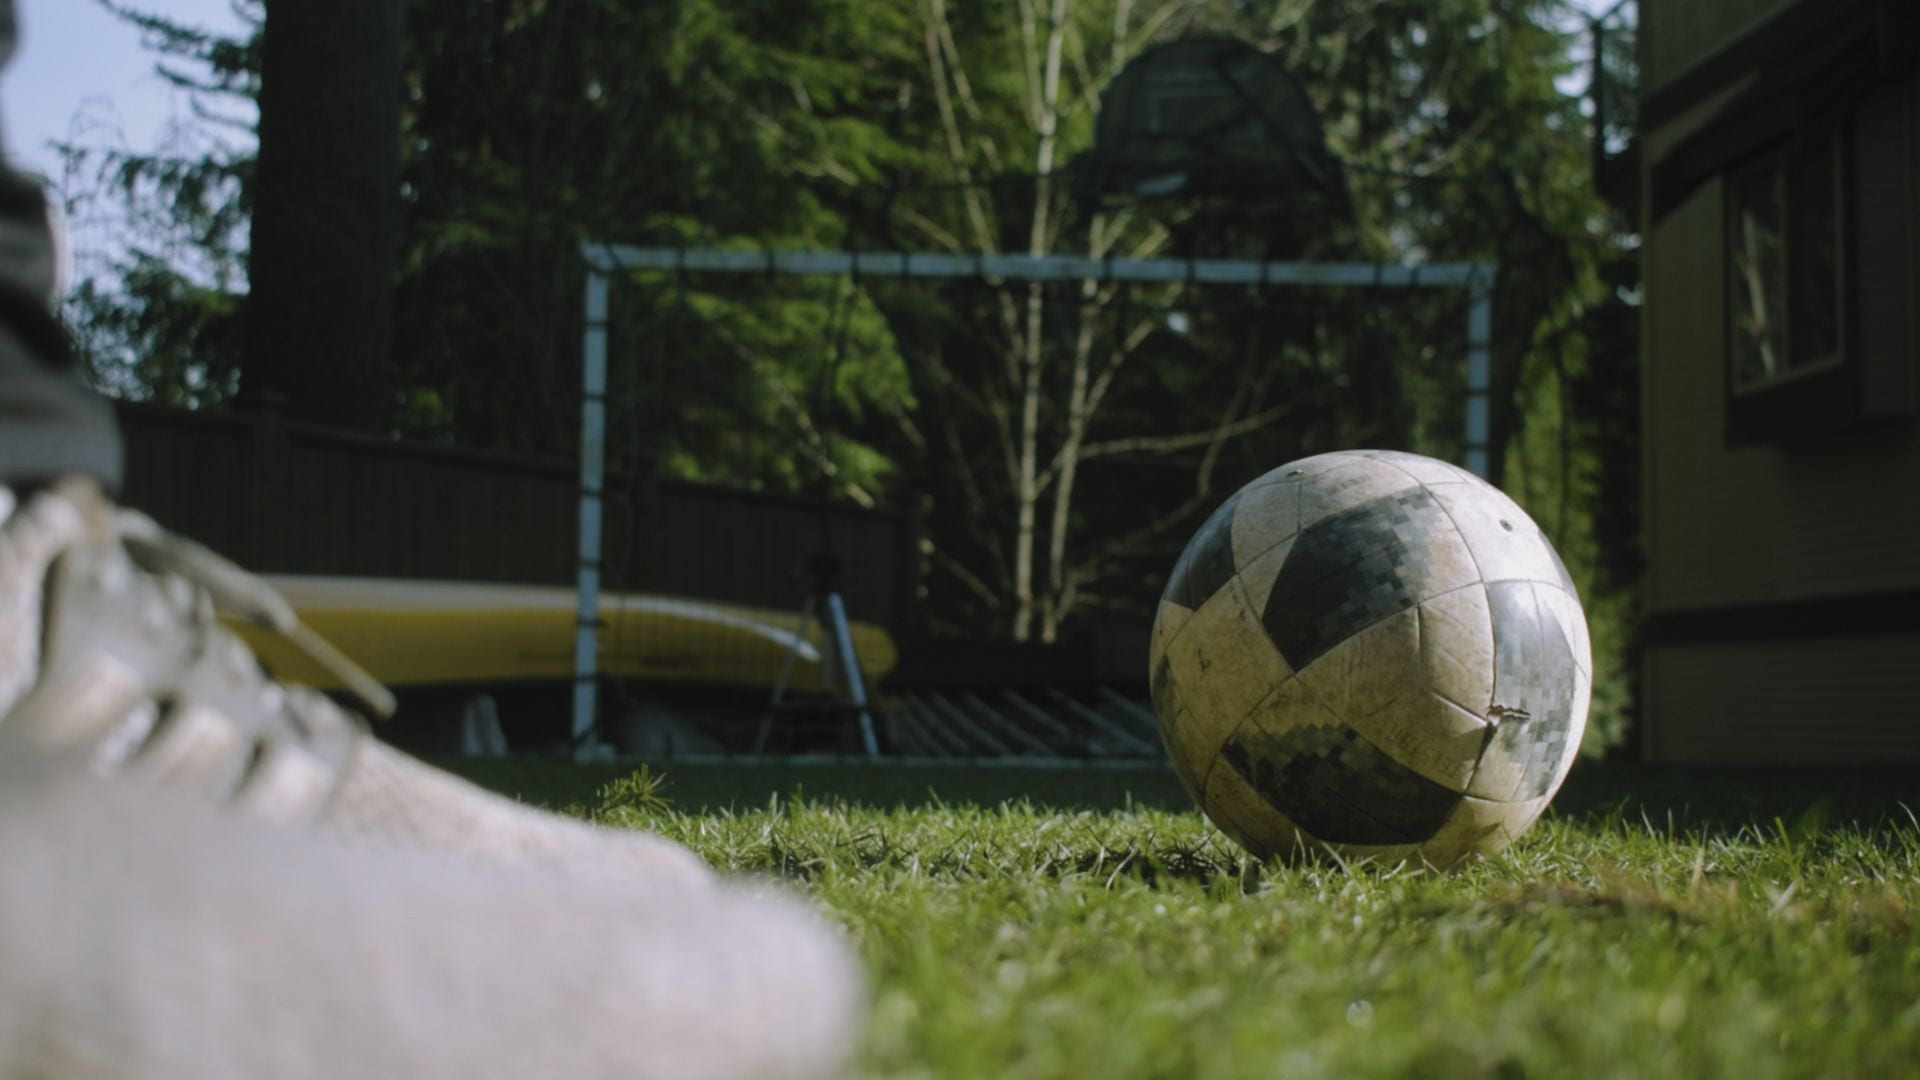
Another workflow I learned while color grading required manually converting the footage to log, before adding the desired color grade in. Here are three frames for the three steps.
- Here is the log footage straight out of the camera. Note how it is desaturated and washed out.

2. Here is the manually converted footage. It is no longer flat and desaturated, but it still hasn’t been tuned for a certain look.

3. Finally, here is the final frame. It is no longer flat and washed out, and it has a color grade for a certain look.
Overall, I think I made great strides learning about color grading over the past few weeks, but still, there is much more to learn.
Otherwise, I have been editing a video for my socials class as of late. This has been taking a while and doesn’t perfectly correlate to the type of video editing and filmmaking I am doing for this project, but it has helped me become more fluent in my editing software so I thought I would give it a share (also incomplete currently).
https://youtu.be/isaJHoHQ0dc
Finally, I used spring break to watch some movies as part of my learning process.
The first movie I watched was The Irishman. A crime epic, The Irishman follows the life of Frank Sheeran through three and a half hours of screen time. The movie was able to capture different emotions through time and create a sad ending that says a lot about living the life of crime.
 The Irishman
Another movie I watched recently was Nomadland. Nomadland is a Drama film starring Francis McDormand, which follows the life of a 60-year-old woman living as a nomad in her van. I found the film to be extremely fascinating, both as an exploration of the midwestern and nomad subcultures in America, and an analysis of the American system, and those who live on its fringes. The naturalistic cinematography and the usage of real people as actors frequently blurred the line between documentary and film and created a unique, but fantastic viewing experience. Here are some examples of naturalistic cinematography that I liked:
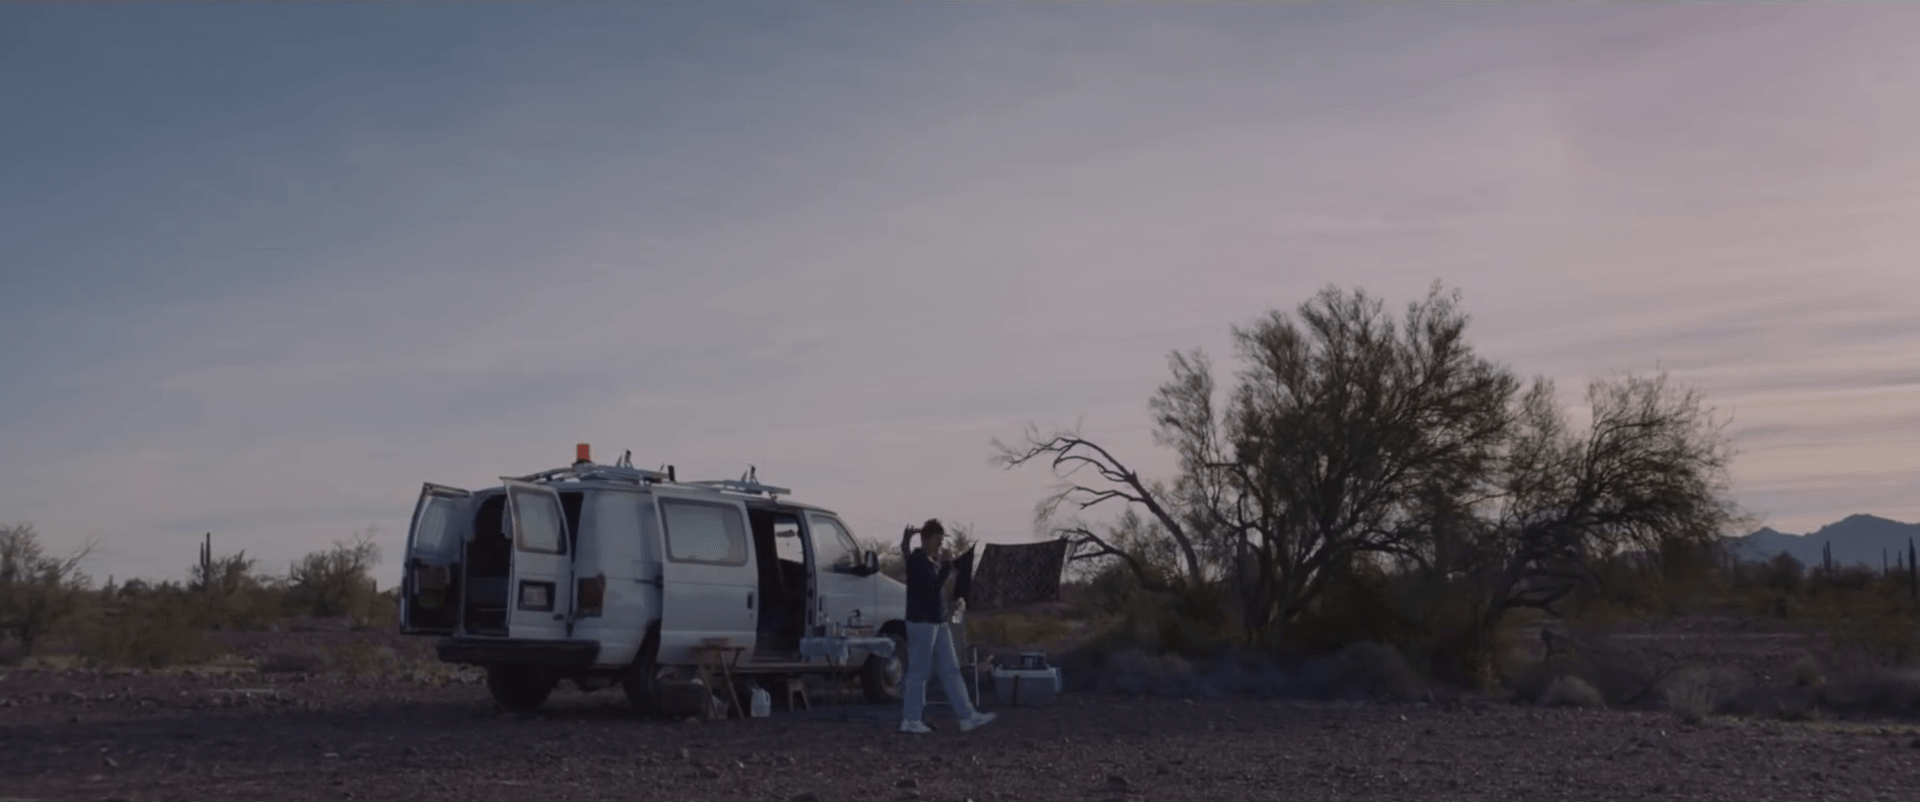

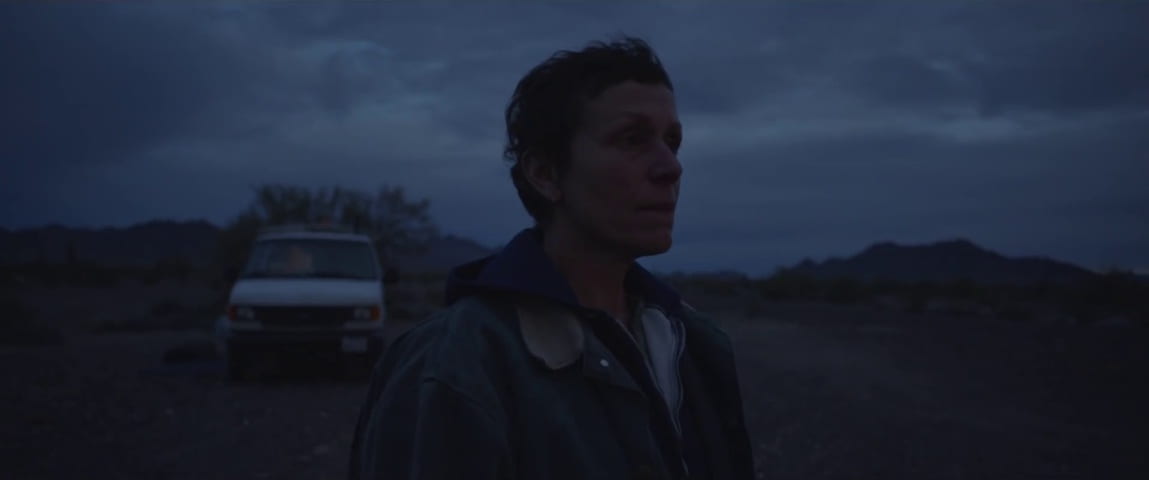
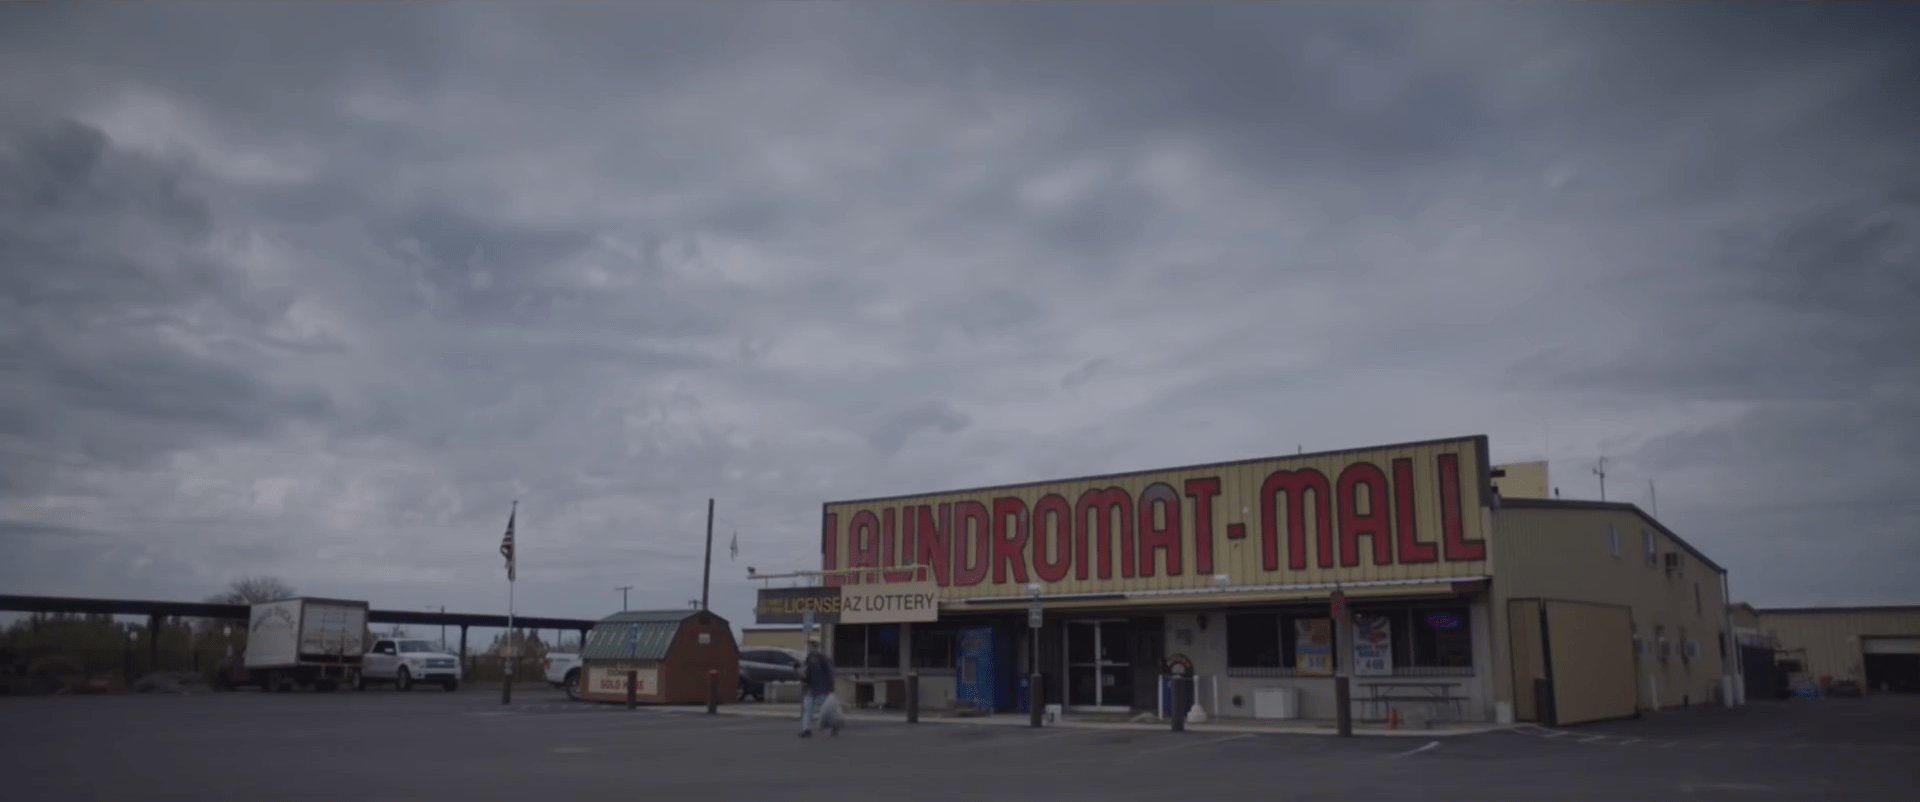 Nomadland
Learning Centre:
For my learning center this year, I will be presenting my learning and my growth in the form of a short film. This short film will then be uploaded to youtube and linked to my blog post so it can be viewed. The short film will highlight my growth in all the technical aspects of filmmaking, such as cinematography, editing, and color grading, and I currently have all that I need to put the learning center together. While I am still planning it all out, I have a rough story idea for the short film that I will put down on paper soon. All in all, I am super excited to show my learning at the end of May.
How to Have a Beautiful Mind:
Concepts: Chapter nine of How to Have a Beautiful Mind focuses on concepts, and their importance. From the chapter, my biggest takeaway was de Bono’s discussion of the levels of concepts. He mentions that it is always difficult with figuring out what level of concept to use. For example, he mentions that “food is a concept” “but so is protein,” causing uncertainty with choosing a level of concept to use (113). In my project, there are also many levels of concepts, requiring careful choices to be made when discussing one. For example, I work on video editing with my mentor. ‘Video editing’ is a concept, but within it, there are many concepts such as ‘footage sorting’, ‘video trimming’, ‘color grading’, ‘motion graphics’, ‘sound design,’ and more. ‘Video editing’ itself is part of the concept of filmmaking, so it is clear that there can be confusion. To solve this, de Bono recommends being “not too broad” or not too specific” when discussing concepts (114). So, for my meeting with my mentor, I might say, “let’s go through this video, and trim the length of different clips,” instead of let’s go through this video and video edit because the latter leaves a level of vagueness.
Alternatives: Chapter ten of How to Have a Beautiful Mind is all about alternatives. One big focus of alternatives is finding an alternative that leaves you better off. My project has a lot of these. For example, my mentor and I discussed different color grading workflows during our latest meeting. Each workflow a path to a complete, graded image, but some get me there in more intuitive ways. For example, workflow 2 (see images above) allows me to do everything manually and gives me more control, but workflow 1 (see youtube video linked above) allows me to get a more consistent look, quicker. In my case, since I have limited time, workflow 1 is the better alternative for my project.
Thanks for reading.
Evan
0 comments on “Filmmaking: In-Depth #6” Add yours →