Hello everyone, and welcome to my In-Depth night blog post! I appreciate you checking out my blog and I hope you’ve had a pleasant evening so far! Today, I will be breaking down everything that I have learned throughout my In-Depth project this year. The topic of my inquiry was Macro Photography and how to take and edit better images that are so close to a subject.
The entire project started with me finding a mentor. I contacted as many photographers as I knew, however, only one was able to mentor me. Sadly, our partnership was not meant to be since there were troubles with paperwork, leaving me to settle with my father to be my mentor. My next course of action was to purchase a proper macro camera lens that would fit my needs and work with my camera that I already had. After a small discussion with my mentor about my needs for this lens, we decided that I should buy a Canon EF 100mm f/2.8L IS USM lens to work with my Canon EOS R using my EF to RF adapter that I also already owned. Since then, my mentor and I met every two weeks to reflect on the images I captured between meetings. At the end of every meeting, my mentor would challenge me to photograph something that would help teach me a new lesson and would give suggestions on how to improve the composition for the following week’s photos. This form of learning was very straight forward and helped me grasp what an incredibly complicated art form photography can be. Without further ado, here is a myriad of photos from the beginning of my macro photography journey to my best images at the end.


The most important aspects of macro photography that I have learned through my mentor and experimentation are the rule of thirds, lines, and focus experimentation. Although these concepts are a lot more complex than I can explain in one blog post, I can briefly outline the main aspects. With the rule of thirds, it refers to where the subject is placed on either third of the frame. The general rule of thumb in professional photography is that you never want to place the subject in the centre of the frame. The only reason you would place the subject in the middle of the frame is for a specific artistic decision. Other than that, sticking to the thirds on either side will improve your image quality.
The concept of lines is another important quality I learned from my mentor. Although I previously knew a bit about how geometry is sometimes used in photography, I was not aware of how pertinent lines were to guide the viewer to your subject. They also play a role in framing the focus of your photograph on your main object/model without having to literally frame them. Furthermore, lines can also bring a more modern aesthetic which is usually associated with a positive emotion, however, that is not always the case to every viewer.
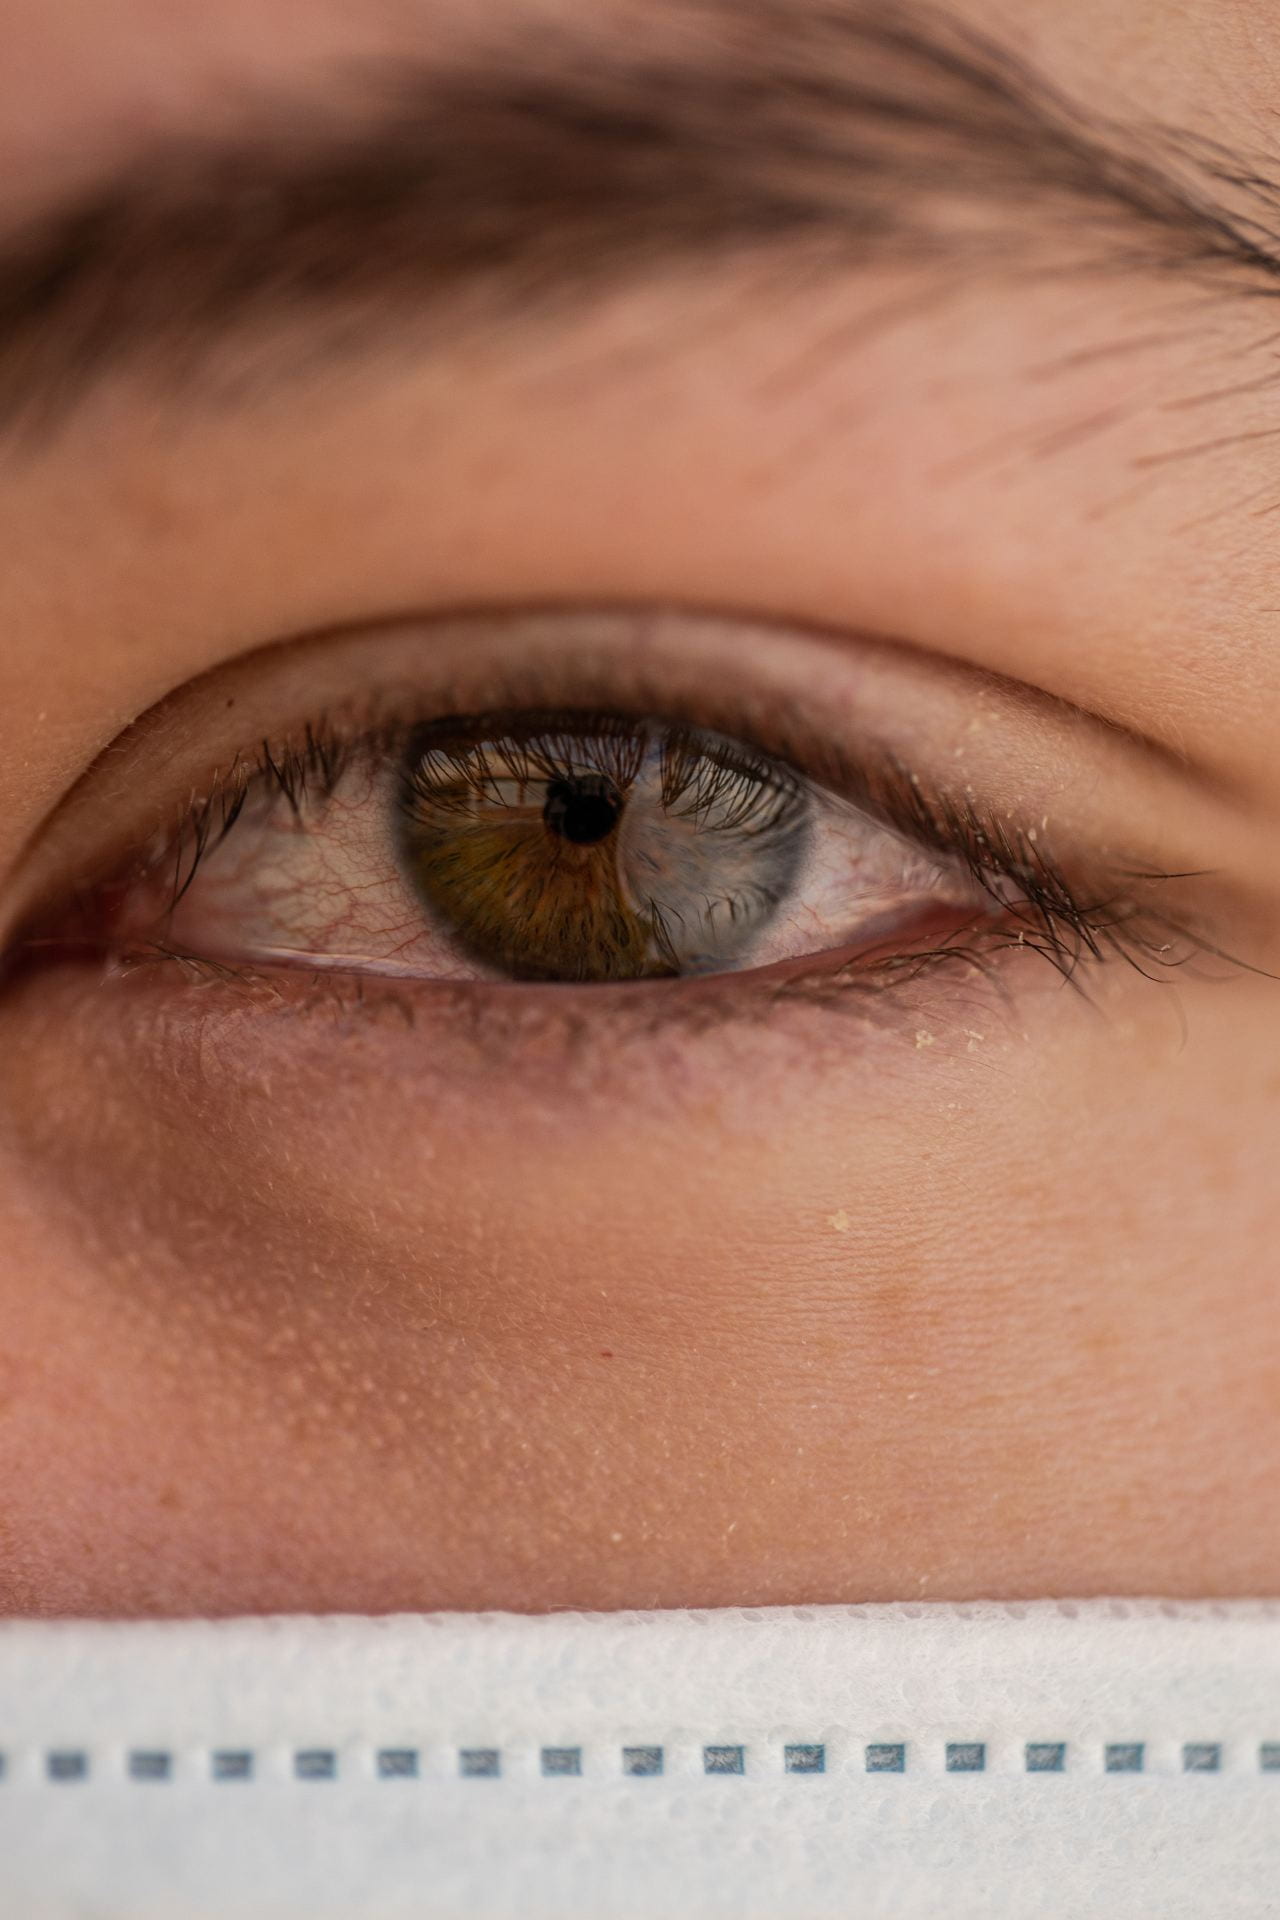
Lastly, my mentor and I had many discussions throughout all my In-Depth journey about focus experimentation and the positive and negatives it can have. Focus experimentation is where you capture an image of a subject, and you can’t decide whether to put the focus on the model’s eyelid or iris, so you specifically take multiple for you to decide later during the editing stage. One of the most obvious positives of this form of photography is that you’re able to get the exact image you wish while also having other options if the photo you hoped for didn’t turn out as well as you planned. However, the largest con for this concept is how it takes more time and allows for photographers to become become sloppier and put less effort into their deliberate craft.
Overall, my In-Depth project was by far my favourite one this school year since it allowed for me to dig deeper into a subject that I was curious in and was stretched to take up half the year with research. I hope you were able to see my progression in my macro photography abilities through the images I inserted near the beginning, and I appreciate you taking the time to checkout my In-Depth Project!
Looks cool! I really like the second and the final photo. It was also neat to hear about the different techniques you learned. I really find the power of lines a cool concept to think about.
I completely agree! I’m glad you liked my blog!
Wow, Glen, amazing photos! I learned a lot about photography from your presentation, I personally never knew that you should always take pictures in the rule of thirds before since I’ve always just placed the subject in the middle of the picture. Thanks for teaching me new techniques about photography, Glen, and great job!
Dylan
You’re very welcome Dylan! I’m happy that I could teach you something new about photography.
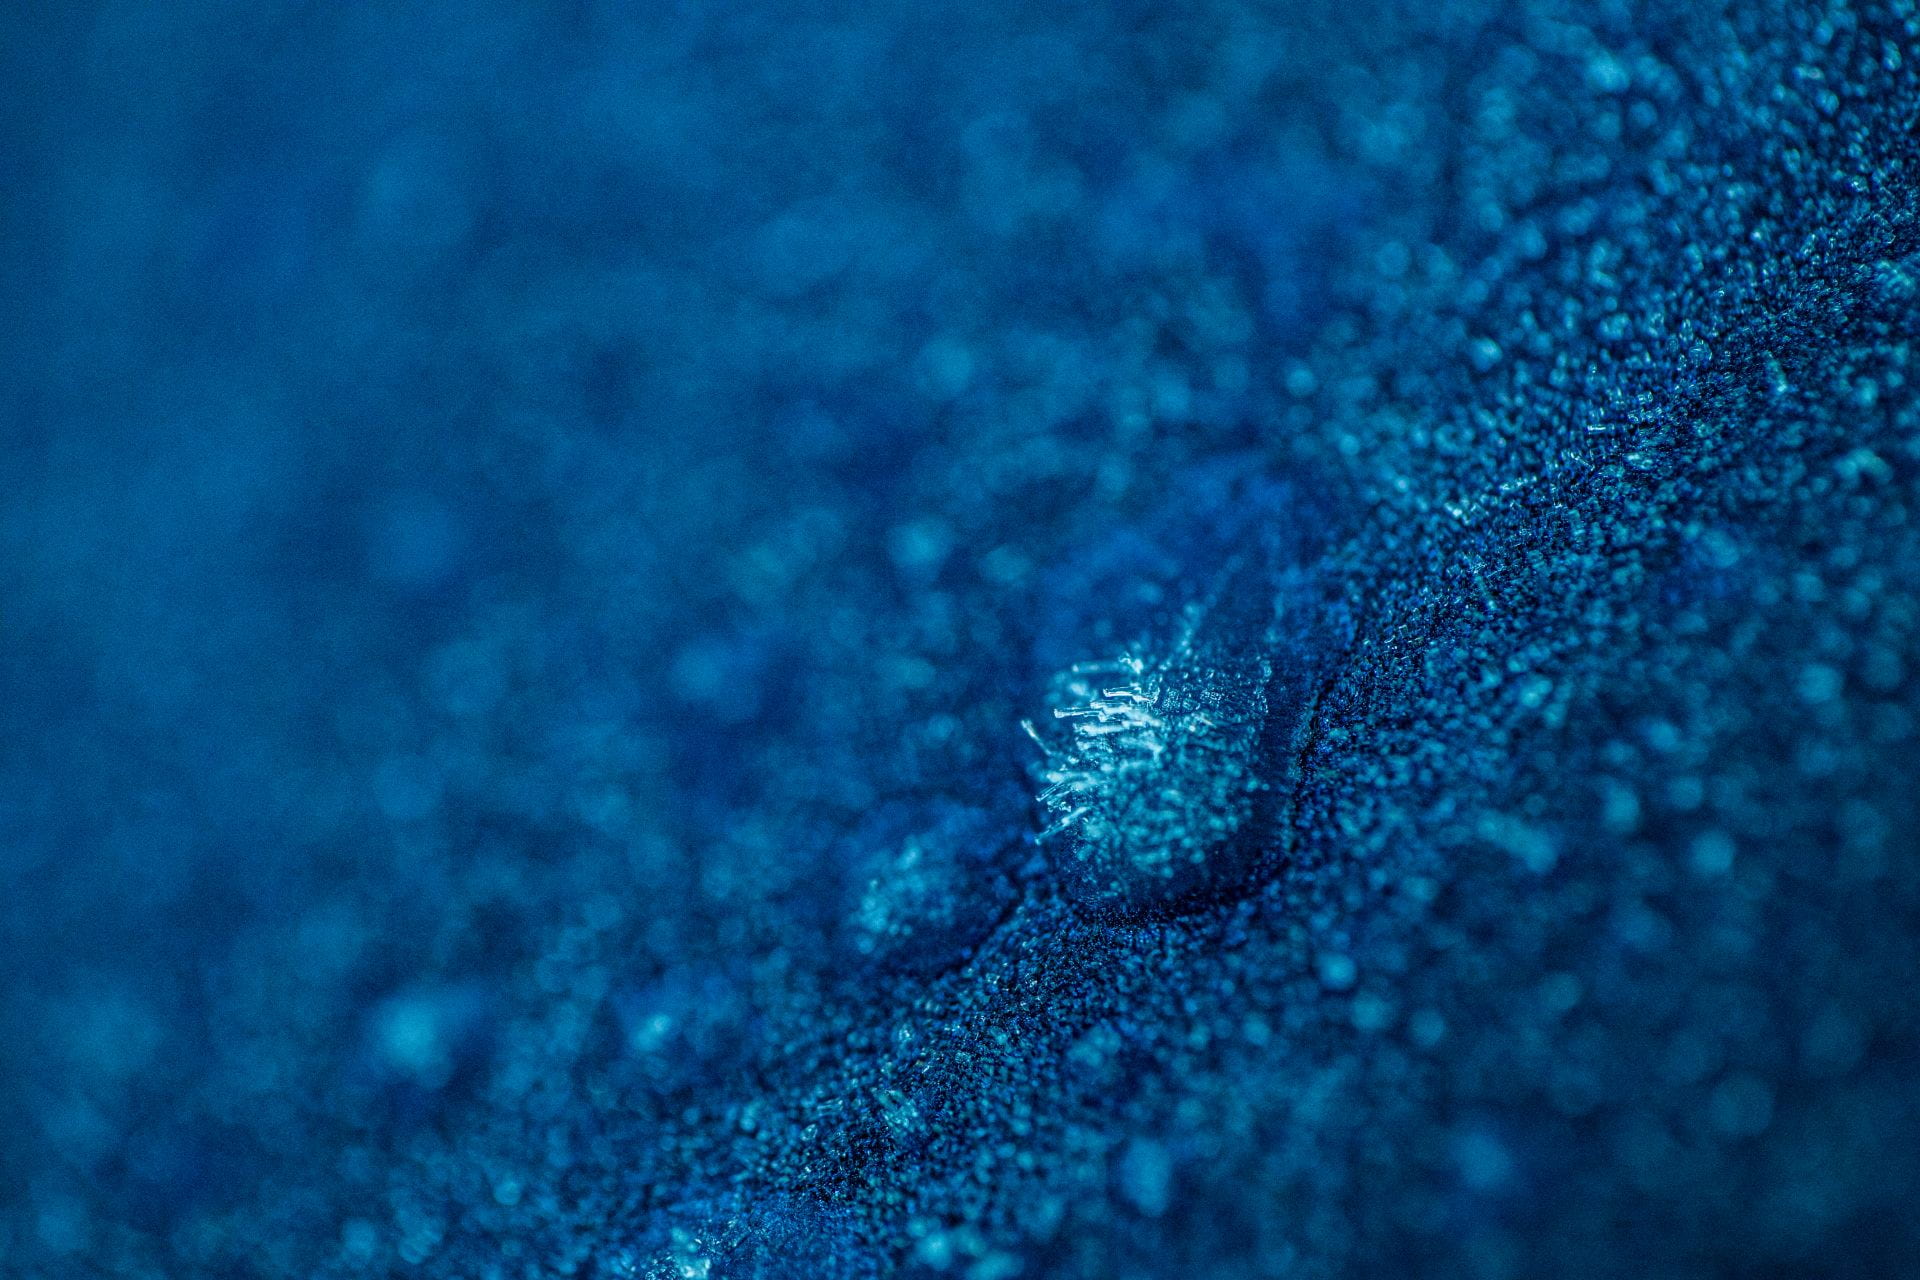
Awesome job!!! I especially loved the first photo as it kinda looks like its some sort of barren landscape but instead is actually a rope lol. Also really loved the eye! I like how you talked about your experience during this In-depth project and what you learned as well. 👏🙌
Thank you so much Justin! The photo of the yarn was one of my first photos I took in that macro style. I’m glad you liked my hard work!
Great gallery of photos. Thanks for sharing. Do you have a favourite? Why that one? What was the most challenging of this project?
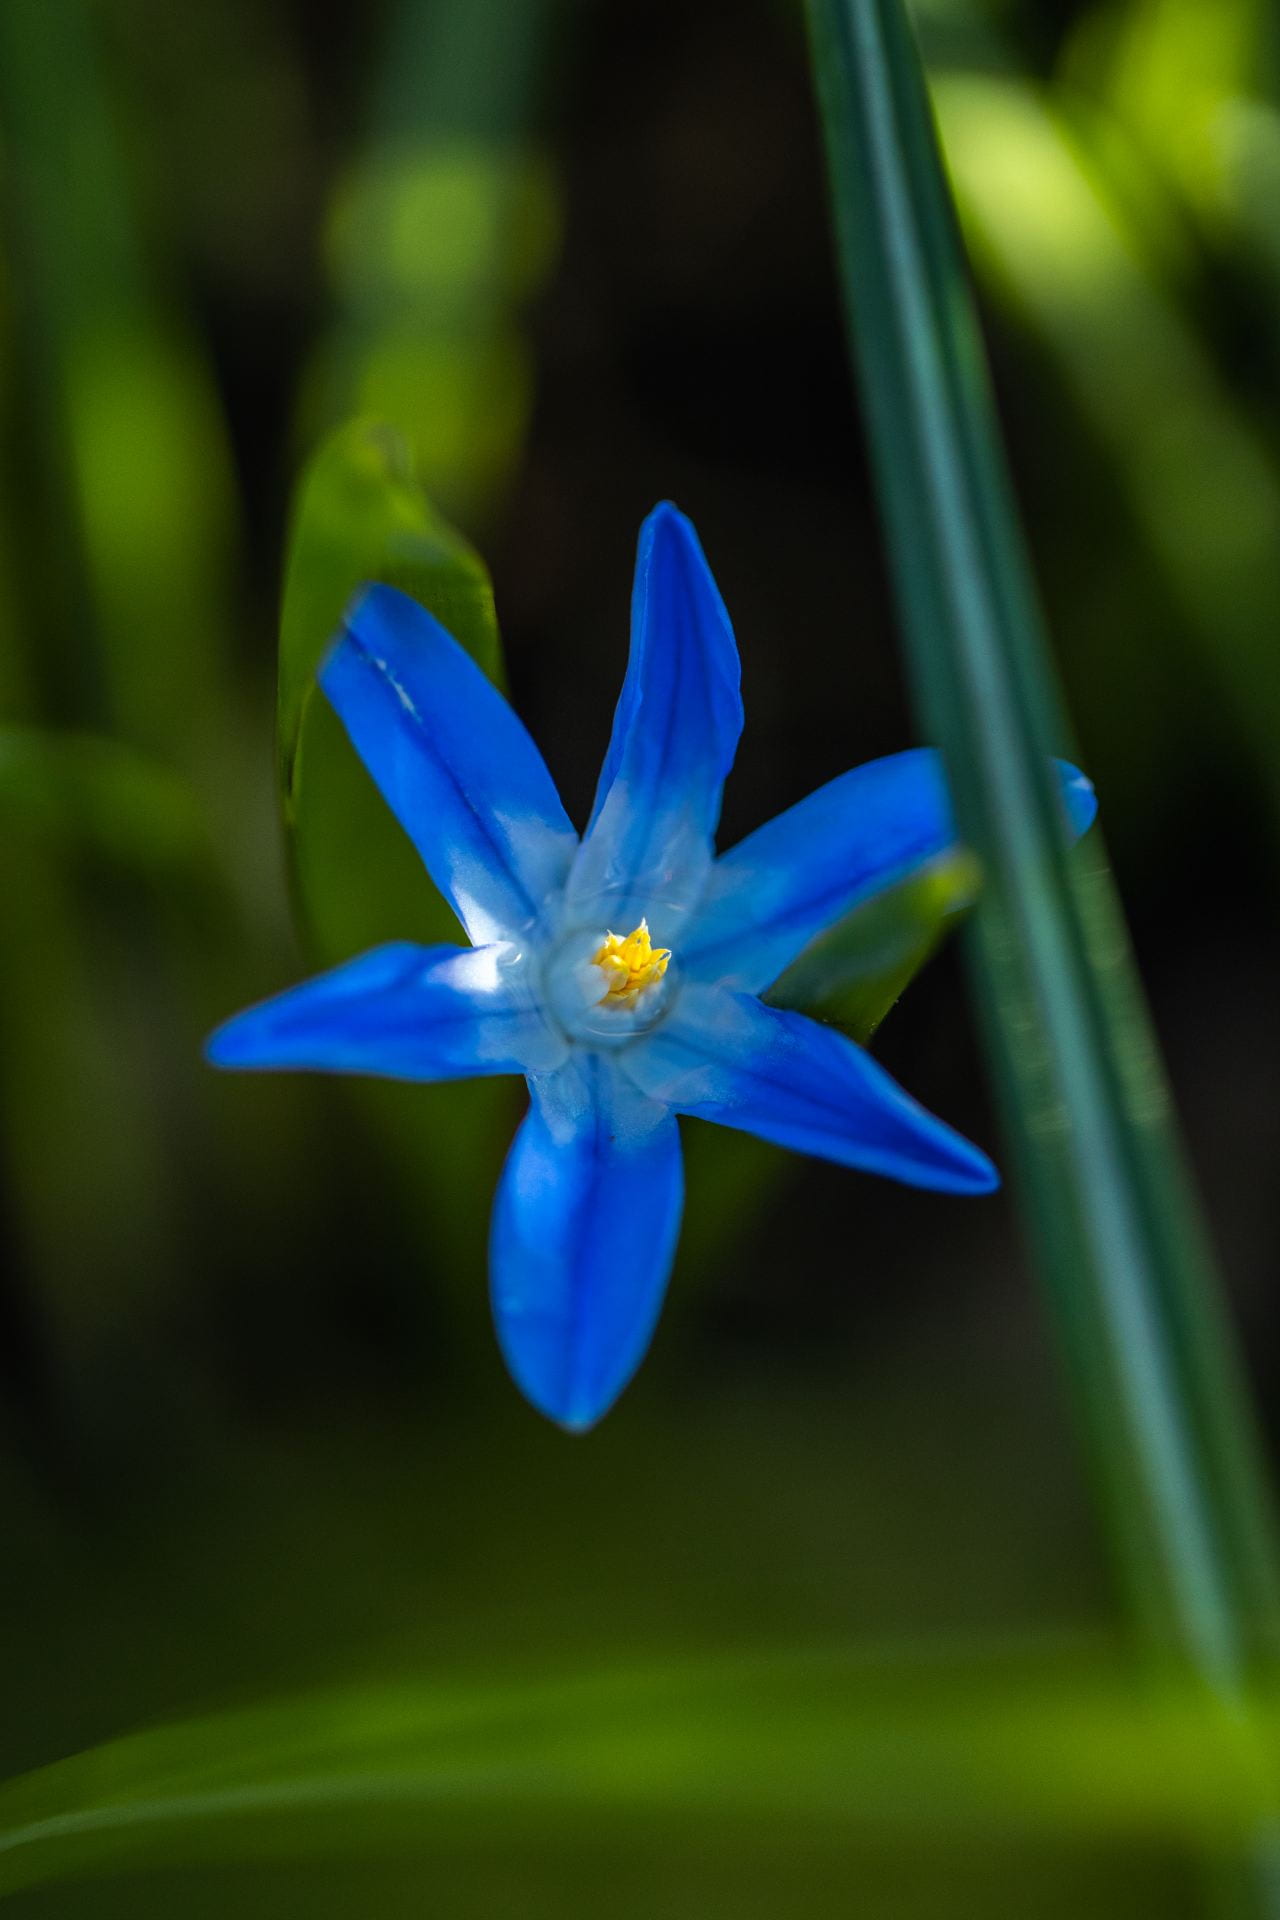
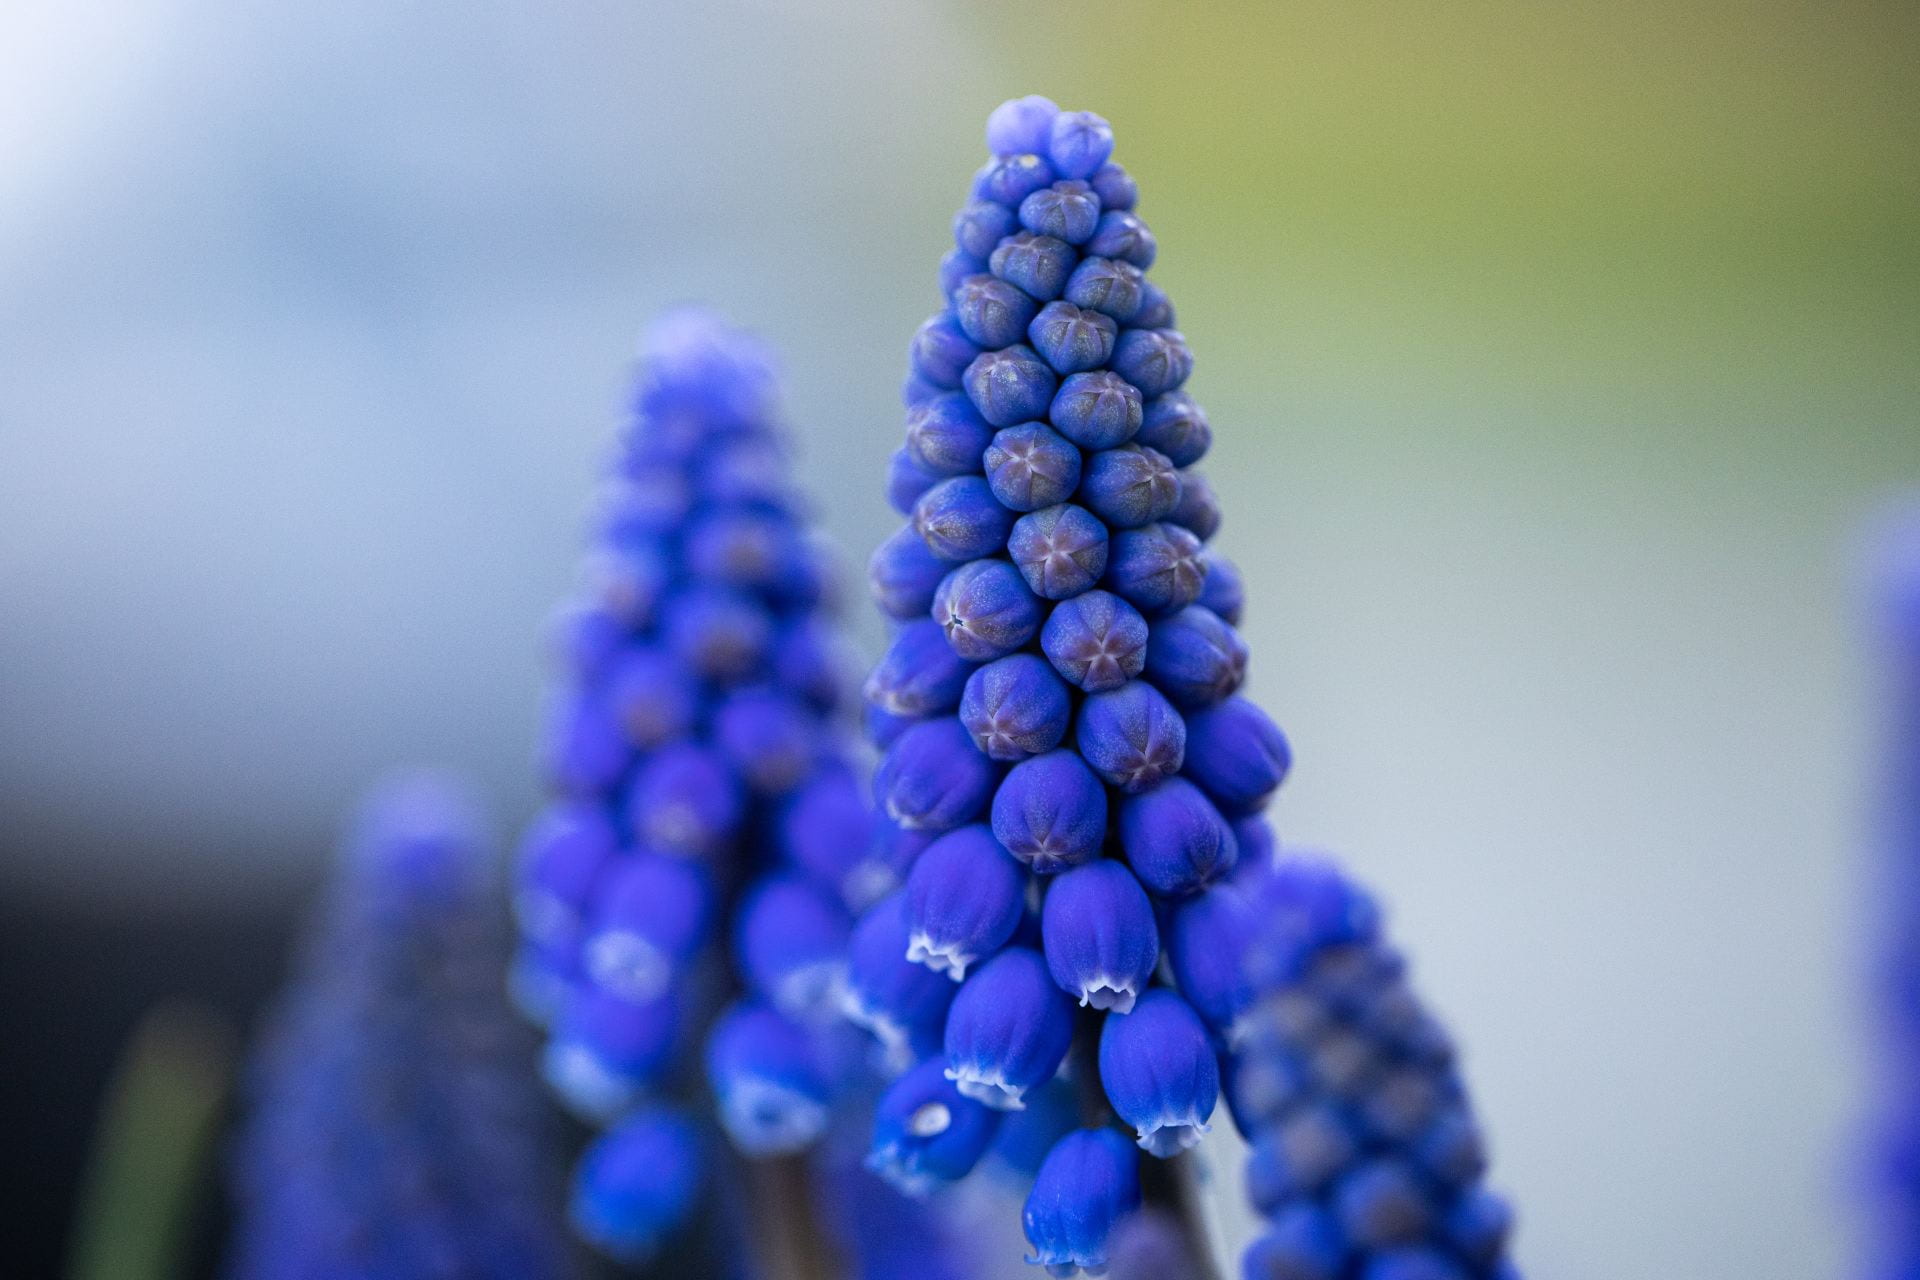
Thanks Ms. Mulder, I really appreciate your questions! My favourite macro photograph that I took would have to be the 6th or 7th one since they turned out quite nicely because they were taken near the end of my project and I had already become far more proficient in the use of my camera and new lens. I also really enjoy the beautiful colours involved with those flowers. The most challenging part of this project was finding cool subjects that I could get close to while also making each photo unique.
I love the nature photos, gives you a different perspective of the world around you. Great job Glen.
Thank you so much Colby! I absolutely agree.
Hey Glen, I really liked how you briefly explained your journey in taking your photos, it was really interesting. Your photos also look incredible! How many photos (of each of the photos you took), did you take before finally deciding on what you were happy with?
Thanks so much Sinu! I believe that I roughly took anywhere from 5 to 25 photos of each subject. It really depended on how the lighting was and different surrounding details that can sometimes leave me with only one option for angles. After the framing id chosen, I try to play around with the focus to see what sort of effects I can create. Great question!
Your blog post is very informative and your photography is incredible! I like how you explained everything in so much detail. What is your favourite subject to capture?
Thanks Bana! I’m glad you liked my blog. Personally, I really like taking photos of flowers because of how diverse the patterns, colours, and shapes can be depending on what flower I take a photo of and how much it’s environment affects it’s look on camera.
Wow! Great photos! I especially love the photo of the eye!!
Thank you so much Natalie! I appreciate it!
Macro Photography is the best! Your photo composition is incredible, great job!
Agreed! Thank you so much!
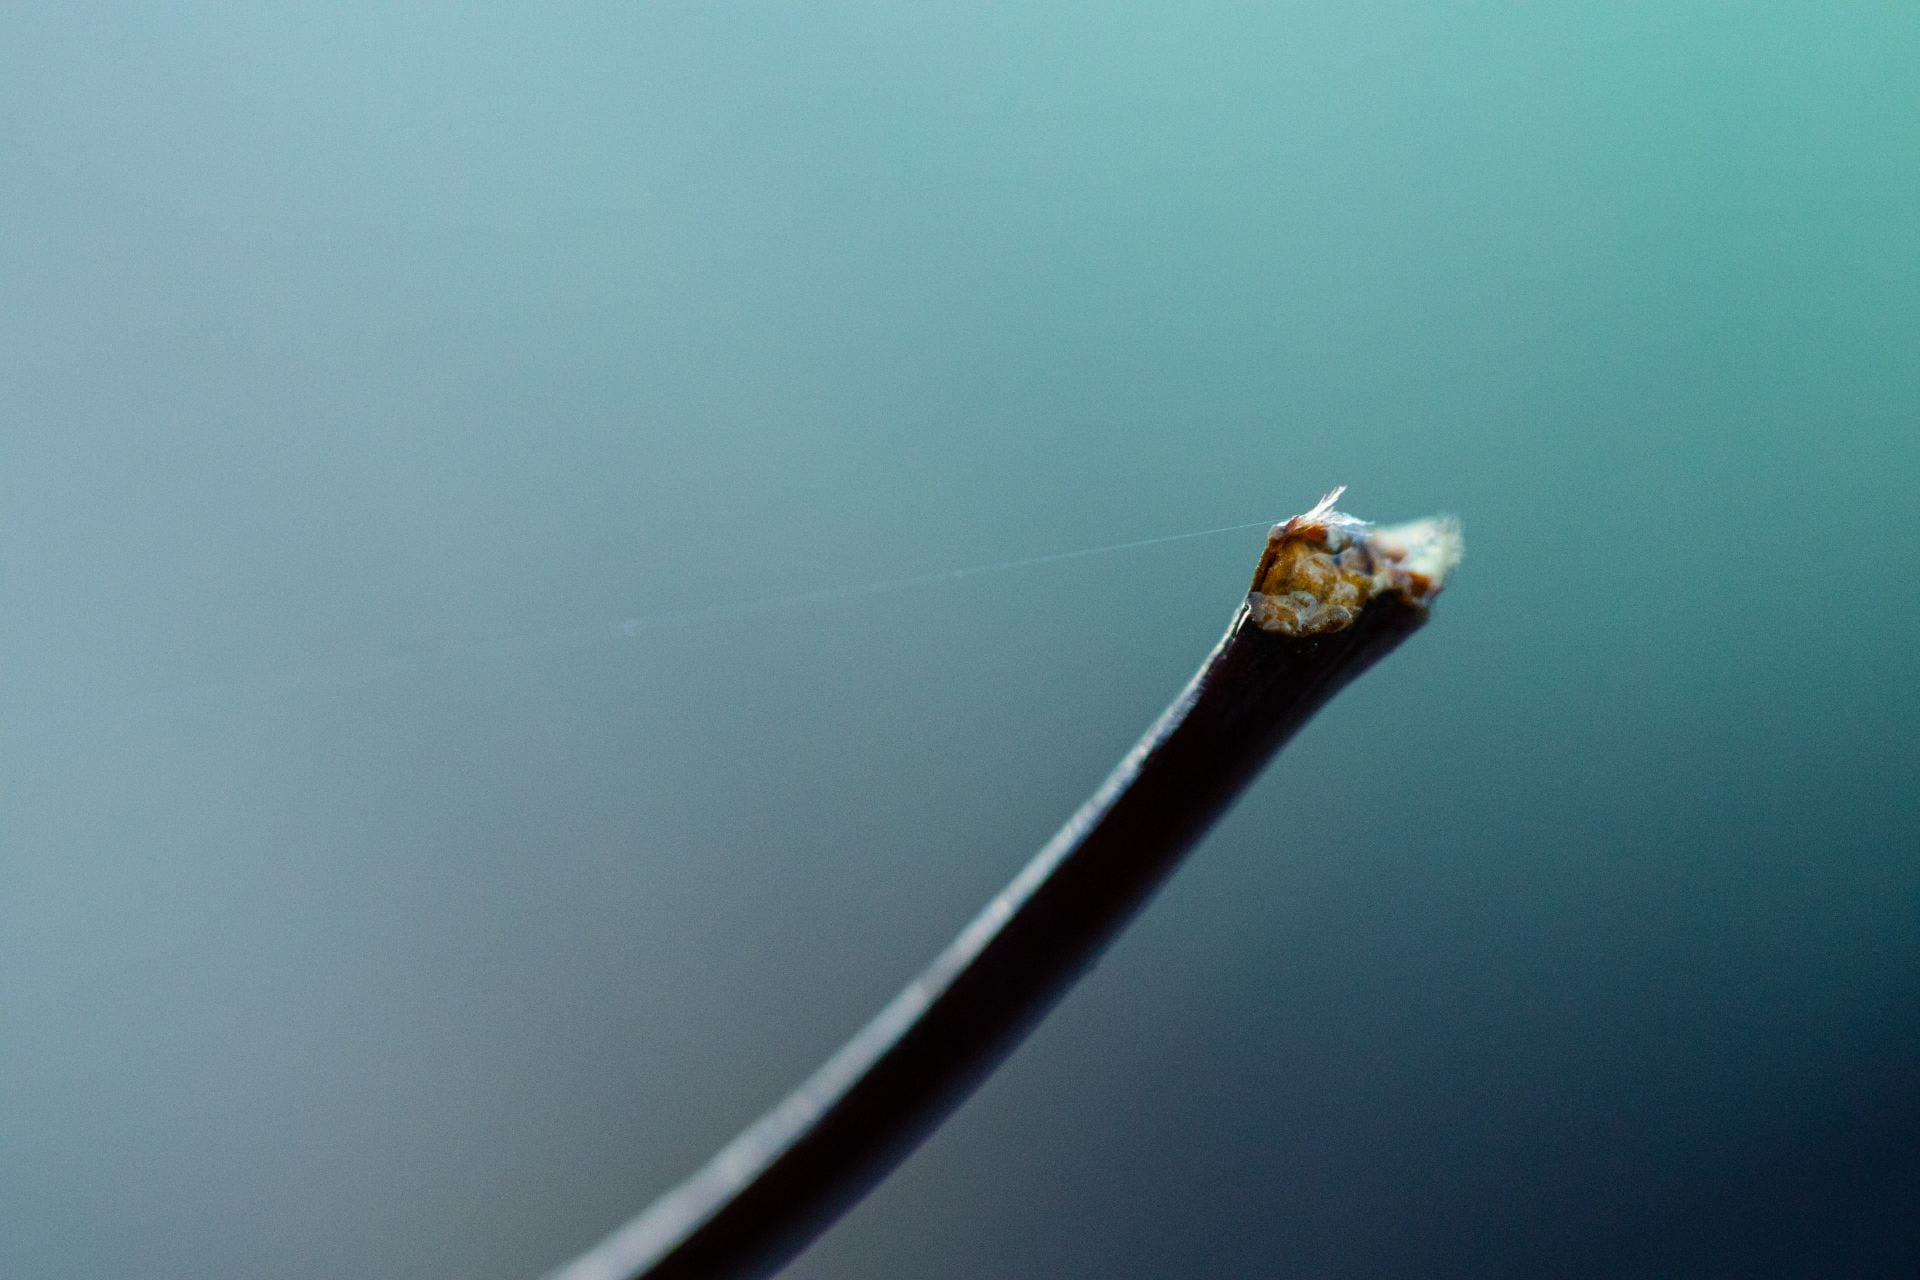
Thanks Glen for such a clear and insightfulpost to outline your learning process! I’m glad you were able to find a mentor, even if it meant settling on your father! My favourite photo is the one of the end of a leaf steam with a delicate web attached to it! I love how macro photography helps us to resee the world in a brand new light~! Is there ever a time when you when challenge or break the rule of thirds…or is it not negotiable? ThanksA\!
Thank you so much Ms. Quach! I also really like that photo too. There are definitely times where you can break the rule of thirds, it’s quite common. However, it is a general rule that usually helps new comers, such as myself, to take better and more detailed photos! Great question!
Hi Glen! Great work. I loved the vibrant pictures you took of the flowers. Overall a very informative post. Great work!
-Lucas