Since my last update I’ve had many complications. My original mentor quit on me which left me quite panicked about the shape of the rest of my project. Thankfully, another lady stepped up to be my mentor. Her name is Jenny and she’s been incredibly helpful in the time we’ve been working together. She’s a professional makeup artist who does a variety of things such as bridal makeup. Her portfolio includes a lot of cool makeup art designs.
Because I had to get a new mentor the two of us agreed to start from scratch and meet once or twice every week to catch up. So far we’ve had two meetings. Our first was a discussion to get to know each other, figure out what products I had and what I needed, determine my skincare routine, and outline what we’d be working on together.
The two of us hit it off really well from the start and were able to talk casually. Some future meetings we had planned or were considering included: a basic look/the daytime look next meeting, an evening look, a vintage/50’s look, practice with bold eyeshadow colours, a lesson on turning eyeshadows into eyeliners, and making custom lipstick colours.
She even taught about facts about the beauty industry past just makeup art and told me some cool facts that tied into the beauty industry. One of them was that, “in the 1940’s women wore bare legs for the first time because there were a shortage on nylons and the reason there was a shortage of nylons was because they were being used for parachutes in World War II.”
Then we got into actually talking about what supplies I needed and what I had. Going into this meeting I already knew I needed a new eyeliner but she said that I should also invest in brushes since I didn’t have any. Her suggestion was to get rounded, fluffy brushes (not blunt) and get them in a kit, the types she recommended were:
- a blush brush

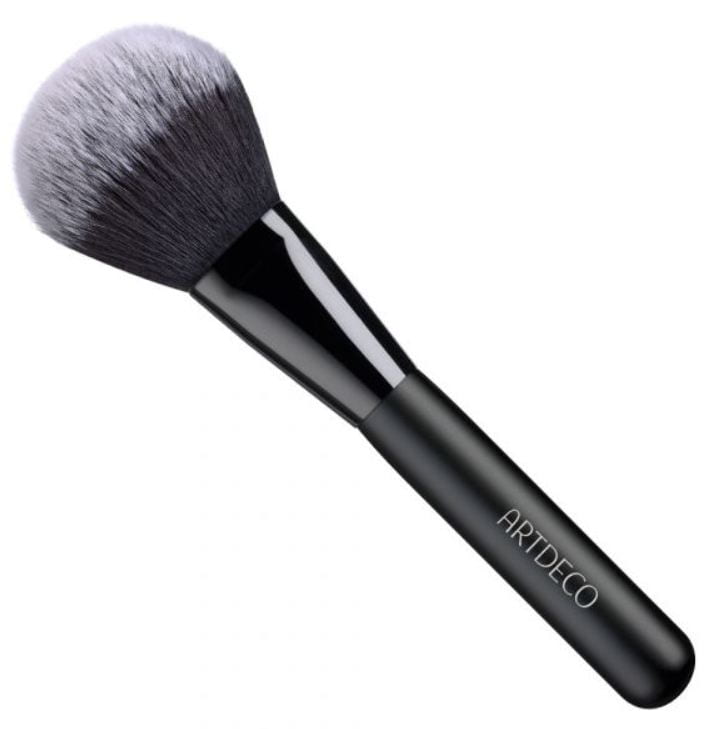
- A powder brush
- An angle brush

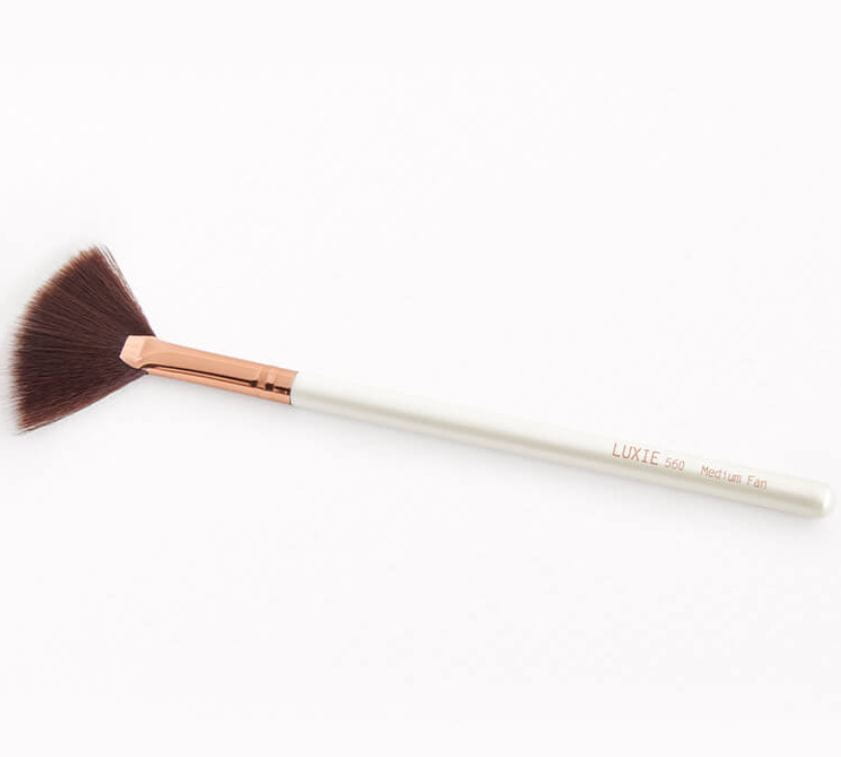
- And maybe a fan brush if I wanted
When I asked Jenny what places she recommended to purchase brushes from she said that Winners was really good and not overpriced.
One other thing we discussed during our meeting was actually colour theory, specifically in regard to coloured primers (because when I bought my primer I didn’t realize it was purple and since I don’t have yellow tones to my skin I don’t need purple to cancel it out).
Then we talked about brands of drugstore makeup that were good and she recommended Maybelline and Revlon so I’ll definitely look more into those two brands for products. At the end of the meeting, the only work she assigned me was to get some more products.
The conversation I decided to transcribe was from this session.
Jenny (blue hat): We’re gonna just do the basics, so we’re gonna go into basic contouring here, face shapes, all that stuff.
Avery (red hat): Coolio
Jenny (black hat): You have a… you have almost an almond shaped face. So we’re gonna talk about just what to do with the contouring.
Avery (white hat): Yeah I wear my hair like this all the time, so you can actually see my face shape.
Jenny (red hat): Yep totally, so you’ve got almost an almond… it’s almost a rectangle
Avery (yellow hat): I can’t really tell what it’s like, because I’ve tried to look at diagrams. I’ve found one that’s like square and I think it looked the most like me but what’s almond…
Jenny (white hat): Your face is a bit longer, so a square would be the same on each side whereas a rectangle is longer. If your hairline was down further then I’d say square but definitely rectangle.
Our second meeting was when we started to do actual makeup application. During the call I went through the motions of my skincare routine and then she gave me tips such as to not use exfoliants with almond or nuts in them because, “nut skin scrubs will actually scratch you skin and cause more damage.”
Then we moved on to the actual makeup application. While I told her I had beauty blenders she actually told me to just use my fingers to blend in my foundation. I did the same with the concealer. We moved on to applying blush and I didn’t have any of good quality, she told me that in the future she would recommend ‘physician’s formula – butter blush’ so I’ll definitely look for that when I buy my next blush. When applying blush Jenny tells me that you should “lip colour should always match cheek colour or match your lip colour to your blush.”
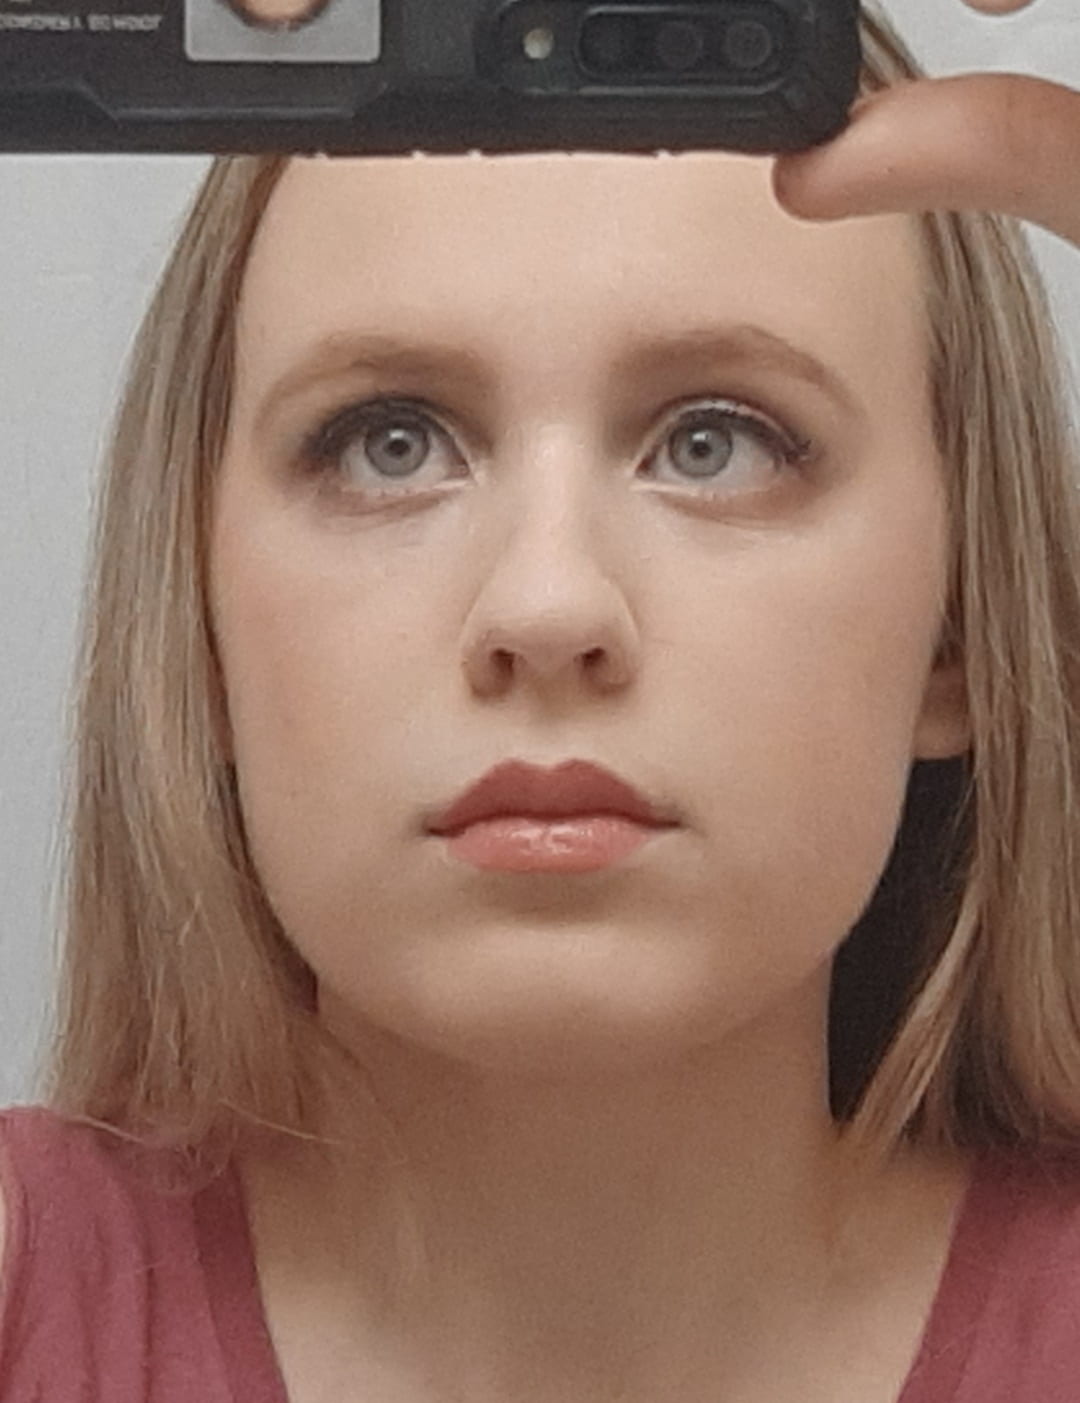
Then we started to do contouring, so even before we began I had to warn my mentor that I was not good at contouring because I did not have the proper brushes for it, nor the correct contour shade, and I had very little skill when it came to contouring.
Jenny said the ideal face shape is an oval and informed me that my face shape was a rectangle, which was close to an oval, which is good.
Even with her instructions the contour turned out quite terribly because the colour I had to use had too much pink tones to it and so it made me look very flushed (not to mention it was several years old).
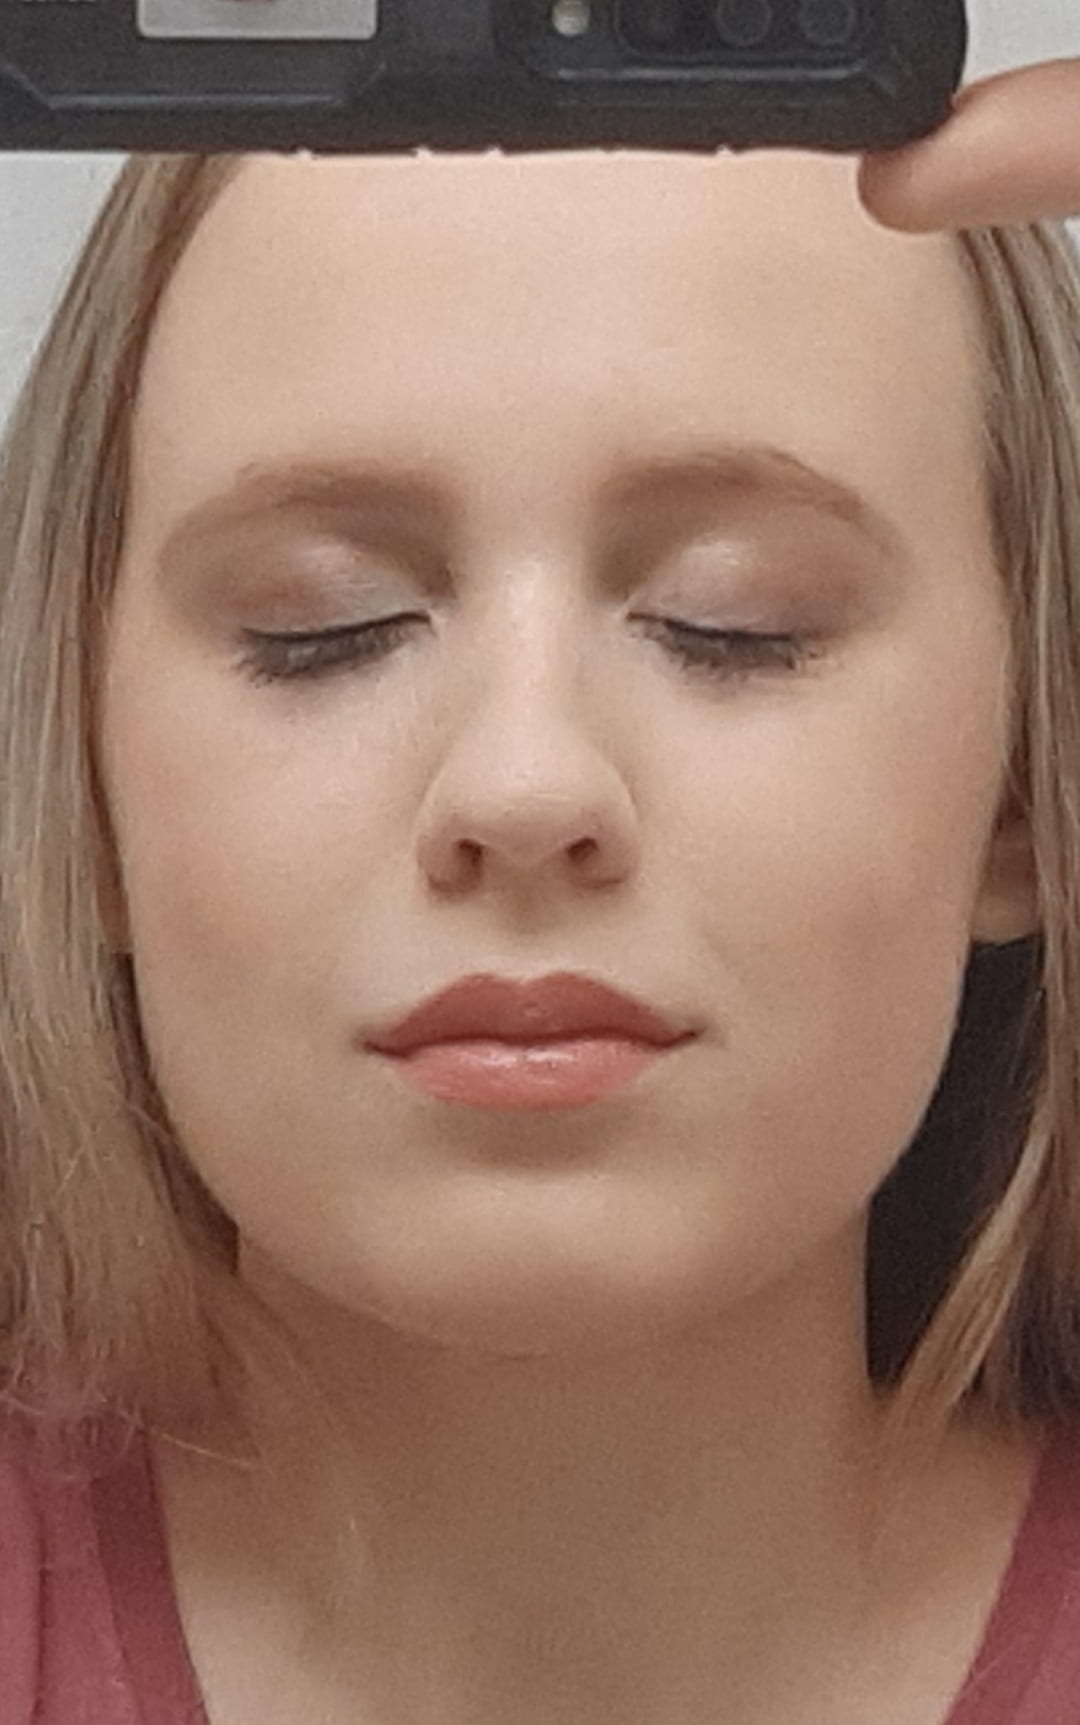
After contouring we used a setting powder on my entire face then moved onto the eyebrows. With her instructions, it turned out a lot nicer than what I could do previously.
Then on to the eyes. We started with darkening the crease, then applying a red/purple colour to the outer eye that covered 2/3 of the eyelid, the final eyeshadow colour was a light shimmery colour on the inner 1/3 of my eye and then blending. The finishing touches on the eyes were a thin line of eyeliner and mascara.
Finally we did a more neutral pink lipstick with a gloss over top and then we were done.
Just from these two sessions, working with my new mentor is vastly different from working with my previous mentor. While my last mentor would text me answers when I asked her, Jenny has been incredibly nice, and helpful when we’re having our meetings. Because of this, I’m having a lot more fun doing my in-depth now, than previously.
Our next two sessions will be the evening and vintage looks so see you next time!