In-Depth Final Post: Google, How Do I Learn To Yoyo in 5 Minutes?

Hi, I’m Colby Ng, and this year for In-Depth I explored what professionally yoyoing really is. Enjoy!

Definition Yo-yo/Yoyoing:

  • toy consisting of a flattened spool wound with a string that is spun down from and reeled up to the hand by motions of the wrist. 
  • To move up and down; fluctuate.
  • To manipulate or maneuver (someone or something).

“It does not matter how busy or old we become, we shall always find happiness in playing with a yoyo.”

– Unknown

Step 1: Learn What Types of Yoyo’s There Are

A Beginner's Guide to Yoyo - General Yo-Yo - YoYoExpert Forums

Firstly, there are different shapes to yoyos, different shapes are better for different tricks. As a beginner you want lots of room to work with, so the wider the better. Secondly, there are responsive (flat), and unresponsive (curved) bearings. A responsive yoyo is best for beginners as a simple flick of the wrist brings the yoyo up. However, unresponsive bearings allow for much harder and more complex tricks.

Step 2: Learn What Components Make Up a Yoyo

Strings, bearings, spools, and wings are all the components that make up a yoyo. Combined they create our modern yoyos, just be sure not to break any of them, especially the string. Taking care of your yoyo is important if you want it to work properly. High-end yoyo’s need lubrication, string changing, and under no circumstances do you want to drop your yoyo and risk breaking parts.

Step 3: Learn Some Quick History of Yoyoing

World Champion Gentry Stein (See Above)


While seen widely as a toy, in the late 1900’s yoyo’s spun into mainstream pop culture. Through the years yoyoing has evolved into many different types, but performance yoyoing still remains prevalent. Added with music, a combination of tricks are thrown together to create an alluring performance almost akin to hip-hop dance. A mix of skill, creativity, adaptability, practice, and flow are all you need to put together a great performance.

Step 4: Throw Your Yoyo and Get Started (Add Music for Spice)

See Below. Yoyoing is a throw and a spin away.

Pro-tip, don’t throw your yoyo at anything breakable!

Final Presentation

Feel free to comment below, ask any questions, or take a look at my previous posts for more information.

In-Depth Post #6: The Last Knocks and Scratches


In the last month of In-Depth, my skills, knowledge, and natural abilities are all coming together. Now more than ever, I feel that De bono’s ideas surrounding concepts and alternatives have helped guide me through the final stages of In-Depth. Therefore, instead of having my ‘Beautiful Mind’ section at the end, they will be integrated into my post as a whole.

Watch Some yoyoing as well: Progress

Yomania: yoyo tricks and reviews — Everything related to yoyoing!

Over Spring Break I continued working on my yoyo skills as per usual. I’ll walk somewhere and yoyo on the way, yoyo at nighttime and listen to music, or yoyo in front of the TV (And try not to hit it), the fact being, I’ve continued yoyoing and improving. I feel that some of my most significant improvements have come from these last few weeks, the first being designing my own yoyo trick.

Creating my own yoyo trick was a great example of how De bono explains concepts. Yoyo tricks, after all, are exactly that. They are concepts and different people’s ideas that get turned into something physical. When people are creating a trick, they might have an idea of what it might be, but executing and refining the trick is the application of the concept. The trick I created is called Bail Out, and you can see me perform it during my progress video as well as it being the last trick in the video. The interesting thing about Bail Out is that I came up with it through a mistake. I was trying a trick called Double or Nothing, and I messed up the trick by catching it on the wrong string. I fooled around with my yoyo and tried some hand movements, and just like that, I created a new trick. I called it Bail Out because I’m ‘bailing myself out’ of what would’ve been a mistake. When I first was messing around and basically freestyle yoyoing (no specific tricks and just random motions) the concept came into my head. I realized I could turn my mistake into something cool and impressive, and with trial and error, I did exactly that. I ended up showing my mentor during one of our meetings and taught Nolan how to do it as well. Both of us were impressed I could create my own trick, and I’ll be integrating it into my final performance. It goes to show you how mistakes can be a good thing, and how concepts are crucial to the development of anything, yoyo tricks included

All in all, my In-Depth has been going better than ever. I have continued my research and knowledge expansion of yoyoing. Specifically, I’ve been researching the World Championships of Yoyoing and how they work. The competition is a complex event more similar to a hip-hop competition than any other sport. Each competitor creates their own ‘routine’ with their yoyo and shows off all the skills they have. they’re judged on originality, complexity, space use, music, and so much more. The performances can be long and quite tiring, and obviously, they take a lot of skill. (See Build an Epic Routine Video)

You’ll also see a video called the 26 Levels of Yoyoing. Personally, I can get up to level 13, and for someone who has not been yoyoing for too long, I’m impressed with myself. The video also does a great job explaining how tricks build off each other, and I’d recommend watching it for anyone starting to yoyo. The video touches on De bono’s ideas about alternatives in a very interesting way. Alternatives are great because they provide additional insight, a different perspective, and flexibility to anything. Specifically for yoyoing, the idea of alternatives is critical as you start learning more tricks. You learn that there really is no one way of yoyoing. I talked about this with my mentor when I learned a new trick. It is all about flexibility and realizing that alternative ways to execute tricks do exist and could potentially be even better than the original. There is a general idea, but endless different ways to execute it. In yoyoing, the creative effort to generate alternatives appears the most. While this is a very yoyo specific idea on alternatives I can be applied to everything else as well. For me, its always about keeping an open mind with people, ideas, mentors, teachers, yourself, and everything around you.

I’m also happy to announce I’ve met and passed every single Goal I made for In-Depth. I thoroughly understand how yoyos work, the types of yoyos, the use of yoyos, and their components. I understand the basic history of yoyoing and how it has changed and evolved into the sport it is today from its origins in the 80’s and 90’s. I also know way more than 20 tricks that I can perform and explain, and lastly, I’ve created my own trick. Just cause I’ve met my goals doesn’t mean I’m finished. I have to put all of this skill and knowledge together for my final presentation, and I hope to keep adding to it in the time I have before May.

One thing really stuck out to me over these past couple of weeks. Yoyoing isn’t just a toy or a sport. There is a whole community behind it. Yoyoing came from a craze in the 90’s to complex engineering, aerodynamics research, creativity, competition, and fun. On the surface, it doesn’t seem like much, but there is so much more to explore.

I want to thank everyone who has helped me through my In-Depth, Nolan especially, and I can’t wait to show off all my improvement in my final presentation. Don’t Bail Out just yet…

Research:

YOYO Championships

In-Depth Post #5: A New Yoyo and New Tricks

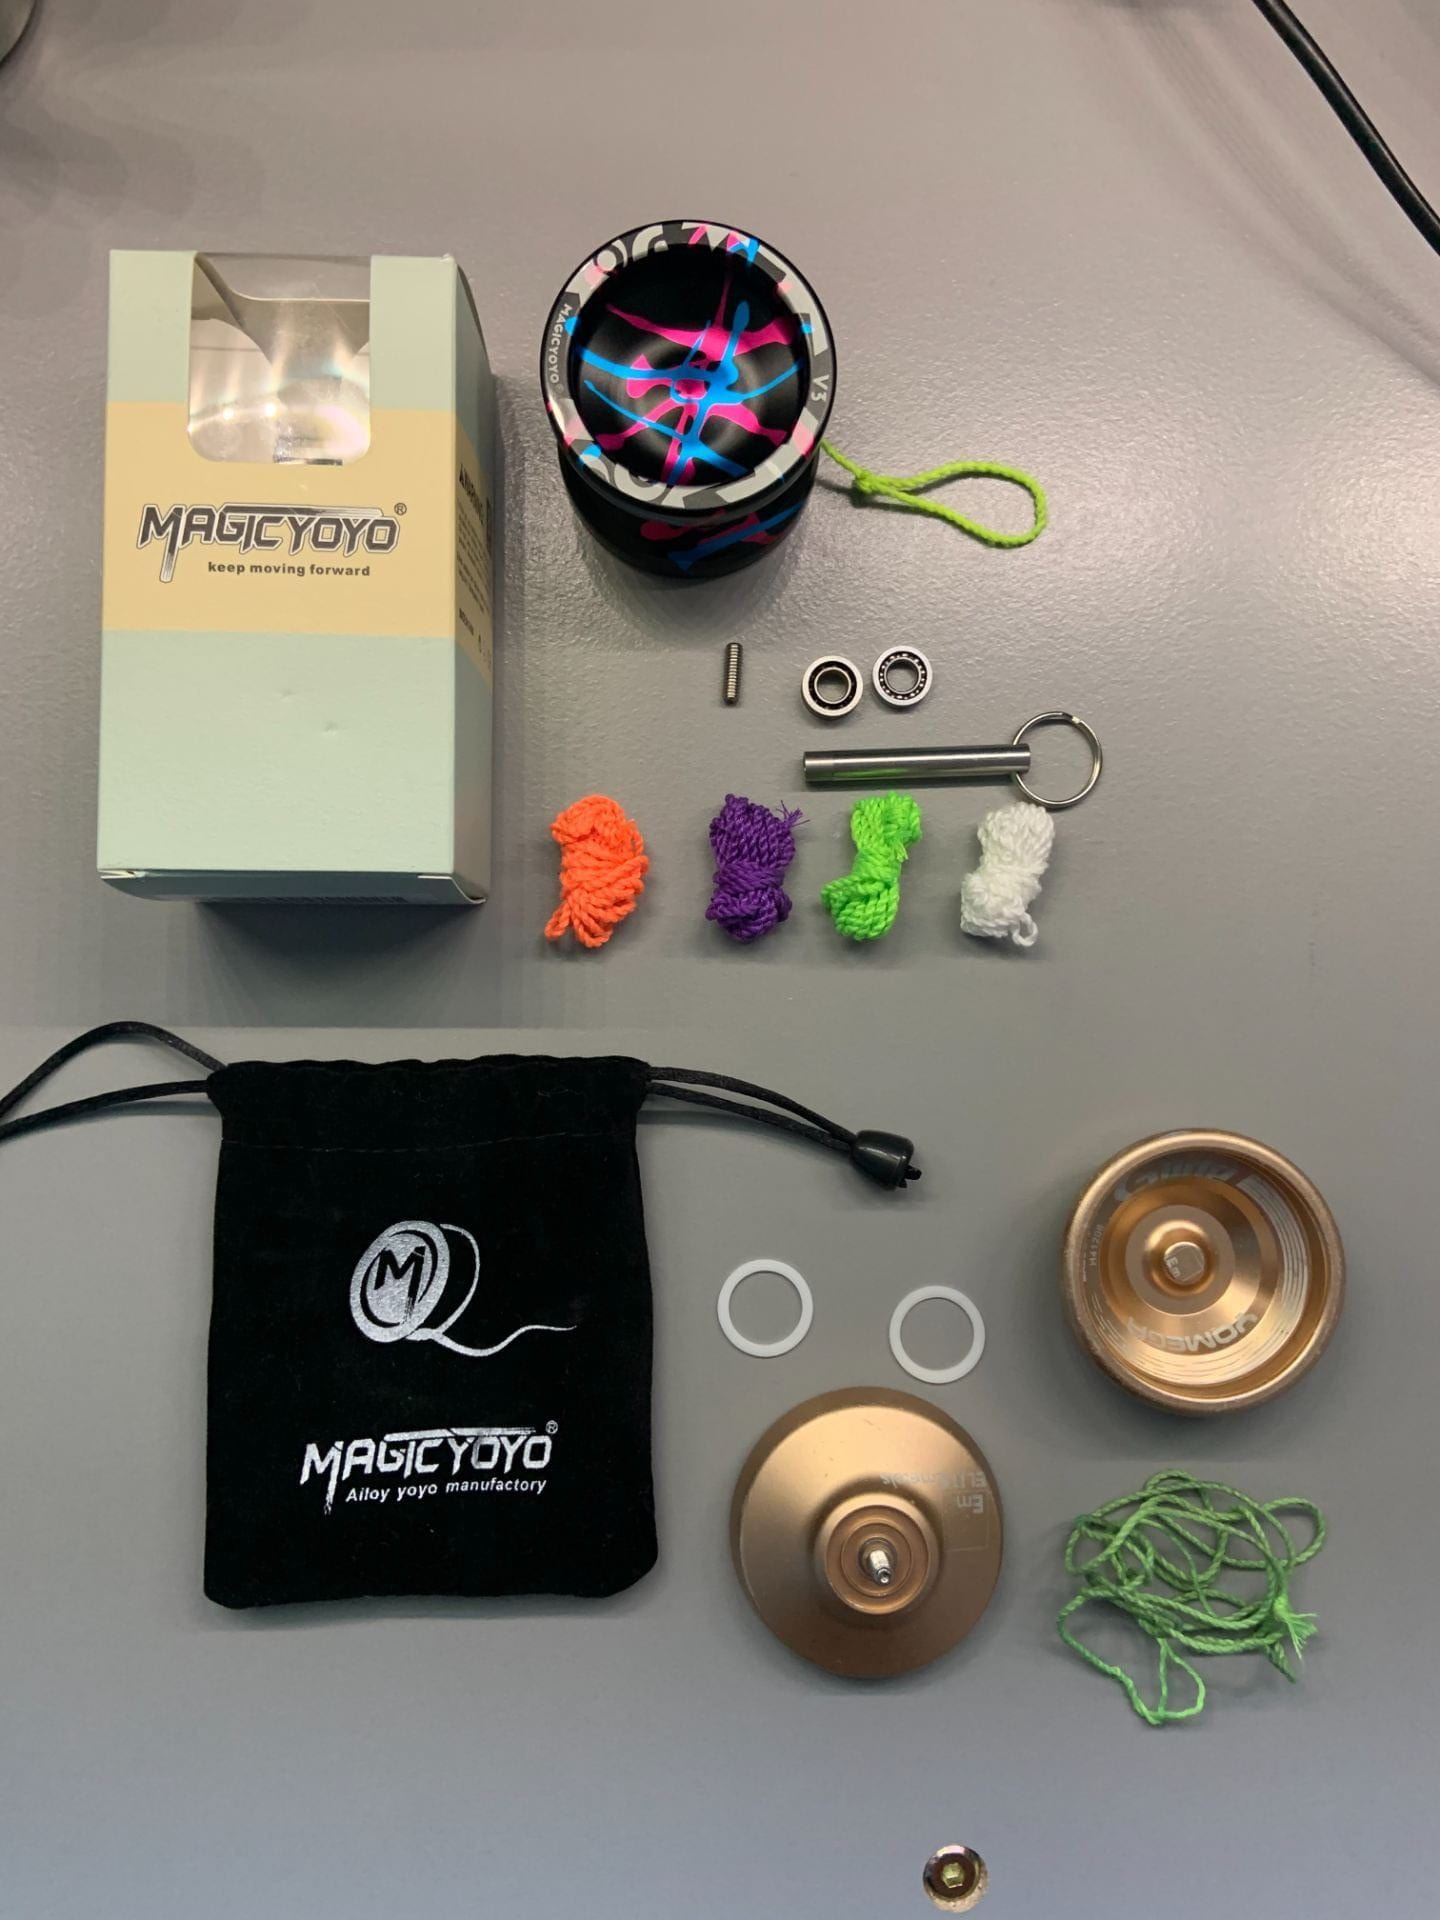
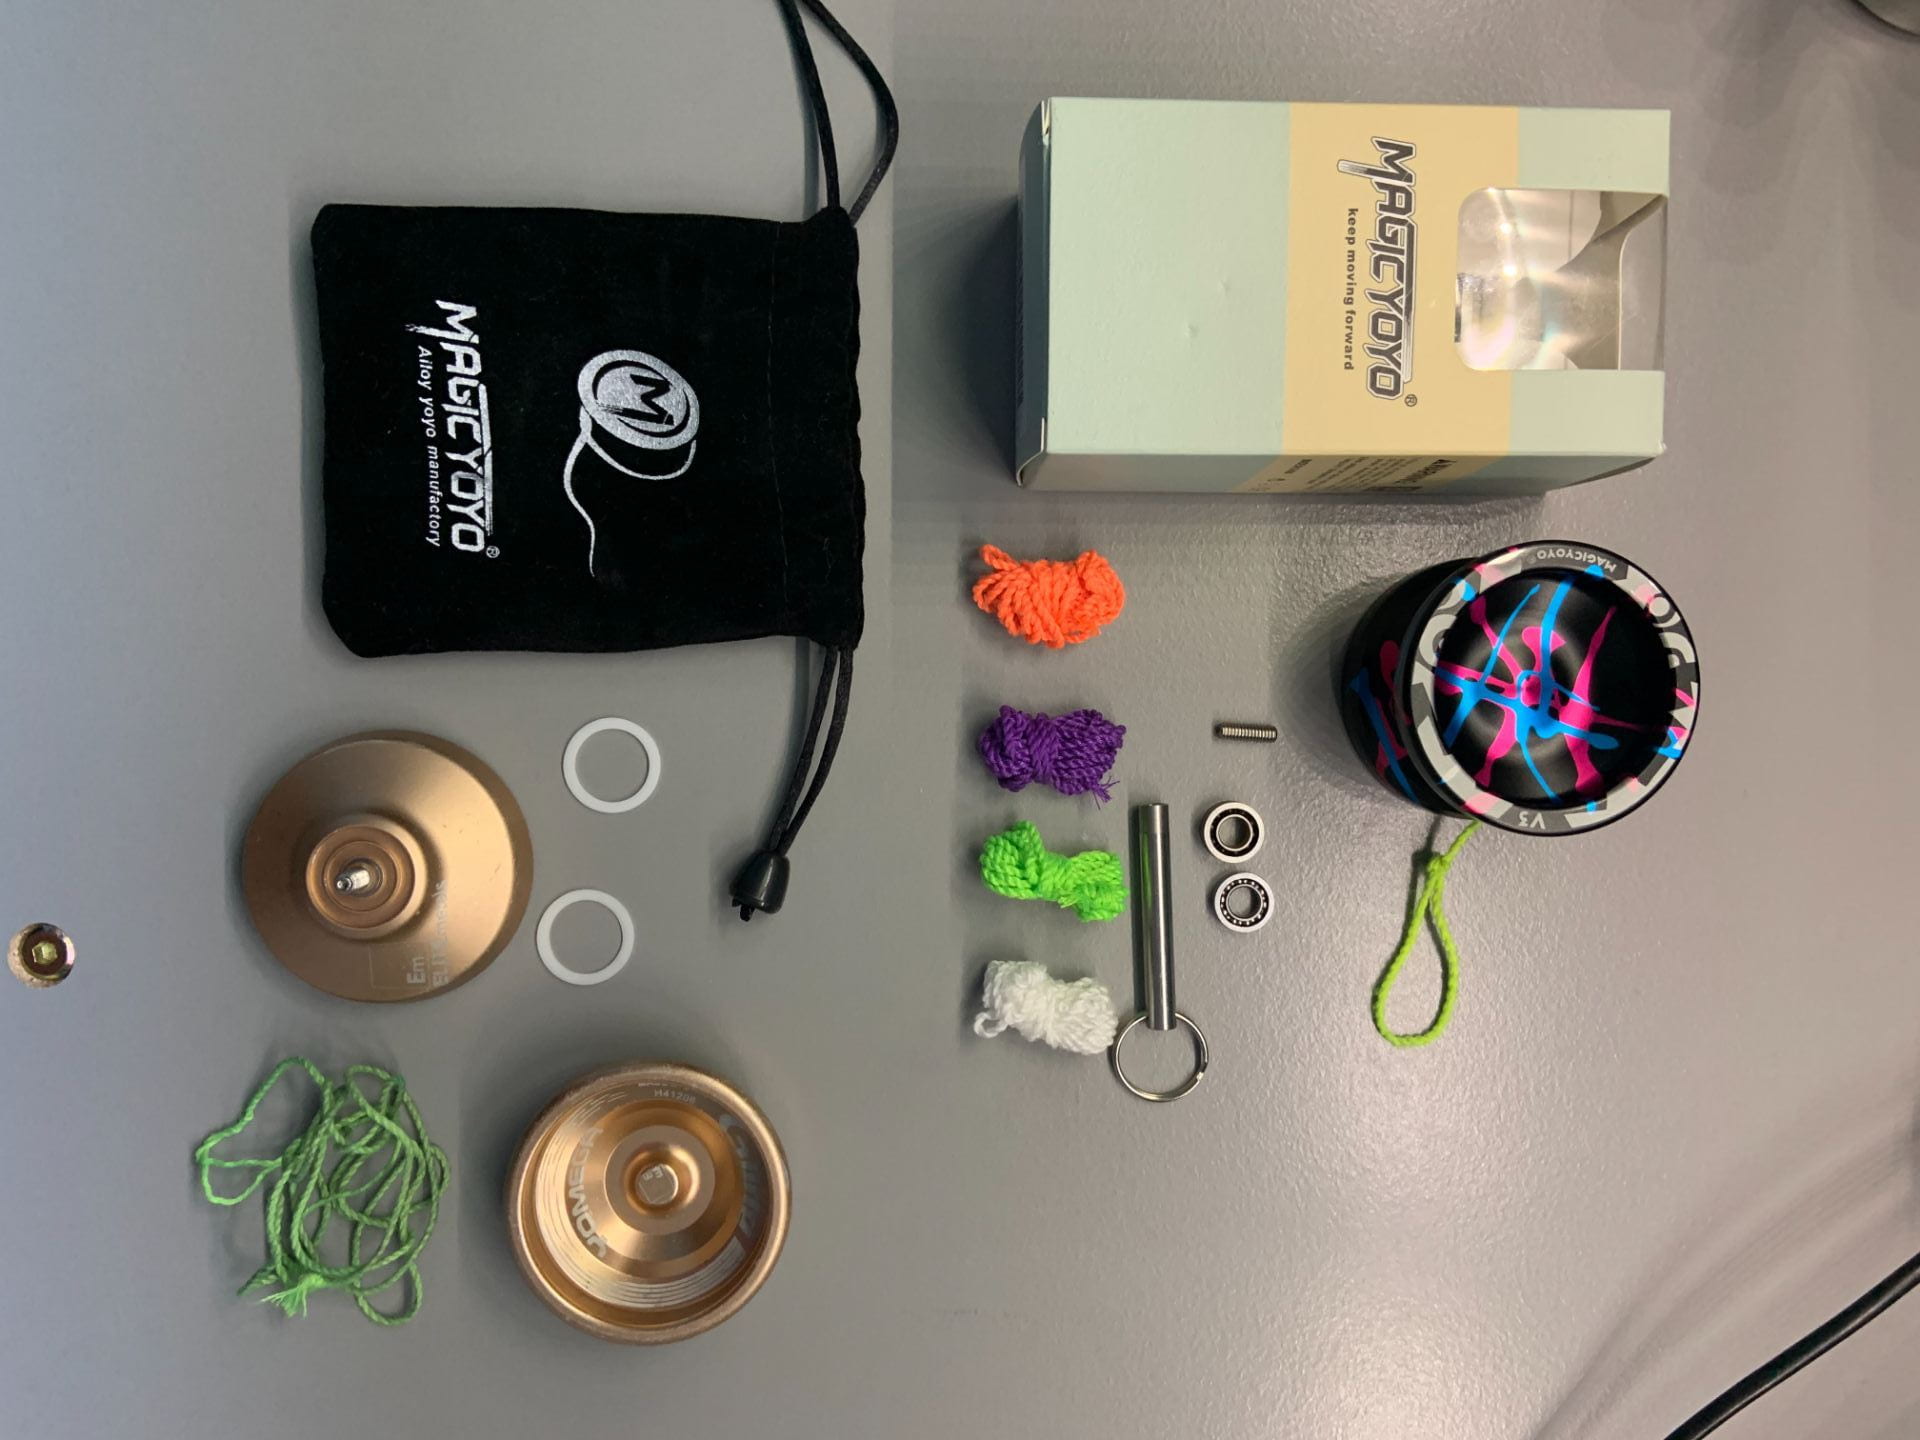
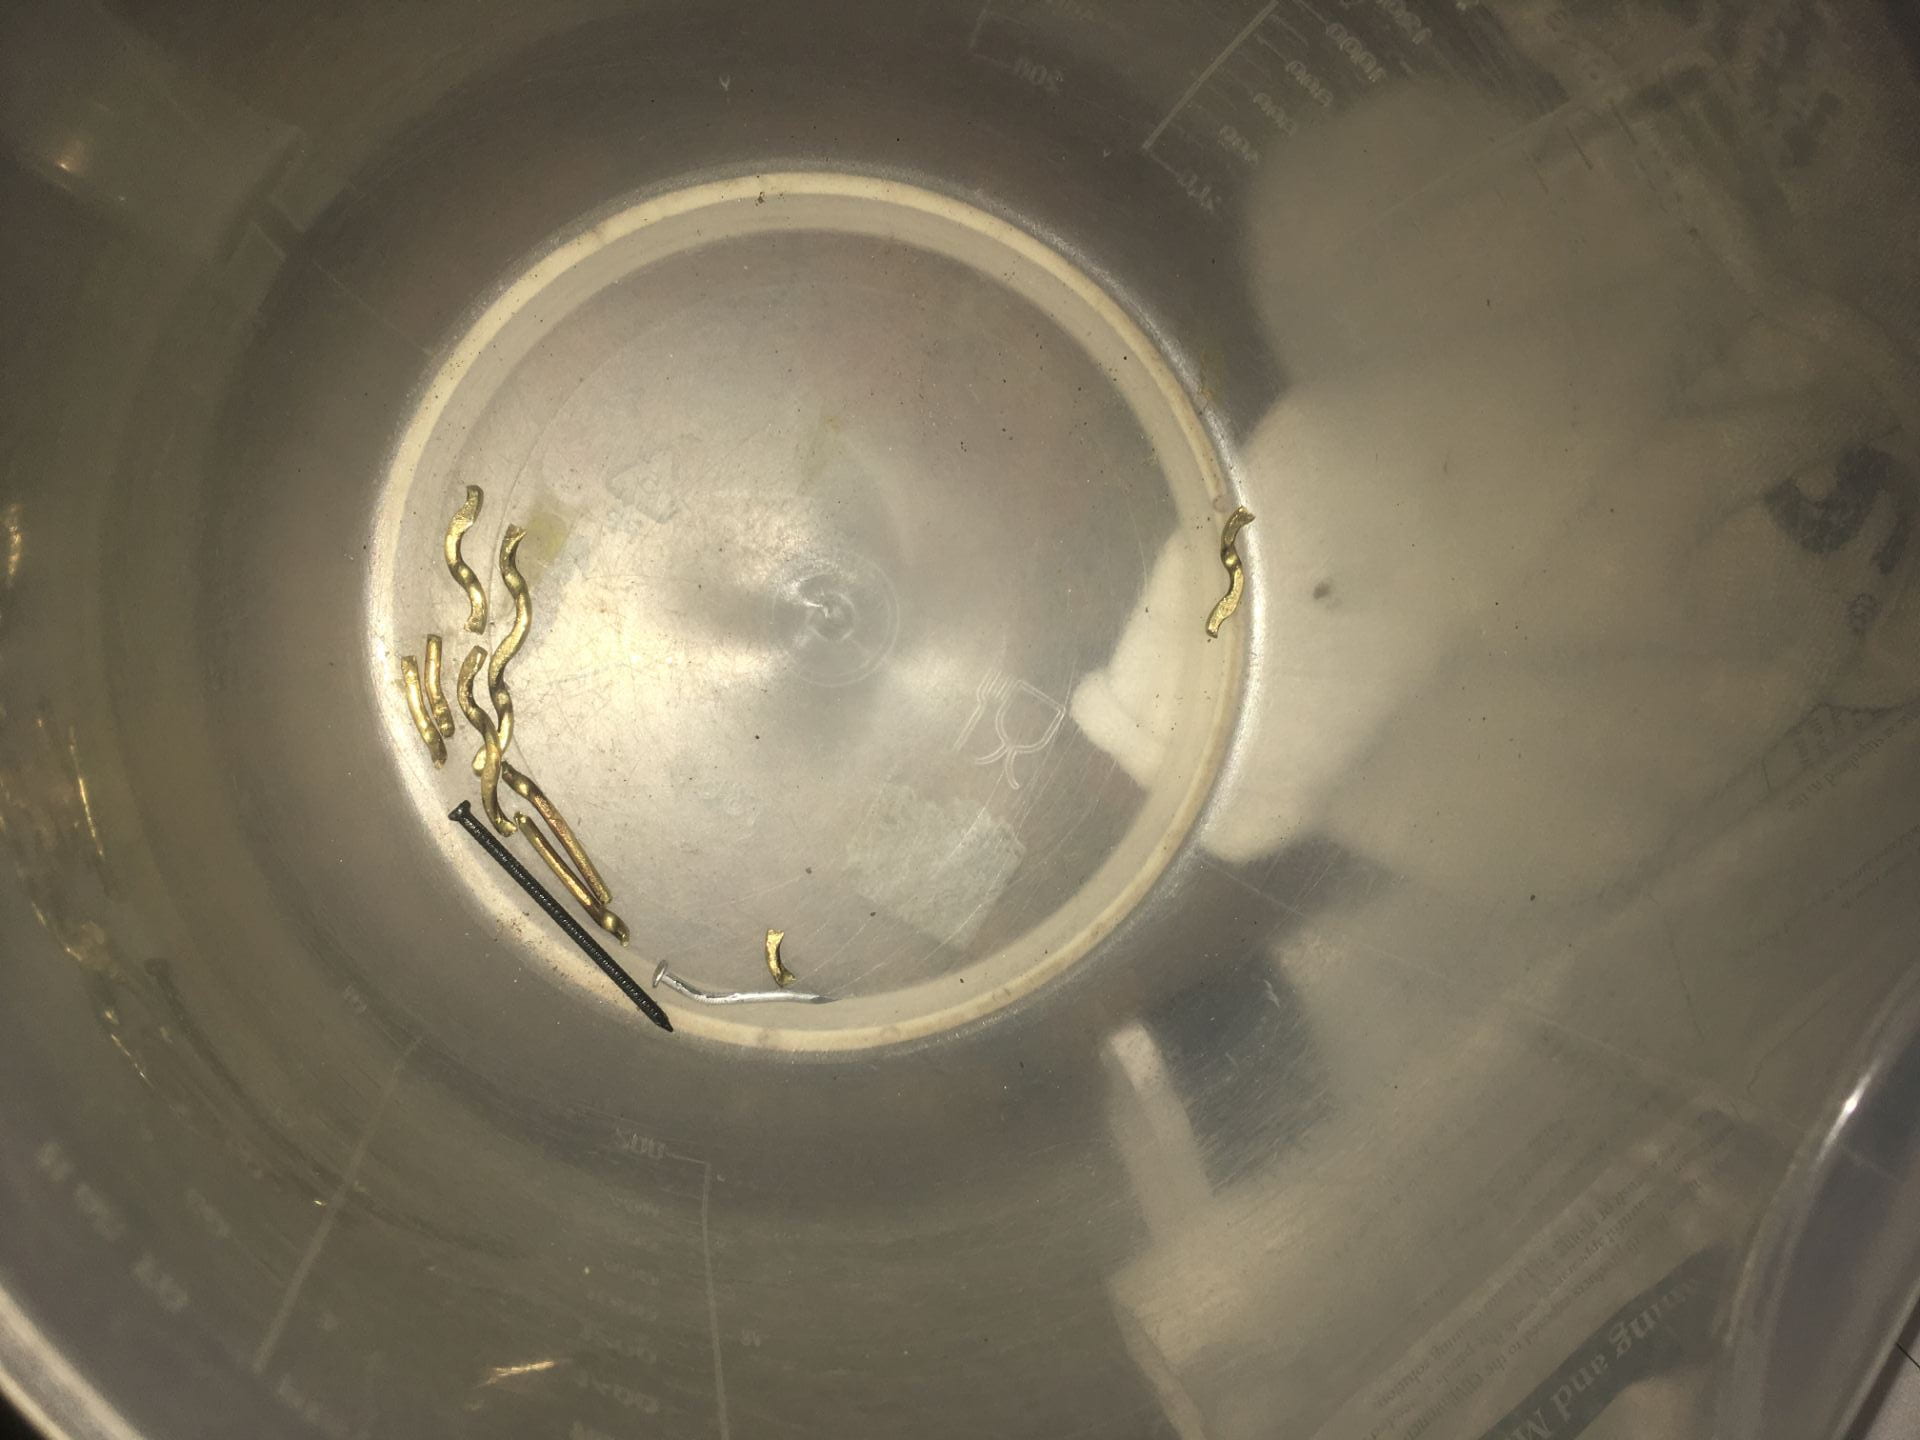
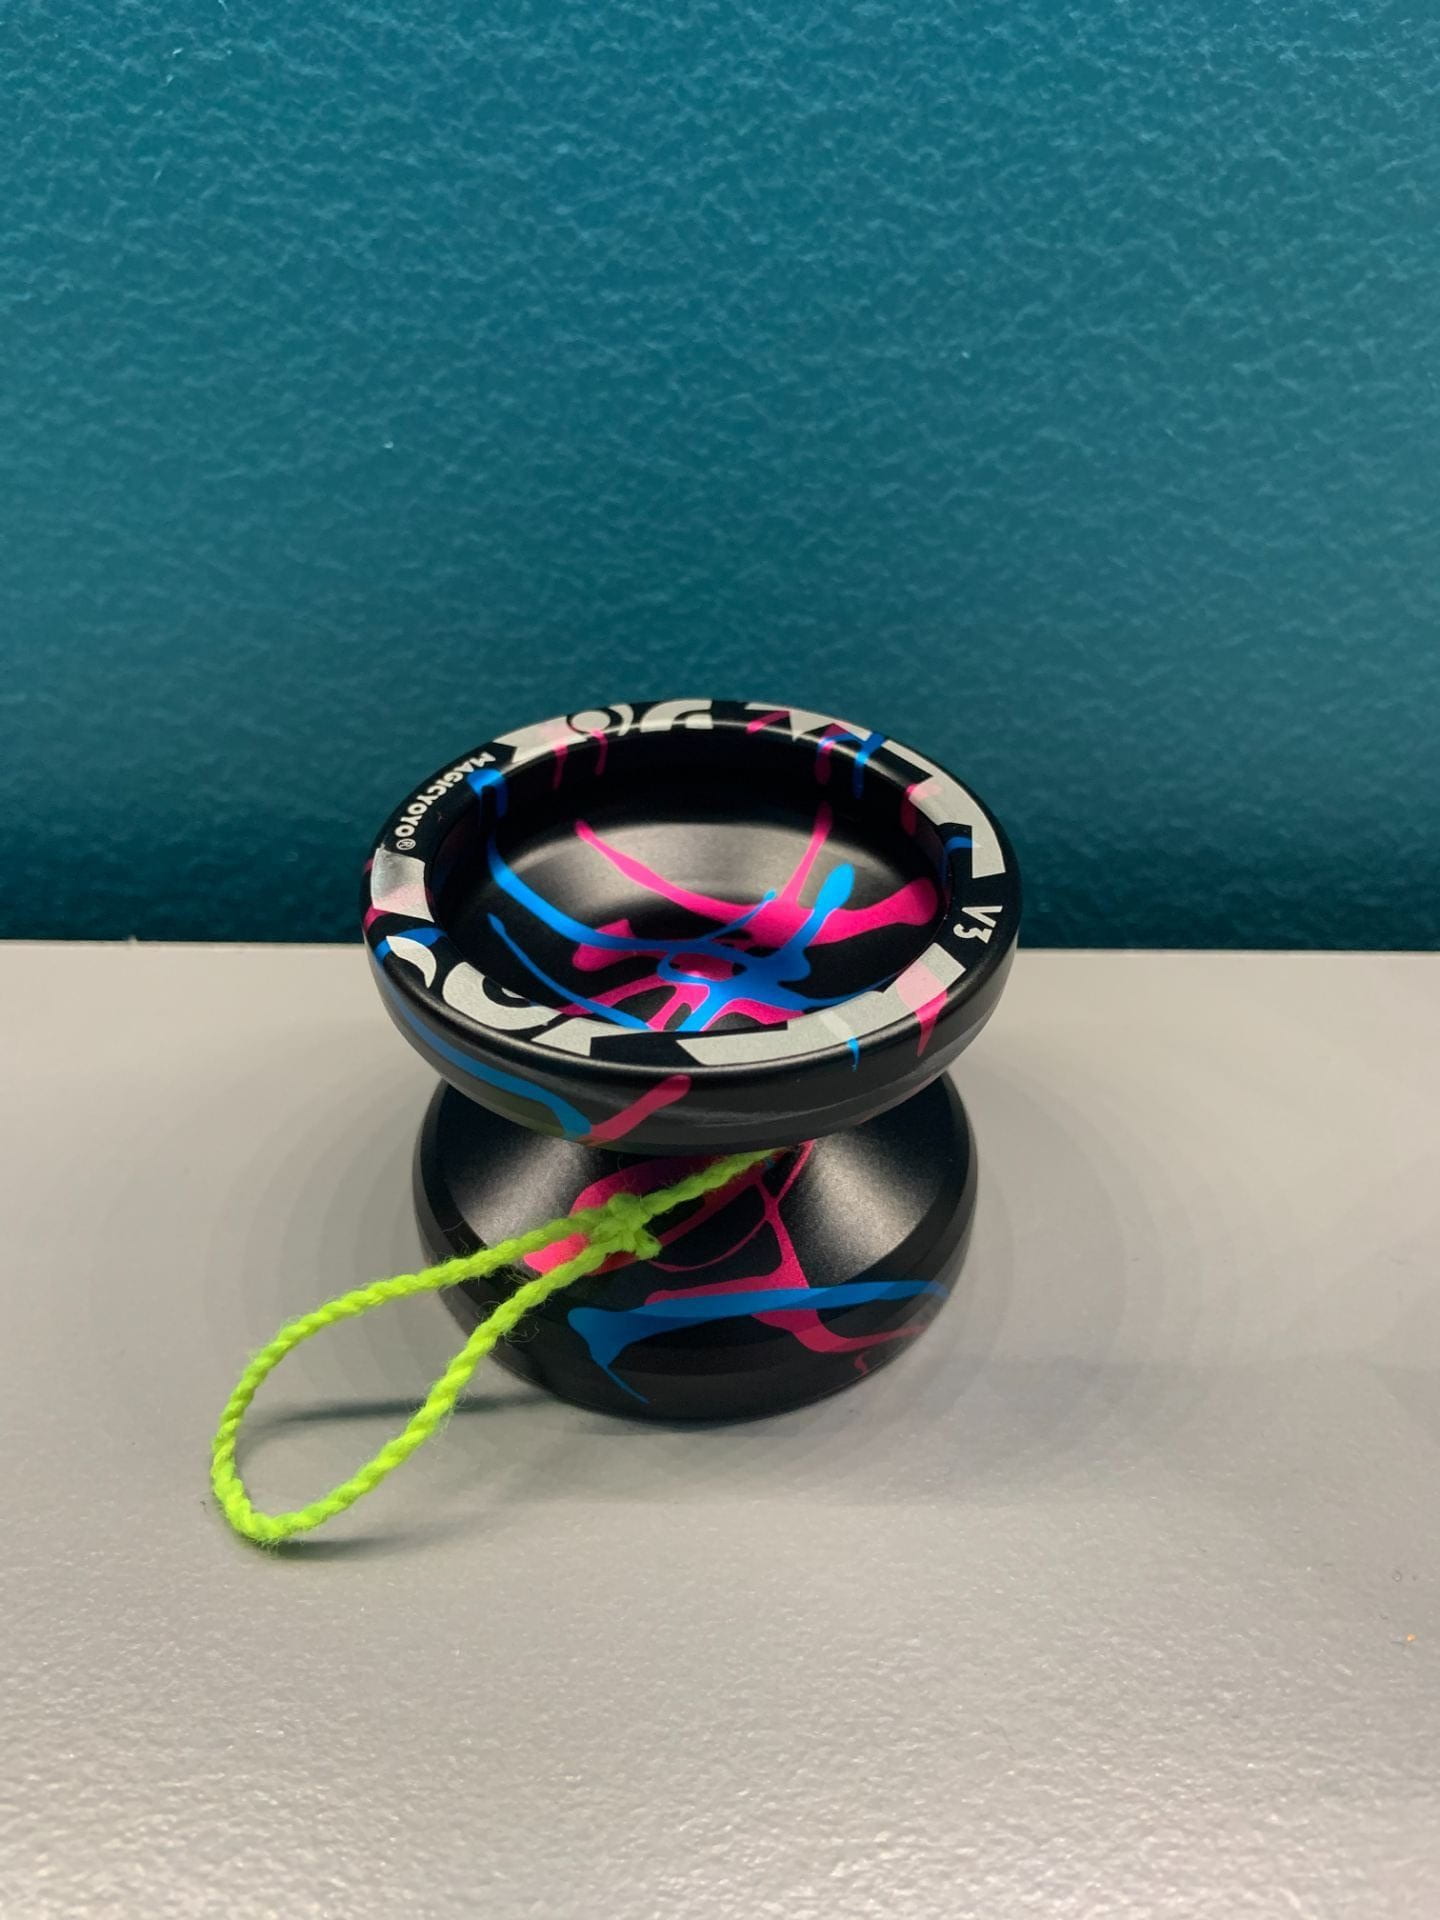
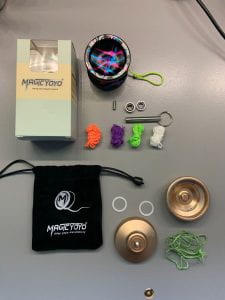
After two weeks, I’m back on track with my In-Depth. Around March 3rd, my brand new you came in the mail. Research and all that is great, but nowhere near as fun as having an actual yoyo. The yoyo also came in a kit with an extra string, both an unresponsive and responsive bearing, a removal tool, an extra thread, and a bag to carry the yoyo in.

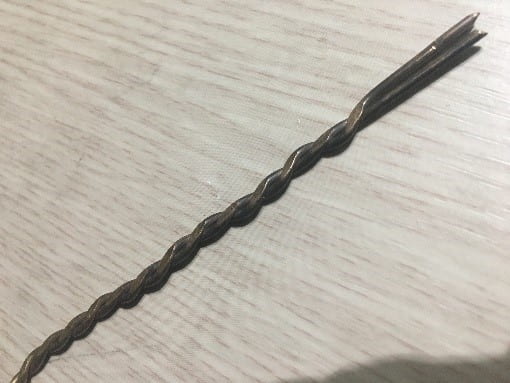
With the new yoyo, there were two big things that I learned. The first was learning how to string, and size a new yoyo. My old yoyo string was actually sized wrong. the yoyo length should go from your bellybutton to the floor. This gives you just enough string to perform proper tricks. So I cut the string and tied a knot right at the proper length. I will admit it is easier to perform string tricks since I now have more string length to work with.

Secondly, I worked on some responsive yoyoing. My new yoyo came with two bearings. One that centers the string and has less lube, making it unresponsive. and one that is thinner and allows the string to wrap around easier. As a quick reminder, responsive yoyoing is when you tug the string and it comes back to your hand, whereas unresponsive yoyoing requires a bind. Certain tricks like around the world, Boingy-boingy, and hopscotch all require an unresponsive yoyo, so it was fun working on more basic tricks. I also injured myself a few times as I would forget the yoyo comes back, and rocket it towards my hand by accident.

Besides that, I’ve been working on my unresponsive yoyoing a lot. In the words of my mentor, “You’re getting the hard tricks, but messing up the easiest ones,” and I recognize that. The easier tricks get a little too easy at some points, and I neglect to practice them, which then causes me to mess them up while yoyoing. Nolan told me I need to “Keep practicing mate,” and I agree but it is frustrating when you can pull off a complex combo, but then can’t land the yoyo off an easy catch.

In our meeting, my mentor and I talked about learning some new tricks (as seen in the second video below), specifically finger spins. I’ve shown a lot of progress with my yoyo tricks in general and we want to keep moving forward. This said, I do need to keep practicing the basic tricks, as I need that foundation.

One quote sums it up the best: “Don’t worry about making mistakes worry about how you can fix them.”

The biggest obstacle will be remembering all the tricks I’m learning and not forgetting to practice even the easy ones. It can be hard, but all it takes is a bit of discipline.

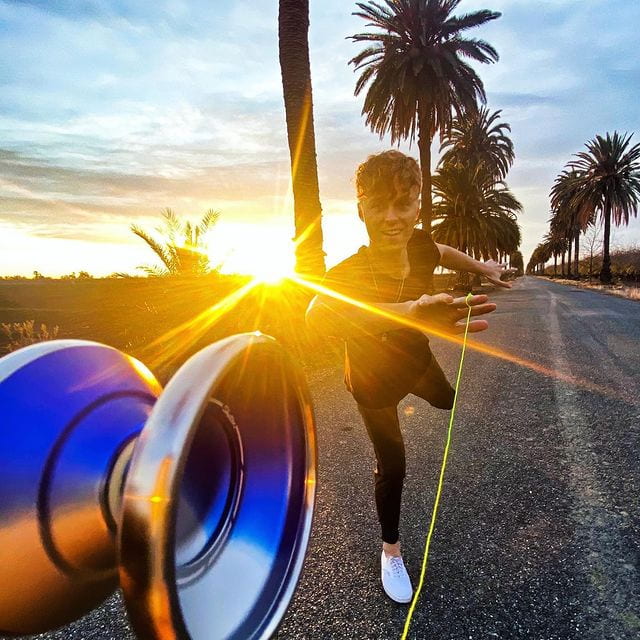
Lastly, I’ve continued research and I’ve been looking into the world yoyo champion, Gentry Stein, and how he wins competitions. They’re entertaining and fun to watch, and there are lots of tips I can take away from it all.

Overall, it’s been a great two weeks and it’s great to be back yoyoing.

Research:

String Replacement: https://yoyotricks.com/yoyo-tricks/replacing-the-string/723/

Yoyo Progress

Yoyo New Tricks

World Yoyo Champion: https://www.gentrystein.com/shop

How to Have a Beautiful Mind: The Six Hats

The next section of de Bono’s book focused on the idea of ‘Six Hats’. The idea is that in any conversation, argument, or verbal communication there are ‘Six Hats’ in which we communicate with each other. It is a great idea to help you understand how conversations flow, and where our communication with each other can improve. Below I’ve analyzed a short conversation with my mentor regarding learning a new trick, see my quick summary and (___) for an understanding of how I’m breaking down our conversation.

Black Hat: Critical thinking and analysis (BKH)

White Hat: Information both fact and opinion (WH)

Red Hat: Emotions, feelings, and intuition (RH)

Yellow Hat: Seeks values, insight, and good ideas (YH)

Green Hat: Creative/productive, builds the conversation (GH)

Blue Hat: Organizes the conversation (BH)

*Note, this is two 15-year-old friends talking, and Nolan didn’t really want a video of him on my school blog so I transcribed it*

Mentor: Okay, these types of tricks are finger spins. (performs trick) That one specifically is a finger spin turned into another trick called DNA. (WH)

Me: (laughs) They really just name these tricks either the most obvious name or the most confusing one. (RH and GH)

Mentor: Don’t shoot the messenger. Anyways, these tricks are difficult because they’re considered grinds. (WH)

Me: So, since your finger is actively slowing down the yoyo with contact, and not free-spinning, you have to spin it super hard right? (GH and BKH)

Mentor: Yeah, it slows the yoyo down a lot, so you need more force than usual. Basically, whip the yoyo on a 90-degree angle, hop it up, and cushion the fall with your finger. We’ll worry about the second part later. For me, I felt the balance similar to spinning a basketball, so try and work off that feeling. (YH and BKH)

Me: Okay, Okay, thanks. (tries the trick and fails) (RH)

Mentor: See there you didn’t cushion it. Imagine ur catching a bowling ball, your finger has to come down with it. (BH and GH)

Me: But when I come down the string gets in the way too. How am I supposed to get the string out? (GH and BKH)

Mentor: It’s a blend of two hands. Pull up the string, get the slack out of the way, cushion the fall, and then balance. (WH)

Me: (Throws the yoyo into my bedframe due to throwing it too hard) Oh damn. (laughs) (RH)

Mentor: Nice one, but all you need is practice. (GH and RH)

This conversation was a great example of how multiple hats are used through communication. Breaking it apart was helpful, and helped me better understand how interactions with my mentor work.


In-Depth Post #4: Broken Strings and Tying New Knots

Listening and Questioning:

As we head out of the beginning curve of our In-Depth projects, we’re focusing on two big ideas: Listening and Questioning. Out of all de Bono’s topics so far, this one has helped me the most. My last two weeks of In-Depth have been anything but ordinary, and it brought up a lot of questions for both me and my mentor.

Right after my third In-Depth post, my yoyo broke. This was a huge setback. I was practicing my yoyoing skills as per usual and on a certain aggressive throw, I threw the yoyo off the string. The string broke, the yoyo dented, the bearing was messed up, padding came off, and I’m ninety percent sure I cracked my bed slightly. When I first did it I was in disbelief. I stood there as my Mum asked what the loud crash was. Honestly, I had no idea what to do.

I didn’t know what to do and I talked to my mentor in somewhat of a worried frenzy. This is where de Bono’s topics of listening and questioning became key. I had so many questions that even de Bono would be proud.

How should I get a new yoyo? How are we going to meet? What if the yoyo takes too long to ship? And mainly, what am I supposed to do?

After my frantic questions were all out and I had calmed down a bit, we just had a discussion. Our discussion started with me explaining what went wrong, and what the problem was. He listened and I explained. Then finally his first words were,

“You got lucky if you think about it.”

I was confused, but he was right and now it was my time to listen. I was already looking into buying a new yoyo, so this just sped the process up. It also gave me some breathing room for the project where I could take a break. Nolan made it clear that,

“You have to find a balance where yoyoing isn’t work. The best yoyo masters enjoy what they do. It’s a hobby, not a job. Yoyoing should be enjoyable and fun, so the moment it isn’t, just take a break.”

I ended up doing that and taking a break from yoyoing (especially since I didn’t have a yoyo). After a week off I got right back into it. The yoyo that I ordered will be shipped by March 1st, I set up a new meeting time with Nolan, and we planned out that we would talk about the history and workings of yoyos. It was great to have someone to talk to and listen to, and de Bono’s concepts supported me throughout the process and later during our meeting as well.

Then when it came to the actual meeting, we decided to focus mainly on history and research. With my broken yoyo, we went over the parts of a yoyo and how it works. Basically, yoyos have several parts. First here are the wings/body. These are the halves of the yoyo, normally connected by a screw (aka the axle). They balance the yoyo and make tricks easier the farther apart they are. Then there are spacers and friction pads. These keep the halves separated and make it so the string winds up smooth. Lastly, there’s the bearing. There are unresponsive (bind to bring up) and responsive (tug to bring up) bearings. These are what let the yoyo spin for long periods of time. Lastly, there’s the string, but we’re going to talk more about that next week when my yoyo is delivered.

“This is why learning about how to yoyo’s work is also important.”, Nolan explained. If I would have known all this, I also would have known to recognize that my string was getting old and needed to be replaced.

Our meeting was great because it’s not like learning a normal skill. Having a mentor allows you to have conversations and work one-on-one. Listening isn’t just sitting in a classroom. It’s following instructions, it’s asking questions, it’s being engaged in what you’re being told, and having a mentor is perfect for that. I can work with a yoyo (even a broken one) and be physically engaged.

These last couple of weeks I was still able to get a lot of work done. Besides my meeting, I researched the history of yoyos (below) as Nolan instructed, and it was cool learning about the first Dunkin yoyos and how that spurred the 90’s yoyo craze and modern yoyoing. I also ordered my yoyo and it is in the mail. It was a bit of a setback, but I’ll be on track for next week.

Near the end of our meeting, I learned that my mentor got into yoyoing because his “brother hooked me into it. I was amazed and worked off that feeling to keep practicing”. I’m trying to adopt some of that mentality. I enjoy yoyoing, and I should make sure that’s what drives me.

Until next time…

Research and Photos:

Duncan Imperial Yo Yo, Assorted colors, Pack of 1, Yo-Yos - Amazon Canada

PHOTO DOC

HISTORY OF YOYOS

Parts of a Yo-Yo and How to Use a Yo-Yo | Yo-yos: Past to Present


In-Depth Post #3 New Tricks

It’s been two weeks since my last post, and I’ve continued practicing and learning how to yoyo. My focus on the last two weeks was working on my technical skills. I practised the same tricks over and over again, and I’ve noticed that I’ve been becoming more consistent. Both my mentor and I are happy with how I’m progressing, and I’m going at a great pace. Without further introduction, let’s talk about some yoyo-ing.

Firstly, watch this video: Yoyo Progress

As you can see in the video, I’m getting to a point where the tricks are looking cool and fluid, but still nowhere near perfect. There’s one trick I want to highlight, and it’s called Double or Nothing. This is the trick where I wrap it around both my hands and land it on the string. This is considered an intermediate trick, and it serves as a base for how different tricks can progress. The cool part about yoyoing is that you can take it in almost any direction you want. It’s a skill, but it’s also an art. Tricks like Double or Nothing and Trapeze are great to learn because of their versatility. In a performance, you can transition from one trick to the next, and these base tricks allow you to understand how the yoyo moves. Overall, I feel I’m learning a lot and making steady progress. I know that I still need much more practice, but it’s all part of the plan.

I’ve met with my mentor once since my last post. I showed him my progress, and he critiqued my hand positions and techniques. Right now, there are a lot of tricks to remember and perfect, so he kept me working on the same ones (some of which are seen in the video). One thing that was brought up was my yoyo. I’ve had this yoyo for years now, and it’s getting old. I need a new string, a new bearing, and in general a new yoyo if I want to progress to harder tricks. I started looking into buying a new yoyo, and I think it will help out my entire project. This is a slight modification to my project, but Nolan and I both agree that if I want to improve I need a new yoyo.

The biggest obstacles and frustrations these past weeks can be seen in my video. At the end of the video, my string gets tangled and I repeatedly mess up my throws. This sadly is a common occurrence. Over time I’ll get better at keeping my string straight, and control comes with practice. This doesn’t stop it from being frustrating, because it takes time to fix, but none the less, I have to work through it. Buying a new yoyo will also help this because they are better designed and don’t have the same imperfections that come with age. Another obstacle is meeting with my mentor at the same time every weekend due to his schedule. This is an easy fix though. We just have to communicate earlier with each other.

Overall, I’m making steady progress. There are bumps along the road, but I know I can get over them. I can’t wait to keep yoyoing. The best part is that it relieves stress and I can tell my parents I’m doing homework.

Until next time…

How To Be Interesting:

As part of In-Depth we’re reading how to have a beautiful mind. This week there weren’t any questions, but only things to work on when meeting with our mentor. In summary, it was all about being interesting. I wanted to add some of my own thoughts around this idea. I feel like failure a lot of times is due to a lack of interest. If people aren’t interested or invested in something, failure doesn’t matter. What’s great about In-Depth is that we get to choose something we’re interested in. The topics are usually far from normal, and that’s what makes it special. From there you get to form a relationship with your mentor and they can help you dive in even further. My mentor does this for me, and part of what keeps our interactions interesting is that we’re both having fun. I thought this was important to mention, and that all of us should work to be as interesting as possible.

Research:

Tricks Website: https://yoyotricks.com/yoyo-tricks/unresponsive/

World Yoyo Champion: https://www.instagram.com/gentrystein/

Buying a New Yoyo: https://alternative.me/unresponsive-yoyos


In-Depth Post #2 Unresponsive Yoyoing

It’s about a month into In-Depth, and my project is already turning into something amazing. I remember as a kid I fascinated by yoyoing and now is no different. Over the past month, I’ve worked on 3 main aspects of my project.

The first was research. I’ve been going on websites and learning about the history and evolution of yoyoing. You’d be surprised by how much the yoyoing community has changed even since it’s peak in the ’90s. Innovation, creativity, and enjoyment are what drives the community, and seeing that overtime is quite intriguing.

Secondly, I’ve been working on the basics of yoyoing. After my first meeting with my mentor, it was more than obvious that I didn’t remember a lot. We worked on the baseline of yoyoing. How to throw the yoyo, and how to get it to come back. When I started my throws and binds (Definition of Bind: Bringing the yoyo back up)were weak, wobbly, and frankly just had “bad form”. To overcome this I just kept practicing throwing. I did overhand throws, backwards throws, and across the body throws constantly for about a week. Now, I can see the improvement. The yoyo spins longer, it’s easier to perform simple tricks, and everything looks cleaner. It’s important to mention that there are many different types of yoyoing, but the specific type I am doing is called unresponsive yoyoing. Unresponsive yoyoing basically means the yoyo doesn’t come back up when pulled, and you have to perform a trick to get it to come up. Unresponsive yoyoing has become popular in the 2000s and has allowed new and more complex tricks to be created.

Lastly, I’ve begun to practice very basic tricks. These tricks include some I have learned in the past such as Walking the Dog and Double or Nothing, but also new ones such as Around the World, Trapeze, and Two Hand bind to name a few. Currently, my abilities aren’t consistent enough to record a video, but in future posts I’ll attach a video of my progress and my newest/favourite trick. Tricks require a lot of practice and repetition, and I do a lot of work on my own to practice. You might see me at lunchtime in the TALONS room throwing the yoyo around, and I must say that listening to music while practicing is a relaxing sensation.

As I mentioned before I’ve now met 2 times with my mentor, Nolan. We’re meeting over FaceTime, Instagram Video, or whatever video chat service is available at the time. It is nice not having to get to know my mentor since we’re already friends. We hop on a call, and in a super informal, yet fun and educational way, he teaches me how to yoyo. During the meetings, we discuss what I need to work on, my strengths, and where I can improve. For me, the time just flies by. At the end of each meeting, we set a date for next time, and talk about what I need to do. In the last meeting, I was assigned to keep practicing basic tricks, and I was challenged to research a trick on my own and show him next time. So far, everything is running great.

However well my project is going, it isn’t without obstacles. The first is learning tricks. Had COVID-19 not been an issue, I would be meeting in person, and Nolan would be able to critique my exact hand movements and guide me better, as yoyoing is a physical skill. Trying to mimic what someone does on a computer isn’t always easy, and I struggle with that. Secondly, repetition. One of the most discouraging things is messing up a trick over, and over, and over again. You feel frustrated and it’s annoying. I have to keep working through these obstacles, and I think motivation and support will be big factors.

All this said, I can’t wait to take this project even further.

Research:

Introduction to Unresponsizve Yoyos: https://youtu.be/s8pmieoAi4I

Tricks Website: https://yoyotricks.com/yoyo-tricks/unresponsive/

World Yoyo Champion: https://www.instagram.com/gentrystein/

Agreeing:

In a mentoring situation, agreeing is the easiest thing to do. Your mentor knows more than you, and agreeing is your way to respect that. Agreeing doesn’t have to be verbal, it can be in the form of body language, head nods, and even clarifying questions. Agreeing helps build a starting relationship, and that’s what I’m trying to do. With my mentor specifically, I know how good he is at yoyoing. When I first met with him and he told me that my throws were sub-par, I agreed, because I trusted his opinion. Hopefully going forward this will continue.

Disagreeing:

Disagreeing is never easy. Disagreeing with your new mentor can be even harder. So far I haven’t had to deal with any disagreements with Nolan, but I’m aware that may change. Since In-Depth is also a self-led project, I’ll be learning from areas other than Nolan directly.This could cause disagreement as to how things are done, and I’m prepared for that. After reading How to Have a Beautiful Mind, i better understand that disagreeing is a crucial part of having meaningful conversations. When I disagreement comes up, I’ll be respectful, but I’ll also disagree for the right reasons; to help both of us, and to build our relationship.

Differing:

Differing is a very important idea to understand. For the longest time, I thought everything was black and white. As I’ve grown up I’ve realized the world mainly lies in the grey area in between. This is important because often when opinions differ, both sides have reasons to back their opinion. I expect this to happen at some point during In-Depth. Even though Nolan and I are friends, we’ll have differences of opinions. It might be that I learned something about yoyoing online, and he was taught differently in-person. When these differences come up we can address them together and figure out if our difference can be or even if it needs to be reconciled. Differing helps us grow as both mentor and student, and I’m ready for when it happens.

In-Depth Post #1 Introduction to Yoyo-ing

Yoyo-ing.

Something some might remember yoyos as fun toys from their childhood, or that simply as an annoying string that never got untangled. But I hope to turn it into something more for myself.

What skill have you chosen to learn?

For In-Depth 2020, I’ll be learning how to freestyle yoyo. I am going to learn how to perform different yoyo tricks, and how to put them together to create a performance. I’m also going to learn about performance techniques and what makes a great yoyo performance. I want to learn about types of yoyos, how they’re made, and parts of a yoyo. Lastly, I’ll do research around the history of yoyoing and how it has changed over time. All these skills will allow me to dive deep into what yoyoing is and it will help me reach my goal of creating an amazing performance. By the end of In-Depth, I want yoy-ing to feel like second nature, and a fun relaxing activity I can freestyle with anytime.

Yoyo-ing seems like such a simple skill, but a quick look on Youtube can show you how complicated it really is.

https://youtu.be/-wiNh4LLQzg

I’m intrigued by how such a simple idea can become something so complicated, fun, and challenging. Yoyo-ing can be relaxing, competitive, and a skill that’s extremely memorable, and I can’t wait to get started.

Why yoyo-ing?

I first got into yoyo-ing in grade 5. One of my close friends at the time went on a trip to Ontario and came back with this simple yet intriguing toy and a lot of skill. What started out as a fascination, ended with all my friends learning the very basics of yoyo-ing. It was more than just throwing a toy up and down. We learned basic tricks and ended up using them all the time. From competitions of who’s can spin longest, or who’s tricks were coolest, it was always fun. By the end of the year it died out, but I kept my yoyo. When In-Depth came along I remembered learning how to yoyo, and I realized I could turn it into so much more. I wanted to truly learn how to professionally yoyo, and with the help of my old friend, I can.

Who’s my mentor?

My mentor is a friend from elementary school named Nolan. At the beginning of our Grade 5 year at Nestor elementary, Nolan really got into yoyo-ing. He took lessons, learned online, and bought all the special tools to truly learn about professional yoyo-ing. he’s been yoyo-ing for a few years now and knows alot about the subject. When I was younger I learned some very basic tricks, but now I hope to learn so much more.

When and how am I going to learn yoyo-ing?

Due to the pandemic, I will be learning all about yoyo-ing from home. I have until May 20th to hone in all my skills. I’m going to learn this skill through the structure of In-Depth. Using the 5 objectives below I hope to learn all I can about yoyo-ing.

  1. To master and perform at least 20 different yoyo tricks by the end on in-depth.
  2. To grasp the basic history of yoyoing through at least 5 online sources by the end of in-depth.
  3. To learn 5 tips on what makes a good yoyo performance by the end of in-depth
  4. To create at least one original yoyo trick by the end of in-depth.
  5. To understand the major steps of how yoyos are created by the end of in-depth

Throughout In-Depth I’ll work on each of these objectives, each meeting, each practice, and with every bit of research I do. I’ll create blog posts (As required), do my own research (weekly), talk to my mentor (Every two weeks), and practice A LOT of yoyo-ing (Daily), then hopefully, it turns out great in the end.

What can others do to help me, and what do I need?

While this is a self-directed project, I will need help. The most help will come from my mentor and friend. He’ll be able to teach me all the tips and tricks I could possibly need. Outside of my mentor, I’ll need support from my teachers at school and parents at home to keep me going and continuing to work on my yoyoing. Simply showing an interest in my project will suffice. I hope to improve and will need all the support I can get.

I can’t wait to get started, see you next time…

Colby Ng’s Jewelry Making In-Depth Project

Hi everybody, my name is Colby Ng and I’m a Grade 9 T.A.L.O.N.S. Learner.

I chose jewelry making as my In-Depth Project this year because it was something brand new that I never would have pursued without In-Depth. In Jewelry Making you have to heat, cool, shape, hammer, stamp, solder, polish and so much more. Behind the scenes of every jewelry piece, you’ll see mistakes, hard work, tools, and learning. I learned so much and ended up with some amazing pieces of handmade jewelry.

Please click on the images for a clear close-up image.

This copper bracelet was the very first project I completed. I wanted to make it original so I engraved the bracelet with TALONS 2020. It may not be perfect, but that’s the whole point of handmade jewelry, no two projects will ever be identical.

This silver ring was my second project and is my first attempt at soldering. I bent, shaped, stamped, and polished this silver ring, and to finish it off I soldered it together and created my first ring.

These twisted copper rings were my third and fourth projects. I spent time twisting together two separate pieces of wire, and then hammered them flat to get the shape. I wanted some design, so I also went over the metal with a diamond file creating come indents and imperfections. After some polishing, they turned out great and these were some of my favourite pieces I made.

This was my fifth and final project of my In-Depth. My sister and I collaborated on making my mum a homemade Mother’s Day gift. I had to twist copper wire into different words and ended up with a great gift.

I’ll continue doing jewelry making after In-Depth is over and hope to keep learning more.

For more information you can check out my previous In-Depth posts, or if you have any questions I’ll be answering them in the comments below.

Thanks for checking out my Jewelry Making In-Depth Project!


IN-DEPTH JEWELRY MAKING POST #6: The Final

These last few weeks I think I’ve perfected working at home. 

I’ve continued working hard and doing my best, and I’ve done a lot. I’ve continued doing research online using youtube videos and finding helpful websites (best ones have links below). Jewelry making is a fun break from doing normal schoolwork, and I’ve been able to work on projects consistently. I’ve also continued and started some cool new projects along with getting more supplies. I visited Micheals, made some rings, started a mother’s day gift, and so much more. I also ran into some problems along the way, but I’ll get to that in a bit. 

At first, I continued on my old projects. I buffed out all my jewelry and cleaned it so that it was super shiny again. I spent a while doing this and might need to buy more steel wool. In the end, all the jewelry was super shiny and looked brand new again. I also started looking into some cleaner and finish I can use on the jewelry to stop it from losing its lustre, but I’ll look more in-depth for that next time along with getting some advice from my mentor. 

Next, I decided to start on some new projects. I spent time stripping some wires for the copper inside, and I thought it would be good enough for jewelry making. I tried to make a bracelet out of the wire, but the problem was it wasn’t solid copper, it was actually very thin wires bound together and I wasn’t able to use it. In the meantime, I spent time practicing how to flatten metal with an old USB cover I had. This was just a good way to help me practicing flattening out some metal as if it was a project. After this, I knew I had to get some metal to work with and after waiting a few days I was able to go to Micheals. I bought 3 meters of copper wire because I knew I could do countless projects with it. 

At first, I started on a bracelet. I hammered and heated, but then after a while doing this, I got a text from my friend. He had seen the twisted copper ring I made and he wanted me to make one for him. I figured I could continue the bracelet later, so I started on his ring. I took two lengths of copper wire and twisted them together. For this, I got my Mom’s help and I used a drill and pliers to twist the two metal pieces together. After this, I spent a long time heating the wire and hammering it into a flatter shape. When I was happy with how flat it was, I got to sanding the piece down. This always takes the longest and it’s hard work but eventually, I finished. Next, I got my friend to measure his ring size with a measuring tape, and after another round of heating, I bent it into shape. I sanded one final time and after it was all shiny I was done. I did have some problems with this project, but I’ll talk about that in a bit. 

My other project was the start of my Mother’s day gift. My mom doesn’t wear a lot of jewelry so I decided to make her a decoration. using nails, a wooden board, and some copper wire, I bent the copper around the nails to spell the word love. It was my first try so it wasn’t perfect, but I’ll continue doing my best so I have a great gift for her on Mother’s day. 

My mentor has also been there whenever I need it, but I’ve been able to lead my own learning very well. I’m super thankful that I learned all the basic skills with my mentor at the beginning because now I just have to implement them in slightly different ways when I try something new. Sometimes this doesn’t always go right. For example, I learned the hard way why we always heat the metal before twisting, hammering, or bending. I was working on a twisted ring project with my copper wire I bought and I ran out of butane fuel. I thought it wouldn’t be a problem and decided to bend the ring into shape anyways. This was after spending hours twisting and hammering, along with buffing and shining. After using a ton of energy bending the ring into shape, the copper wire actually broke and I had to start from scratch again. I knew that heating was important before, but this taught me how heating the metal makes it MUCH easier to work with. I learned my lesson and didn’t make that mistake again. (I also bought more butane) 

For my final presentation, I am going to be putting together a picture essay/slide show. I’m going to showcase all the different jewelry I’ve made in a slideshow/picture essay. Then, in the end, I’ll show a sped-up video of how I made some of the jewelry. I have a special camera that’s great for macro shots that can show all the detail in my projects. Altogether it’ll be great to show what I’ve learned and people can better understand how jewelry is made. 

Coronavirus is a tough challenge to work through, but I’ve done my best. 

Here are some pictures of my tools and projects: 

  1. My tools 
  2. All my projects 
  3. My newest ring (left) compared to an older ring (right) 
  4. My first attempt at a Mother’s day gift 
  5. Some coating and cleaner I’ve used 
  6. The broken pieces of a twisted ring from trying to bend without heating 

Below I put links to the websites I found most interesting and useful. 

How Cuban Links are Made: https://www.youtube.com/watch?v=yG9ZAkuflP0 

Jewelry Making with Copper Wire: https://www.youtube.com/watch?v=f8umNczpc0c 

Micheals: https://canada.michaels.com/en/shop-categories/beads-and-jewelry/809188121 

Can’t wait until next time… 

IN-DEPTH JEWELRY MAKING POST #5: WORKING FROM HOME

Until next time…