Tag: Creative Thinking
Eminent Learning Centre
My Eminent learning centre- Mary Edwards Walker
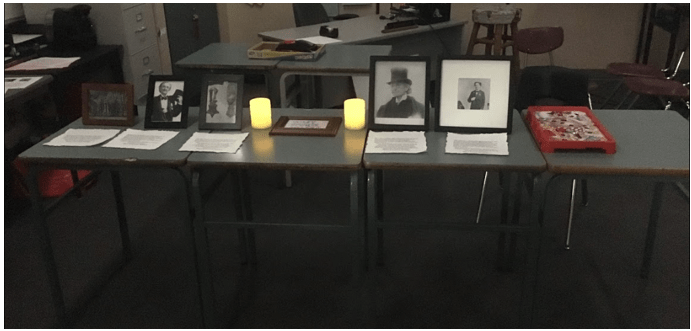
This is a picture of my entire learning centre.
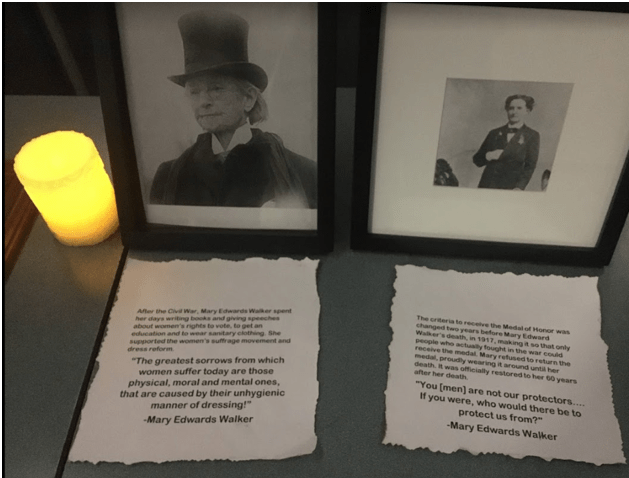
This is a close-up of part of my learning centre.
What is my Eminent learning centre?
For this project, we got around one month to research a person in history who we found made a large positive impact. To demonstrate our learning, we had to make learning centres, which would both explain a bit about what our person did, and included an interactive component. On Night of The Notables, people would walk around, looking at our learning centres and asking us questions about our person. For my learning centre, I researched Mary Edwards Walker. My interactive component was the game Operation, as Mary Edwards Walker was a surgeon.
What pre-existing skills was I able to use?
I was able to use my communication skills during this project to talk to people on Night of The Notables and answer questions. I was also able to use my creative thinking to come up with fun ways to get people to interact and better understand Mary Walker.
What challenges did I face during this project?
One of the challenges that I faced during this project was thinking in advance of some of the questions people might have asked on Night of The Notables and completing research about Dr. Walker so that I could best answer those questions. Another challenge was time-management, as we had a lot to do in a small amount of time. I had to plan out a schedule for making sure I was staying on track and not procrastinating too much.
Training Post
You are now going to create your very first post. In a separate tab or browser window, go to your Dashboard on the left and go to Posts -> Add New.
1) Title – Create a title for your blog post. Your title will be: Digital Footprint Assignment
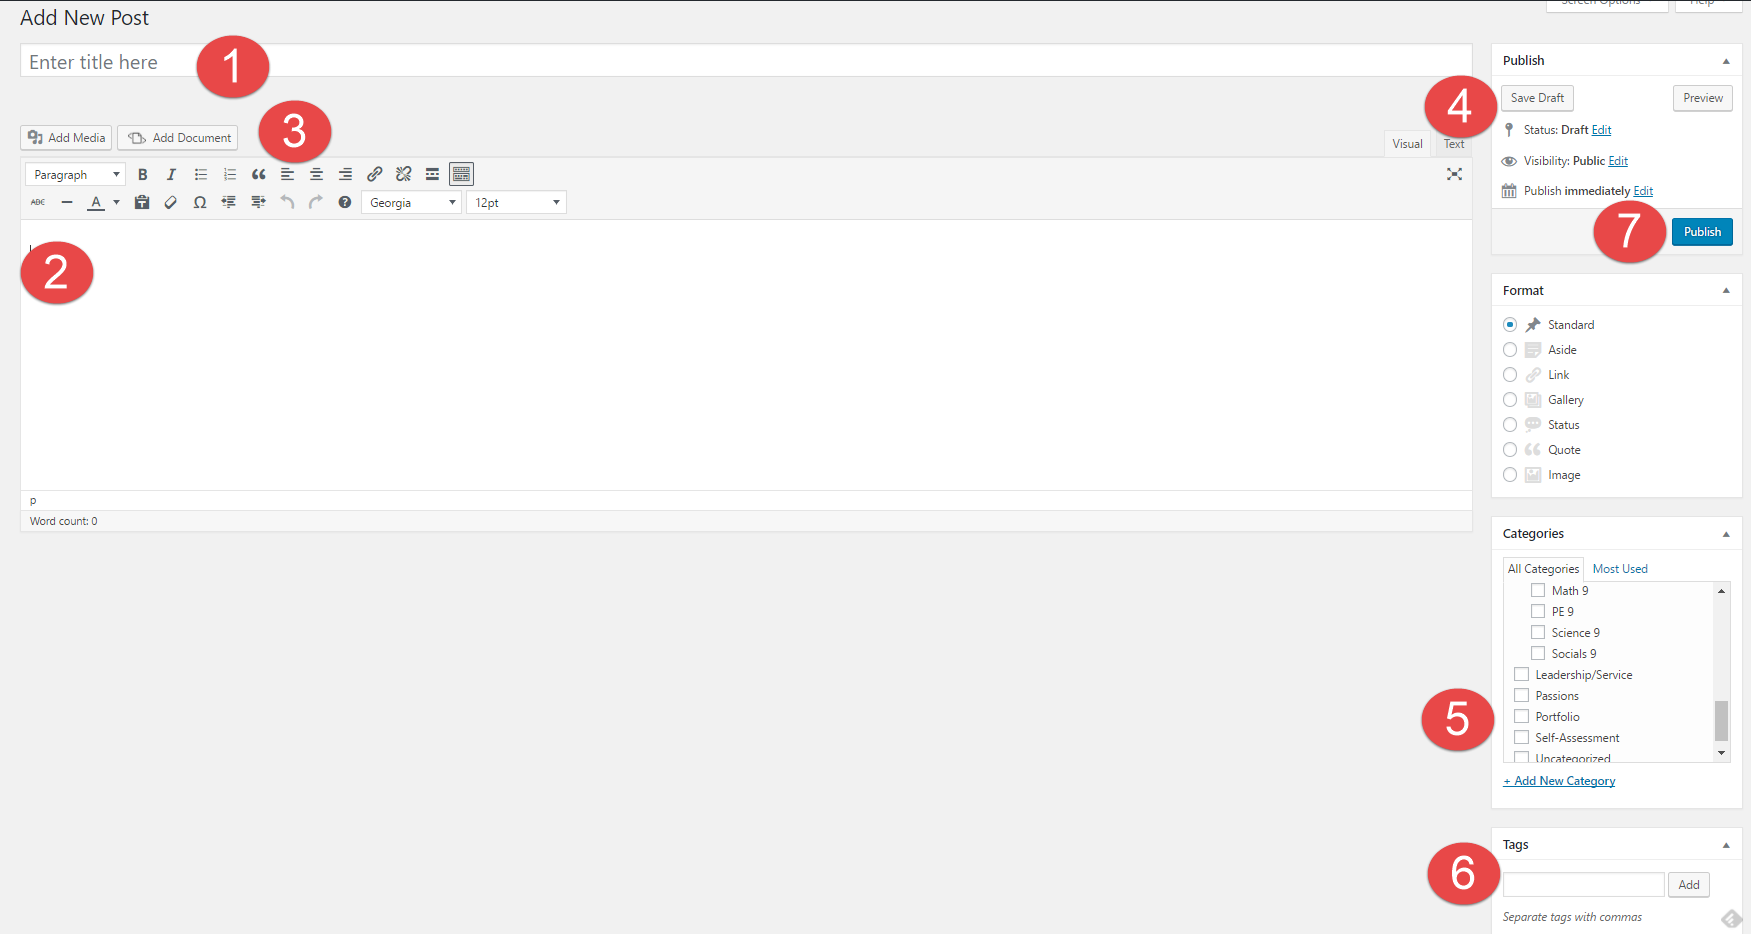
2) Body – This is where you place your content of the post – text, videos, pictures, etc. Follow the instructions on the Digital Footprint Assignment page to see what questions you need to answer here.
3) Tool Bar – In your toolbar you can “Add Media” and “Add Documents” into your posts, this is the best way to create visual representations. You can also change fonts, hyperlink, etc.
4) Publish – Here is where you control what items are public and private. You can also control when they are published to your website.
5) Categories – Here is where you choose where you want your post to go. This is your digital binder with all of your subjects. Make sure to categorize each post with the relevant subject. E.g. Categories -> English
6) Tags – Here is where you tag posts with one or two of the most readily applicable Core Competencies. These tags can help you find things quicker on your blog and help you stay organised. E.g. Tag -> creativethinking
7) Publish – When you are done, simply “Publish” it. If it has been edited, press “Republish” to update with the latest version of the content.