Since the last blog post progress on the project has slowed a bit. I wasn’t able to meet with my mentor during this time due to our usual meeting time two weekends ago was Valentine’s Day and this past weekend she was feeling unwell and our meeting was cancelled. The cancellation of these meetings definitely slowed the momentum I had but we have a scheduled meeting this week so hopefully I can quickly get back into momentum.
Even though I didn’t get to work on my own quilt I was able to assist my mom on a quilt she was working on for a co-worker. She had selected a pretty straight forward pattern that involved sewing squares of fabric 5×5 inches (fat quarters) together then cutting down the squares leaving one side with bigger squares then sewing the small sides together and the big blocks together (seen below)(ignore the bar).
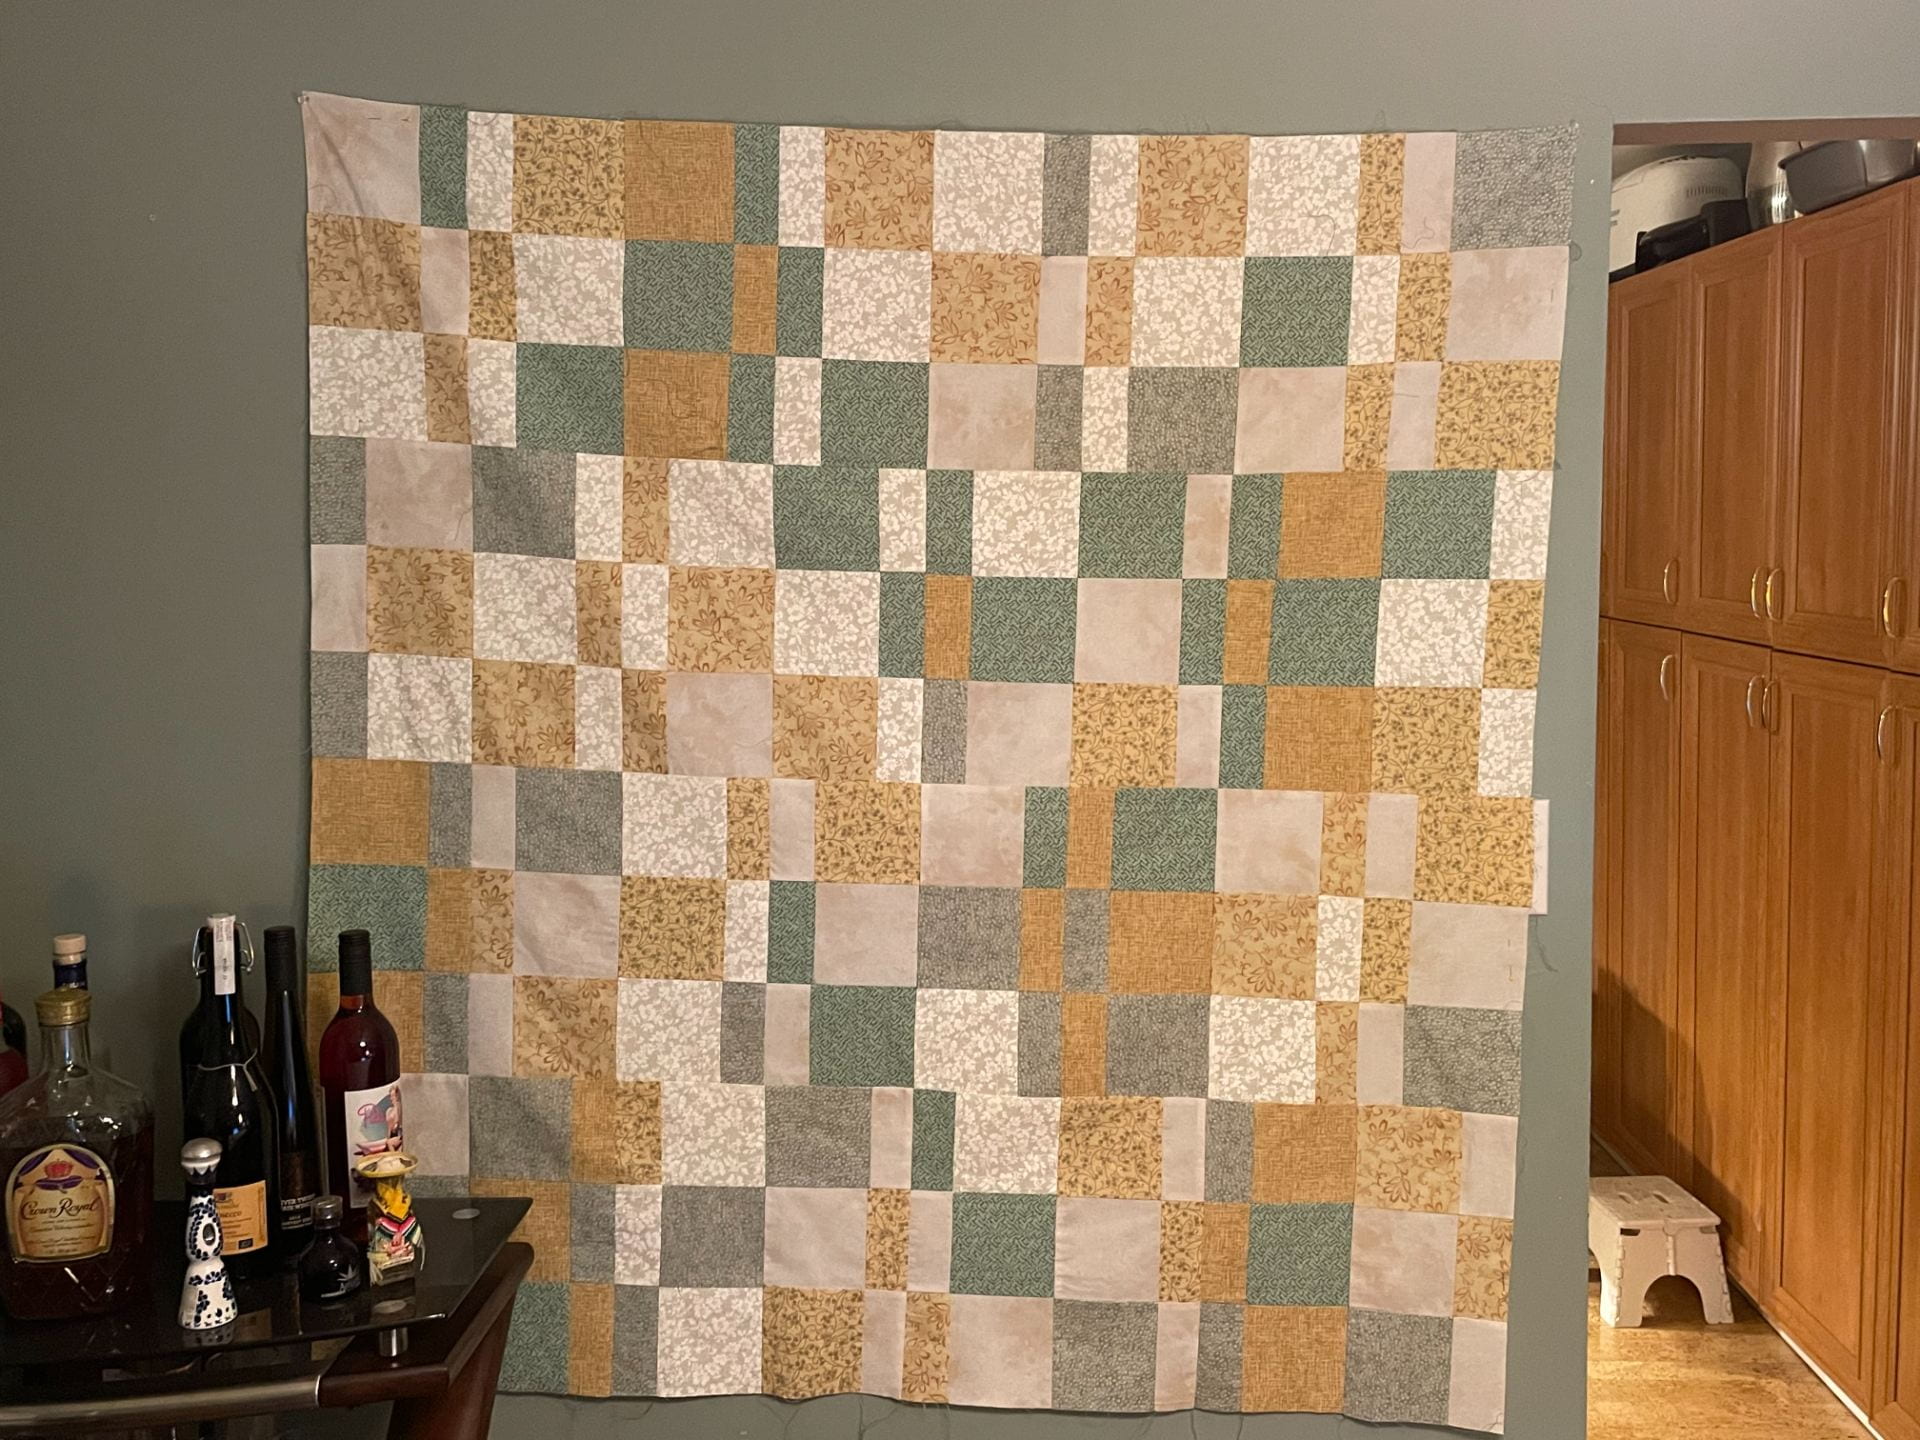
My mom was a little rusty on her pattern reading so I showed her how to properly read the pattern and demonstrated how the squares should be sewn and cut to make the pattern line up correctly. I also assisted her in picking the fabrics (from the stuff we already had) and selecting where the different fabrics should go in within the pattern.
She did the sewing and sent it to my mentor for her to quilt together. Shown above is the top layer of the quilt or the front side. To quilt it is the process of sewing all three layers (top layer, batting/stuffing, backing (the fabric on the back) together and adding the designs with the thread that makes the quilt more interesting to look at (an example is shown below).
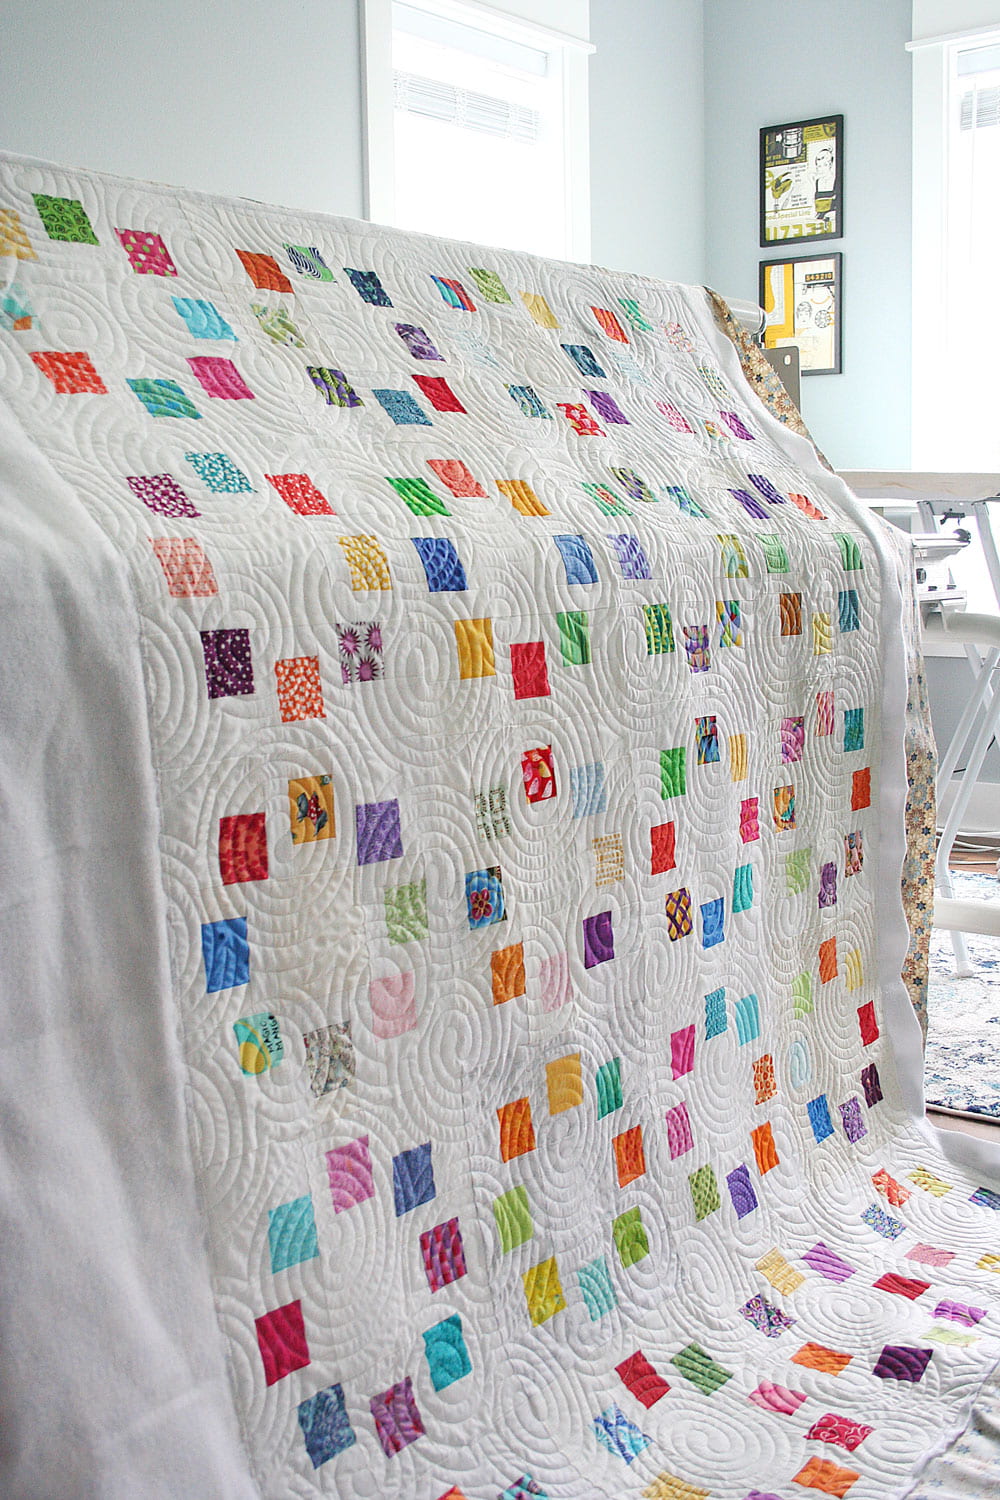
(the swirls within this quilt is an example of longarm quilting designs)
Since I was unable to meet with my mentor I am unable to relate my learning to How to Have a Beautiful Mind but since I didn’t attend meetings with my mentor I had more time to do individual research on my topic. This video (https://www.youtube.com/watch?v=DSIBpvmF0Xc) visually demonstrates the process of cutting and sewing I have been and will be doing for this quilt and it utilizes the paper piecing method (the method of using a printed out pattern piece as a ruler for sewing straight lines). It would have been beneficial for me to have watched this video before cutting all of my pieces since I would have avoided cutting and sewing way too many pieces (described in my last post) but now anyone reading this can hopefully learn from my mistakes and I will be more mindful of this in the future.
I also watched this video that goes further in-depth (haha in-depth) on the paper piecing method (https://www.youtube.com/watch?v=t7Kx4Q7JSwQ). It explains the benefits and uses of this method and demonstrates how to properly execute this style of sewing. This is a great method for beginners and I have found it to be very useful while working on my quilt since I know that all my corners and seams will line up in the end.
That was as far as I got over these past two weeks and I hope these next two weeks let me get back into that good momentum and pace I had.